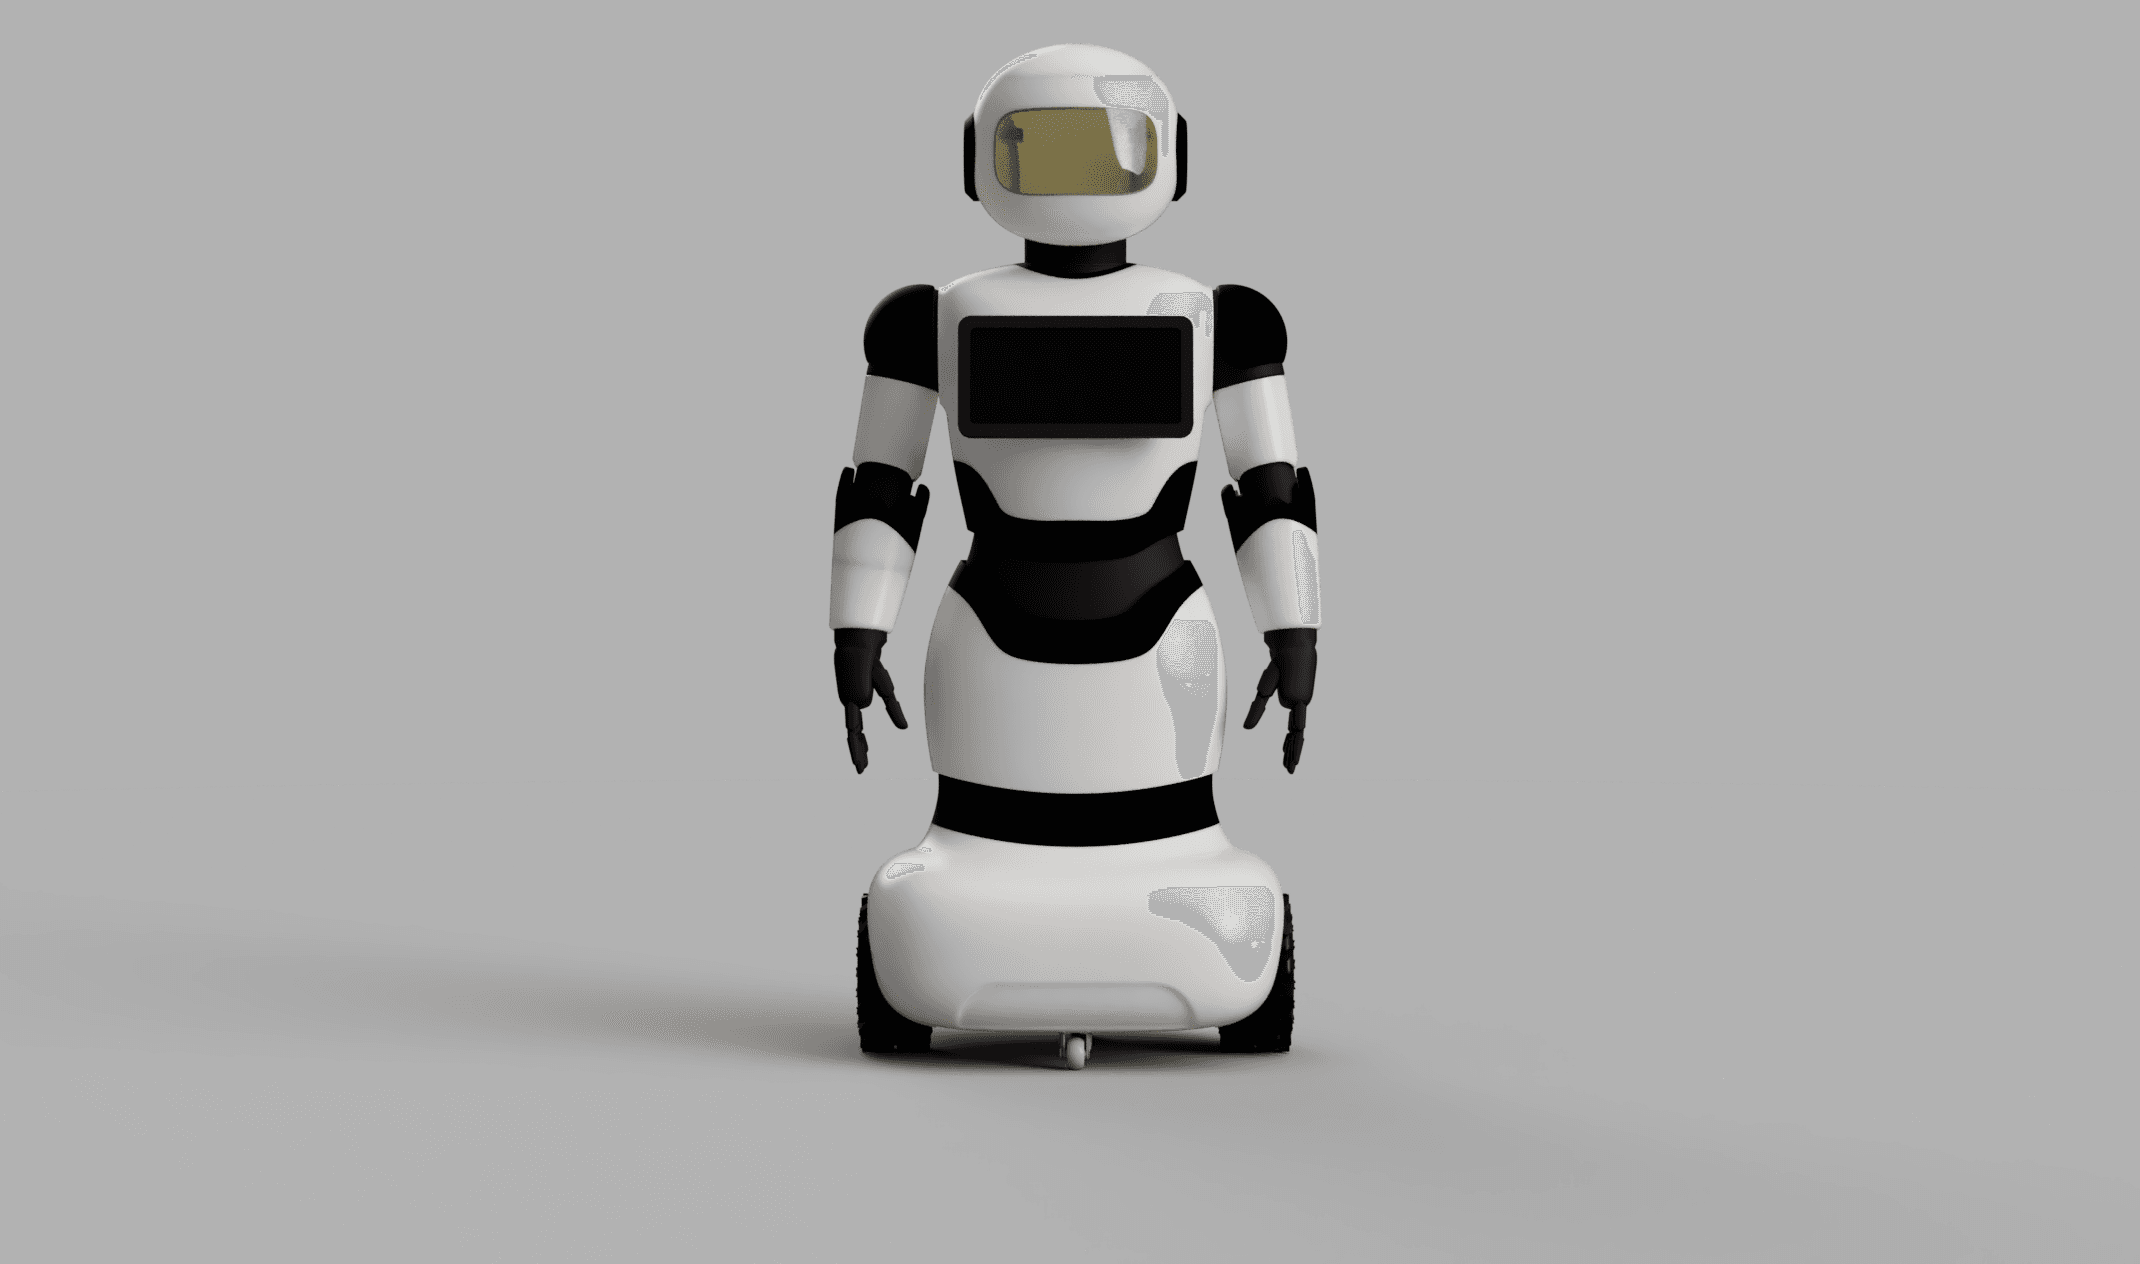
🤖 Getting Started with BonicBot A1
BonicBot A1 is the world’s first smartphone-powered educational humanoid robot, designed to democratize access to advanced STEM education. By leveraging cutting-edge smartphone technology, A1 delivers enterprise-level AI capabilities at an accessible price point — making advanced robotics education available to schools, universities, and research institutions worldwide.
1. Getting Started
Before interacting with your BonicBot A1, follow these setup steps carefully to create an account and connect your bot.
Step 1: Create a Bonic.ai Account
To start, you’ll need a Bonic.ai account linked with your bot.
Step 1: Create a Bonic.ai Account
To start, you’ll need a Bonic.ai account linked with your bot.
- Go to Bonic.ai.
- Click Sign Up and enter your email and password or google sign in.
- Once registered, you can request admin@autobonics.com to get your robot linked to your account.
⚙️ The same email ID will be used later in the BonicBot mobile app for login.
Step 2: Install the BonicBot Mobile Application
- Open the Google Play Store on your Android device.
- Search for “BonicBot” and tap Install.
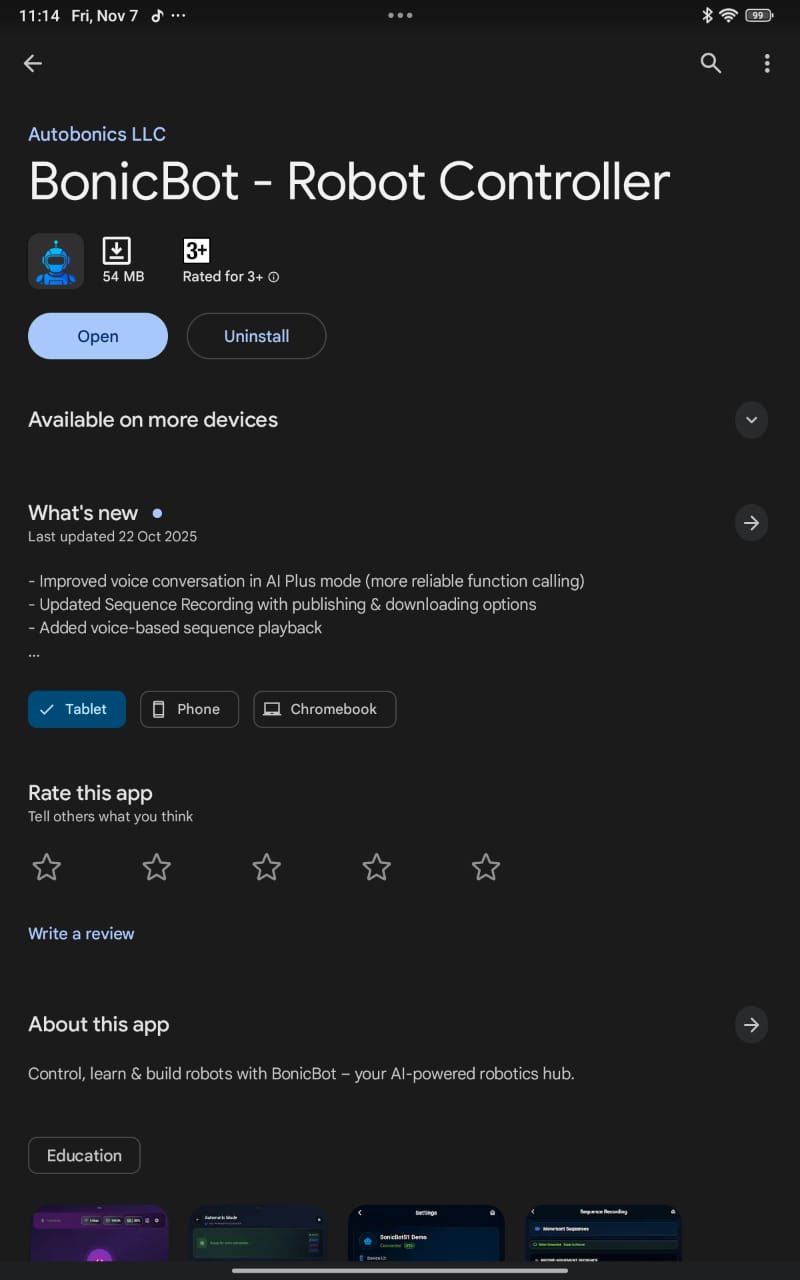
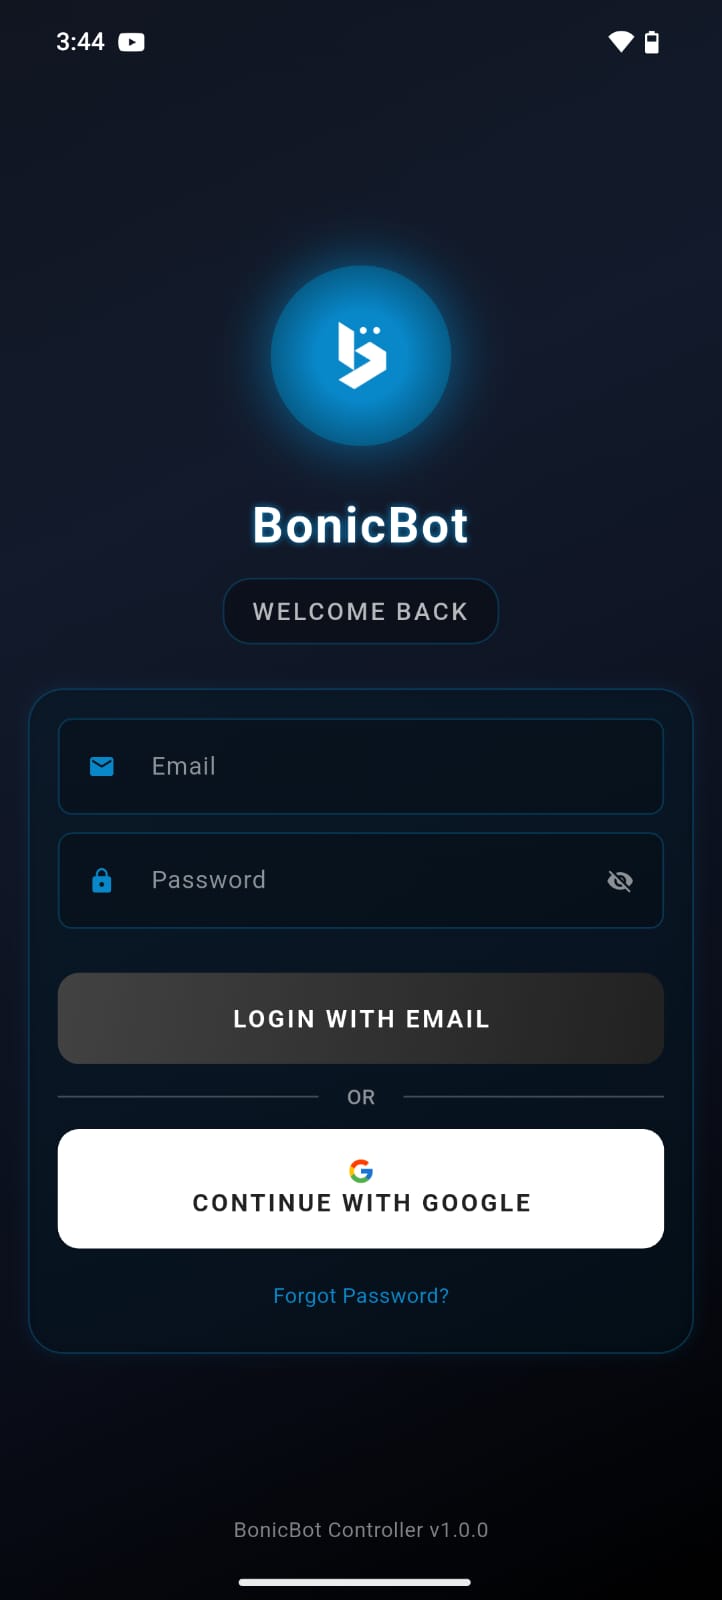
- After installation, open the app and log in using the same email ID you used to sign up on Bonic.ai.
- Once logged in, you’ll see the Robot Selection page where you can choose your BonicBot A1 to proceed with setup.
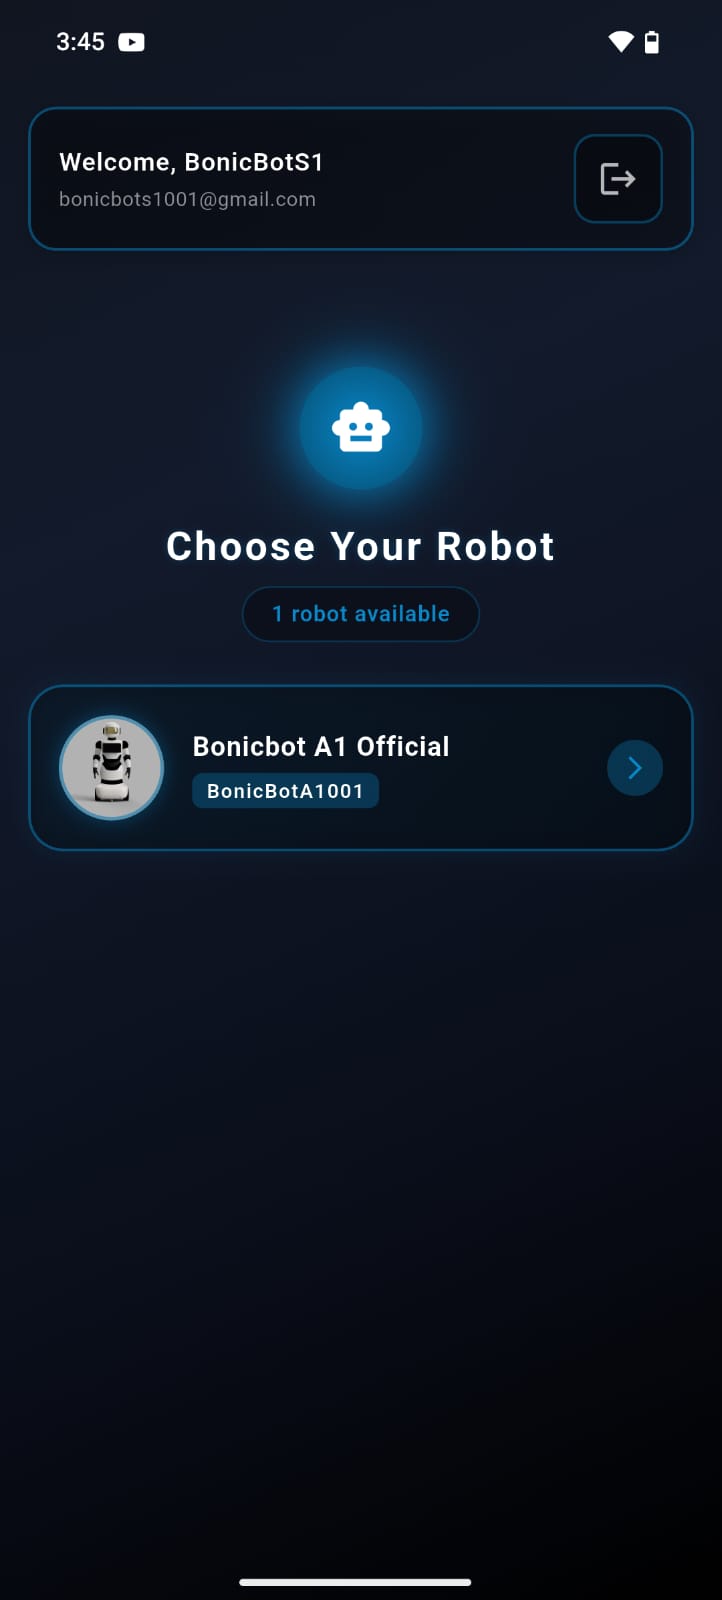
- Then, you’ll be taken to the main interface of the app, where you can explore different control options and settings.
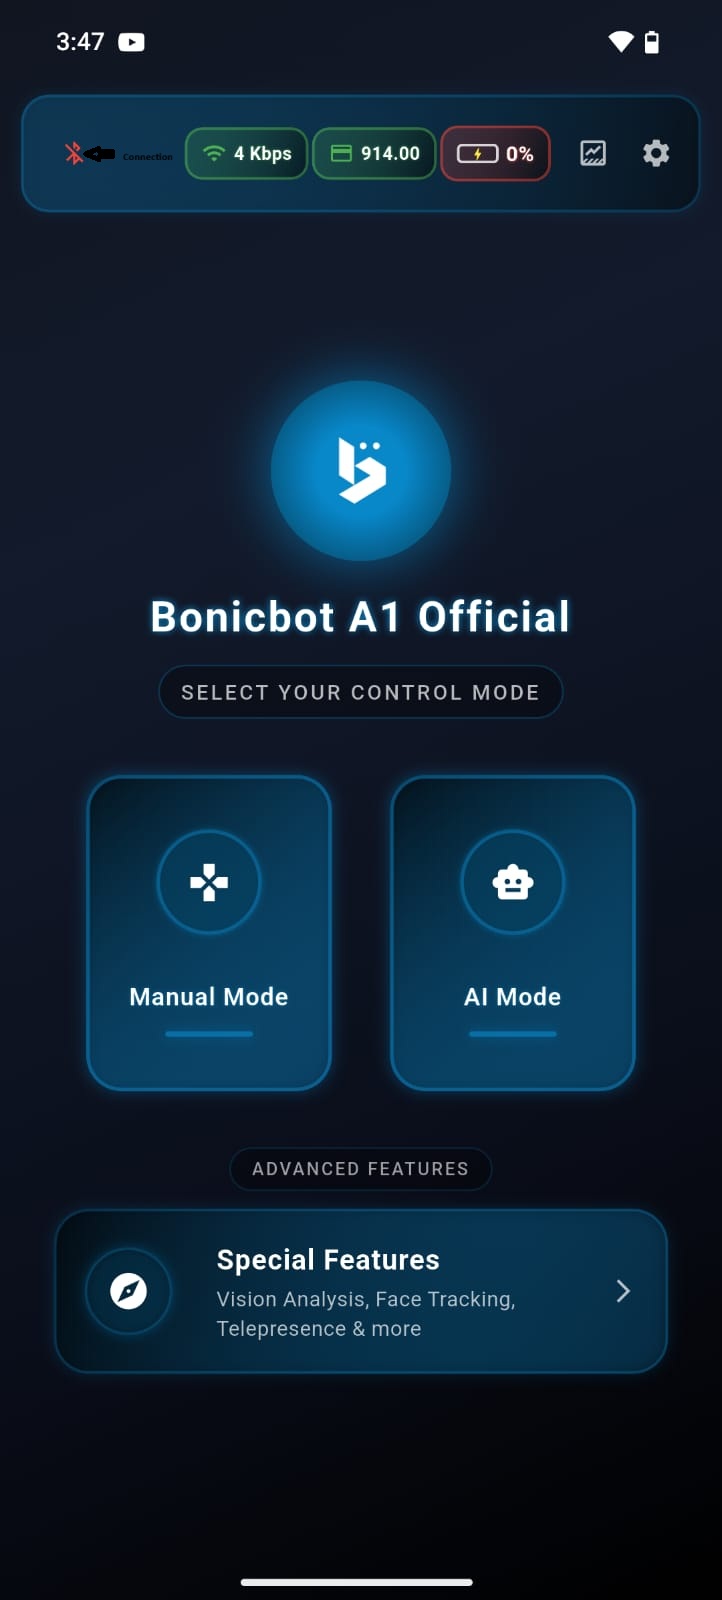
The app provides access to:
- Bot Connection options
- Manual Control Interface
- AI Mode
- Settings and Developer Mode
Step 3: Connect the Bot to the App
Now, it’s time to link your phone with BonicBot A1.
- Ensure your BonicBot A1 is powered on.
- Turn on Bluetooth on your smartphone.
- In the app, tap the Connection section and pair your device with the bot.
🎮 Step 4: Understanding Operating Modes
BonicBot A1 offers two primary operating modes:
1. Manual Mode
- Control your robot manually through on-screen buttons.
- Ideal for demonstrations, classroom activities, or movement-based learning.
2. AI Mode
- Interact naturally with your BonicBot A1 using voice commands.
- The bot can talk, respond, and perform intelligent tasks .
. Accessing Special Features
You can explore Special Features through the app
⚙️ Step 5: Developer Mode and WebSocket Integration
For developers who want to integrate BonicBot A1 with their own software, Python scripts, the bot supports WebSocket-based communication through Developer Mode.
Step 1: Enable Developer Mode
- In the BonicBot app, open the Settings page.
- Scroll to the bottom until you find the Developer Mode toggle.
- Enable Developer Mode.

Once enabled, you’ll gain access to advanced developer options such as:
- Console Mode
- Manual Mode (Developer)
- WebSocket Server Controls
⚠️ Use Developer Mode carefully — it gives direct low-level access to the robot’s systems.
Step 2: Enable WebSocket Serverc
- In Developer Mode, select Console Mode.
- Enable the WebSocket Server option.
- Once turned on, the app will display your bot’s local IP address (e.g.,
ws://192.168.***.**:8080).
This IP will be used to connect BonicBot A1 with external device.
💡 Make sure your PC or Python device is connected to the same Wi-Fi network as the bot.
Step 3: Connect Using Python SDK
BonicBot A1 supports integration with the Python SDK, allowing you to send commands, receive sensor data, and control movement in real-time.
Go to the sdk integration for detailed instructions on installation and usage.
Connect BonicBot A1 to your computer and control it programmatically using the BonicBot Python SDK.