Start using your BonicBot
Welcome to the essential setup guide for your BonicBot robot. This guide takes you step by step from unboxing and powering on to driving, conversational AI agents, custom motion sequences, and autonomous navigation.
Use BonicAI in a web browser for account and robot setup. Choose BonicOS on the robot or the Controller App on your Android device for everyday operation.
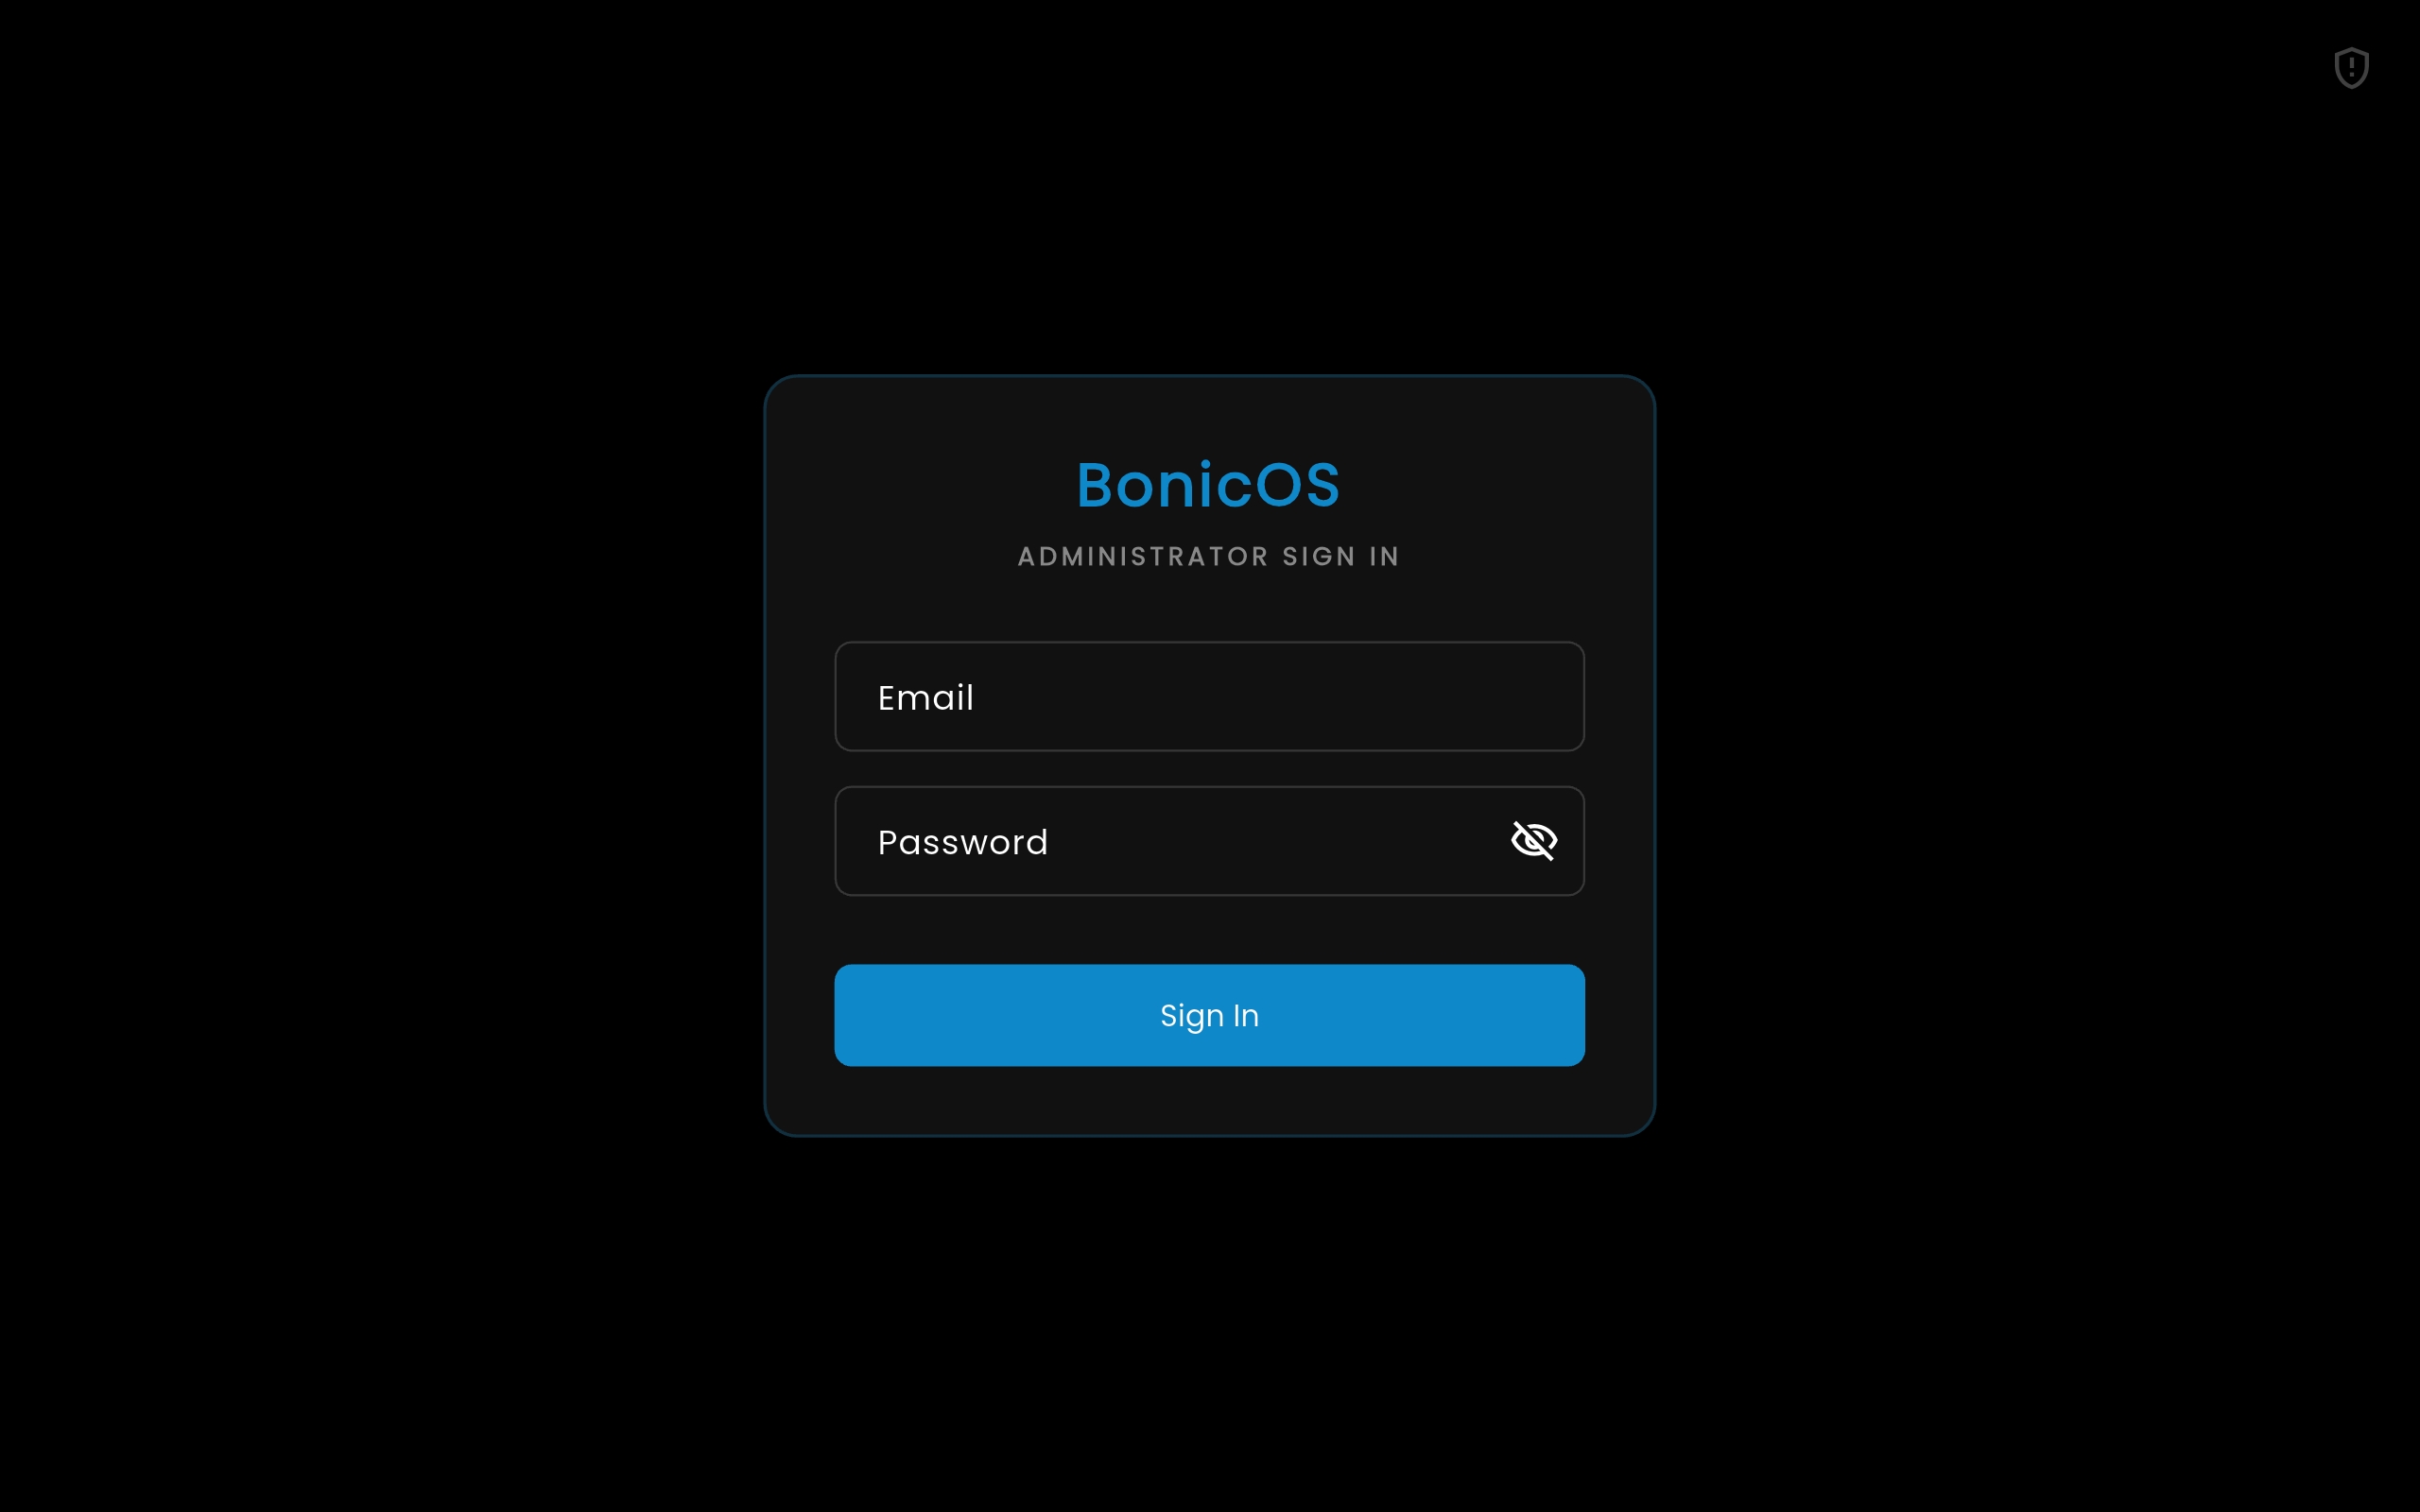
BonicOS (On-Robot Chest Touchscreen)
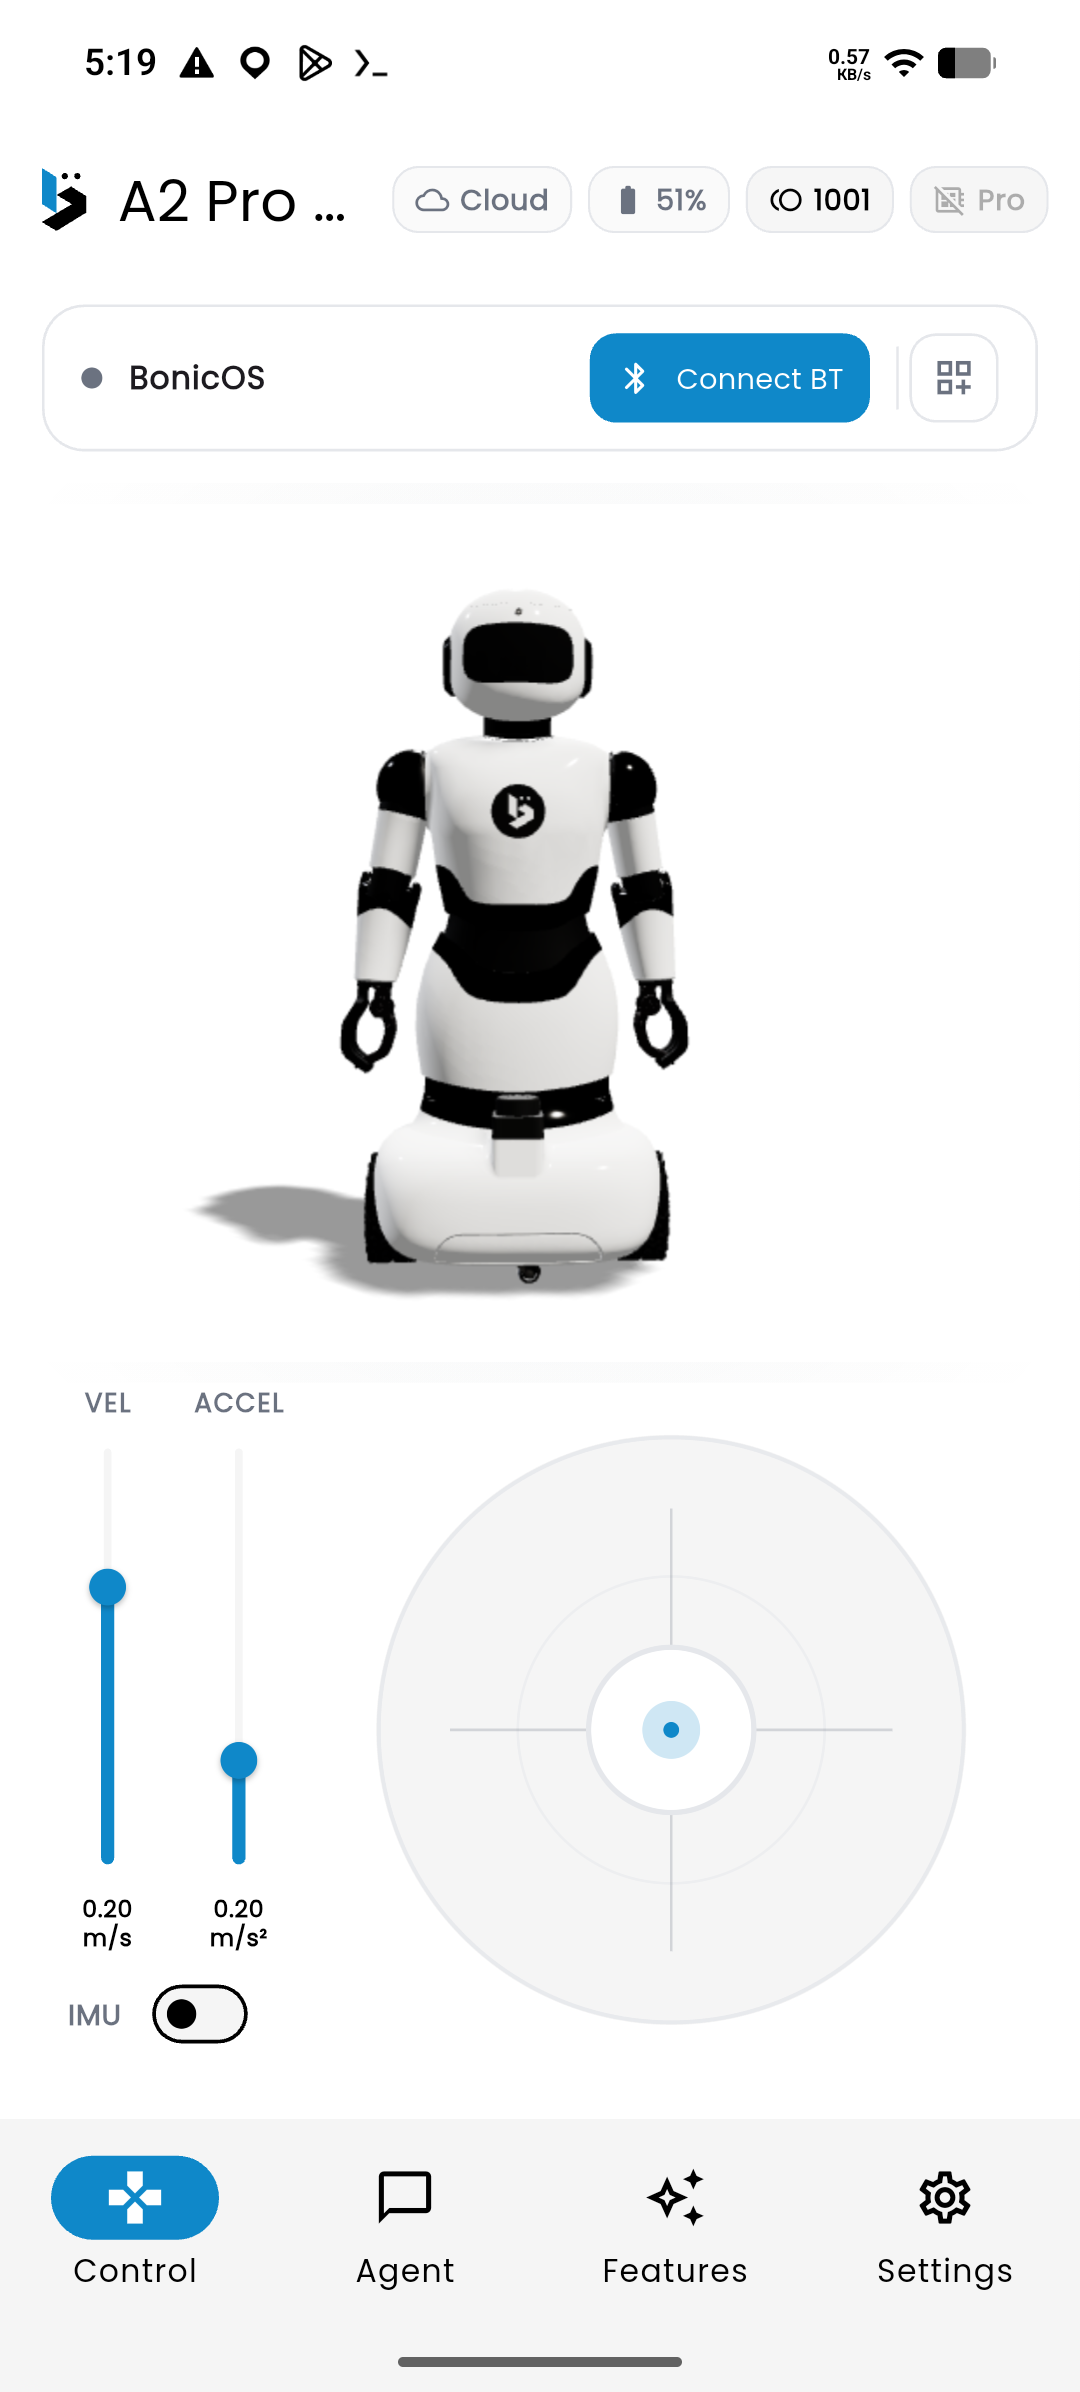
BonicBot Controller App (Android)
The setup roadmap
Start with interface and connection setup, then use the existing agent or configure your own. Motion sequences are optional; mapping and navigation apply to Pro models. Use the troubleshooting guide when needed:
Step 1: Choose Your Interface
   │    • Understand which interface to use (BonicOS vs Controller App)
   ▼
Step 2: Connect & Control
   │    • Pair your robot and learn manual driving controls
   ▼
Step 3: Talk with Your Robot
   │    • Use the existing agent; creating your own agent is optional
   ▼
Optional: Motion Sequences
   │    • Create custom poses, arm gestures, and playback routines
   ▼
Pro only, when needed: Navigation & Mapping
        • Scan room floor plans, mark waypoints, and travel autonomously
Setup guides
| Guide | What you will accomplish | Applicable Robots |
|---|---|---|
| 1. Interface and robot compatibility guide | Learn which software interface controls your robot model (chest touchscreen vs handheld app). | All models (A2, S1, M1) |
| 2. Connecting and controlling your robot | Pair with your robot via Bluetooth or Wi-Fi, and master manual driving controls. | All models (A2, S1, M1) |
| 3. Creating and assigning agents | Talk with the existing agent, or optionally create and assign your own in BonicAI. | All models (A2, S1, M1) |
| 4. Recording and playing motion sequences | Optional: record custom arm gestures and poses, and play them when needed. | All models (A2, S1, M1) |
| 5. Autonomous navigation and mapping | Scan a 2D floor plan of your room, drop waypoints, and send your robot on autonomous routes. | Pro models (A2 Pro, S1 Pro, M1 Pro) |
| 6. Basic troubleshooting and common issues | Resolve common setup, account access, audio routing, connection, and navigation issues. | All models (A2, S1, M1) |
Go directly to a task
If your robot is already set up:
Before you begin
Make sure you have:
- Unpacked your BonicBot robot on a flat, even floor surface.
- Located your charging dock or power adapter and verified the battery is charged.
- Access to the BonicAI account associated with your robot purchase; see Account and access setup.
- For BonicAI account and access setup, a computer with internet access.
- If using the Controller App, an Android phone or tablet with the BonicBot Controller App installed from Google Play .
- If using BonicOS, access to the robot’s touchscreen. You do not need a separate Android phone for this route.
- For Pro mapping and navigation, your chosen interface and the robot’s navigation processor connected to the same local Wi-Fi network.
Next step
Last updated on