Head Assembly
Step 1: Collecting All Required Parts
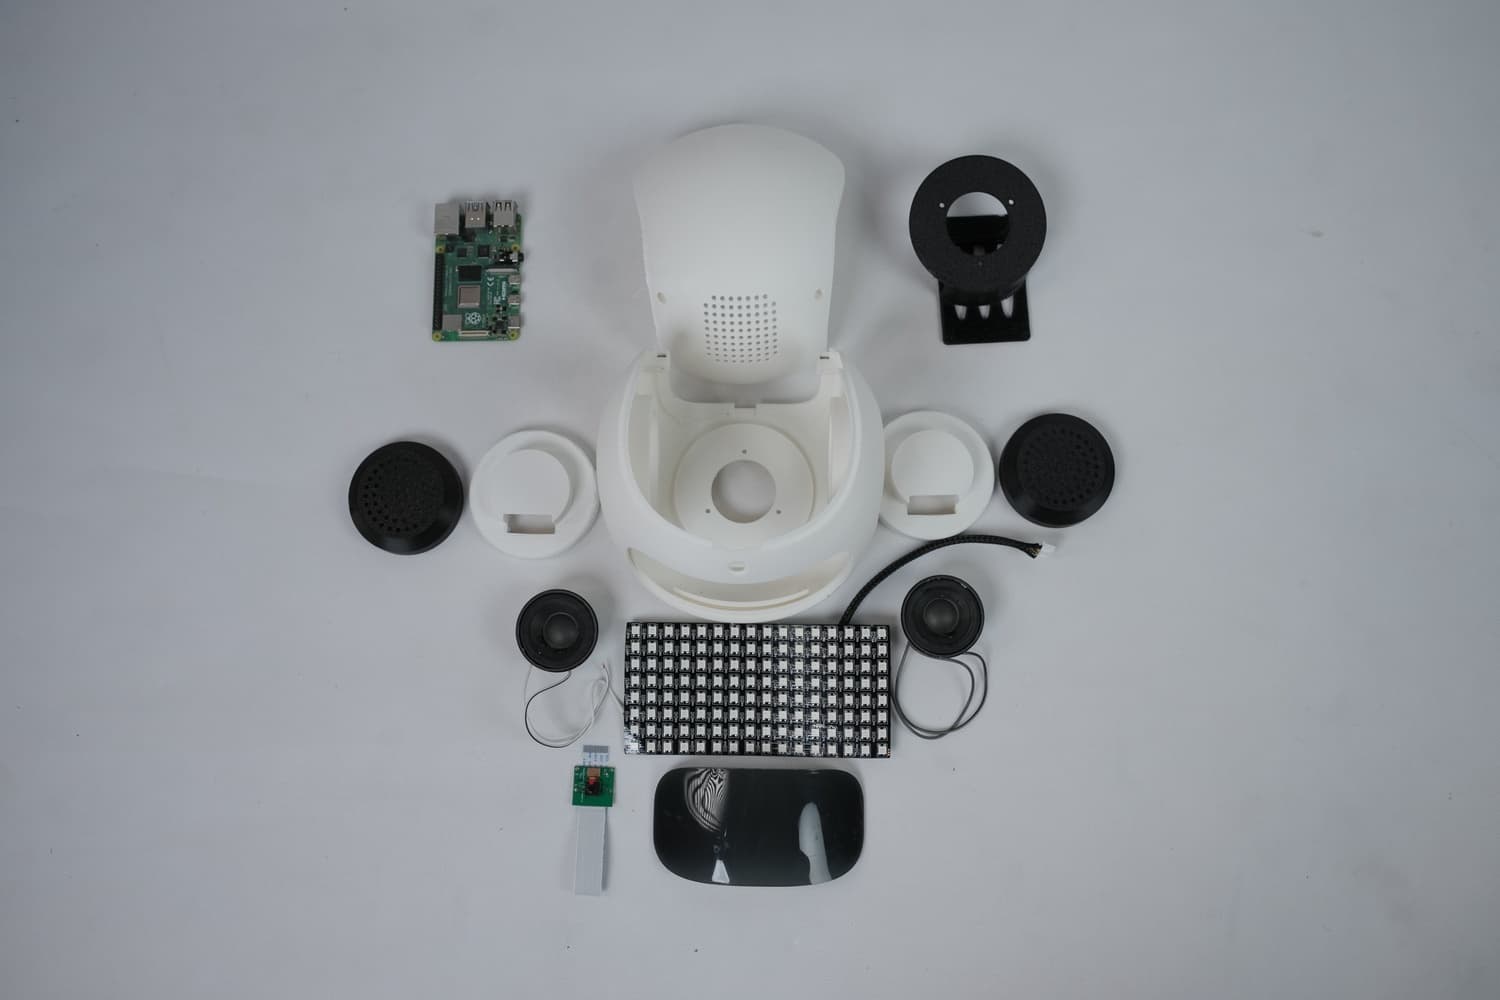
3D Printed Parts:-
- Face
- Ears
- Speaker Holders
- RPi Holder
- Head Cover

Electronic Parts:-
- RGB LED Matrix
- Raspberry Pi setup
- Speaker x 2
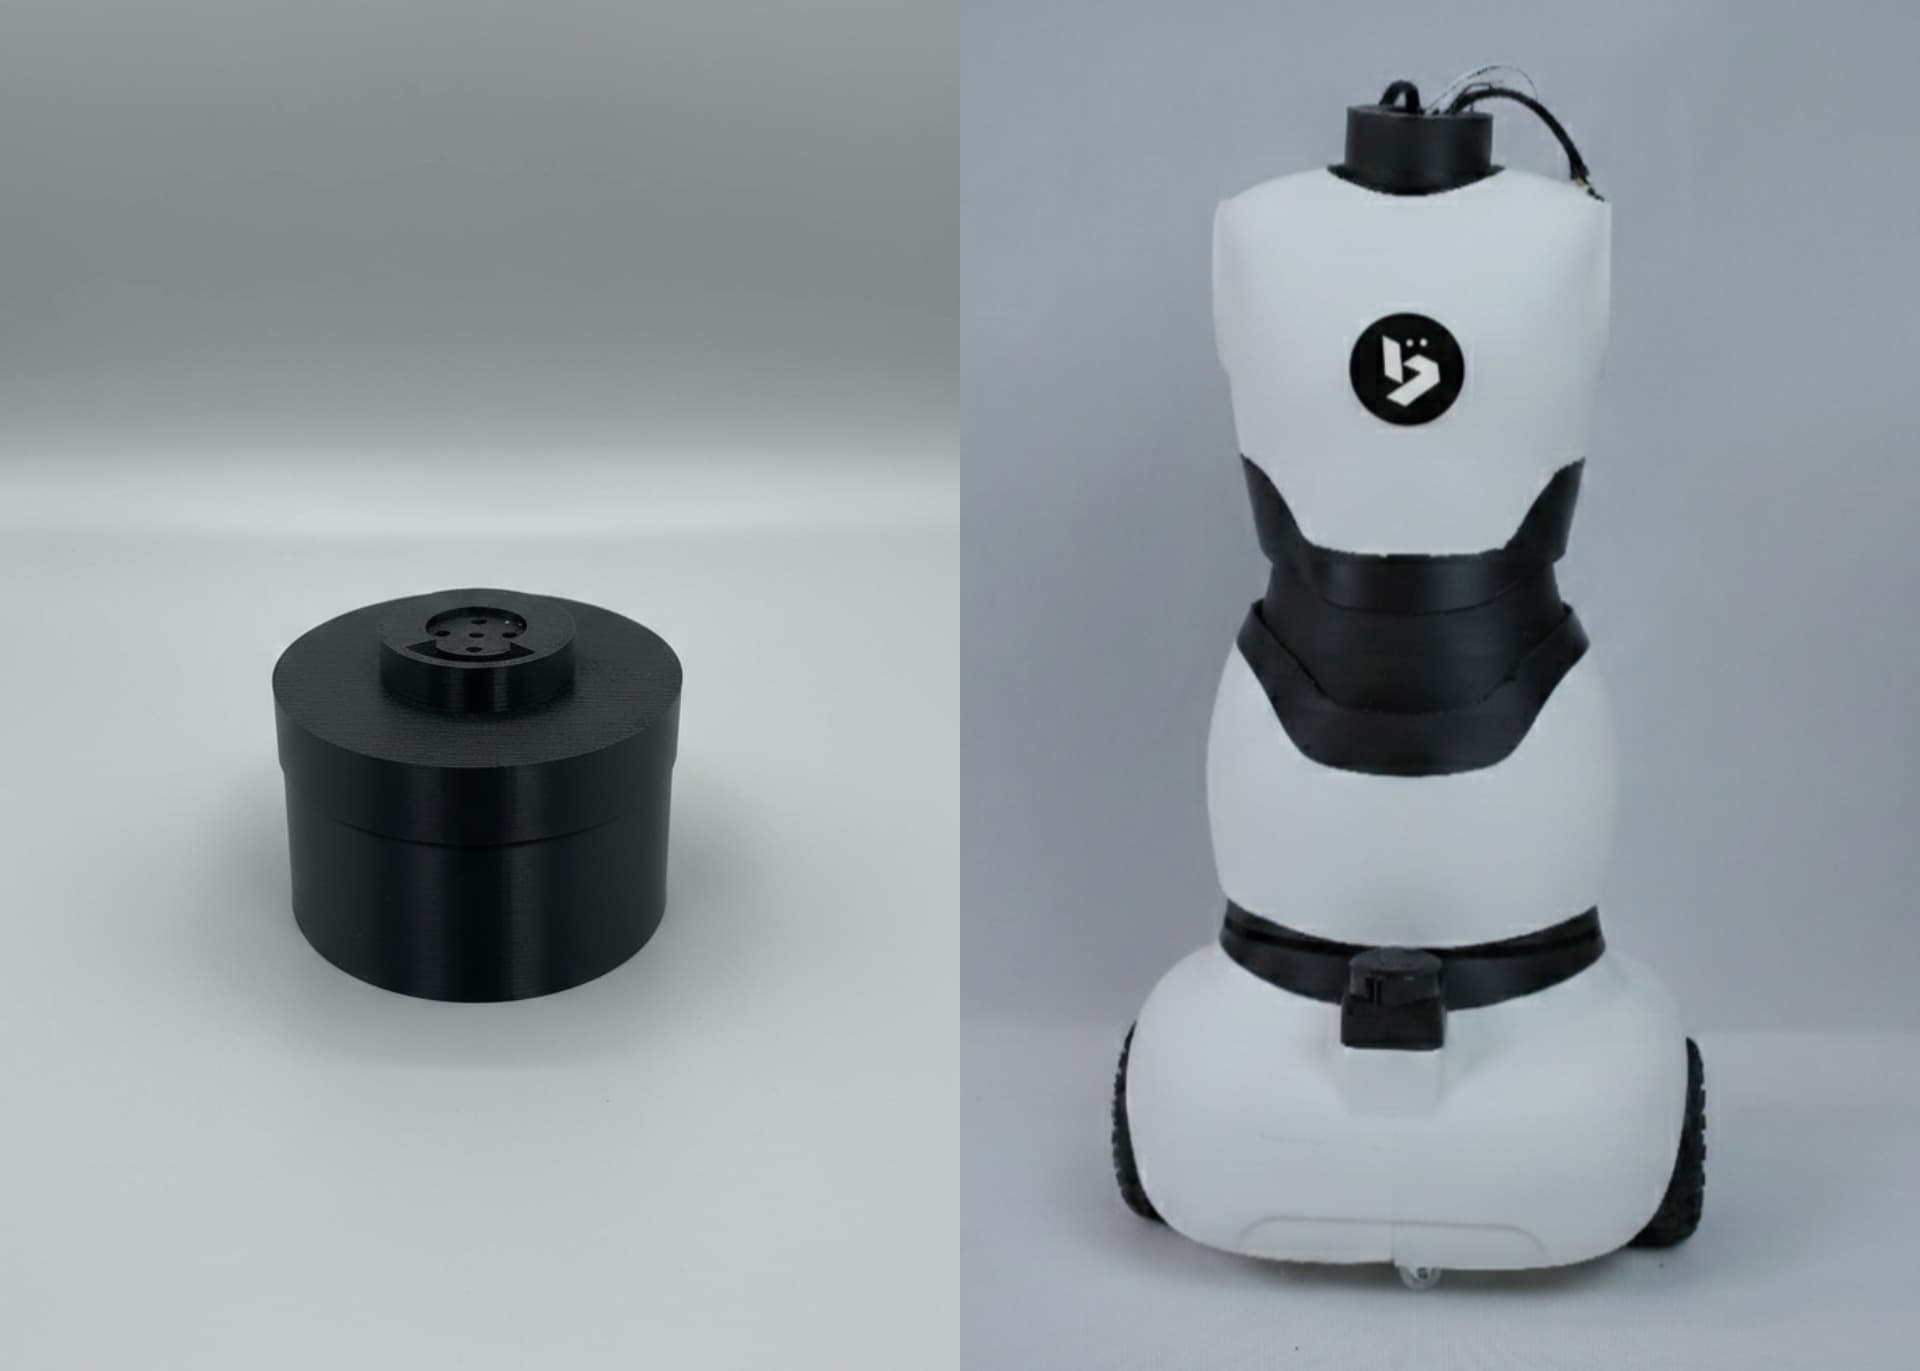
Step 2: Starting the Head Assembly
-
Insert 3 × M3 nuts into the holes of the Neck Joint and glue them properly.
-
Fix the Neck Joint onto the Center Joint by aligning the four holes on the head servo motor’s horn, then tighten using 4 × servo bolts. Make sure all the necessary cables are passed through the slot on the neck joint for further connections on the head portion.
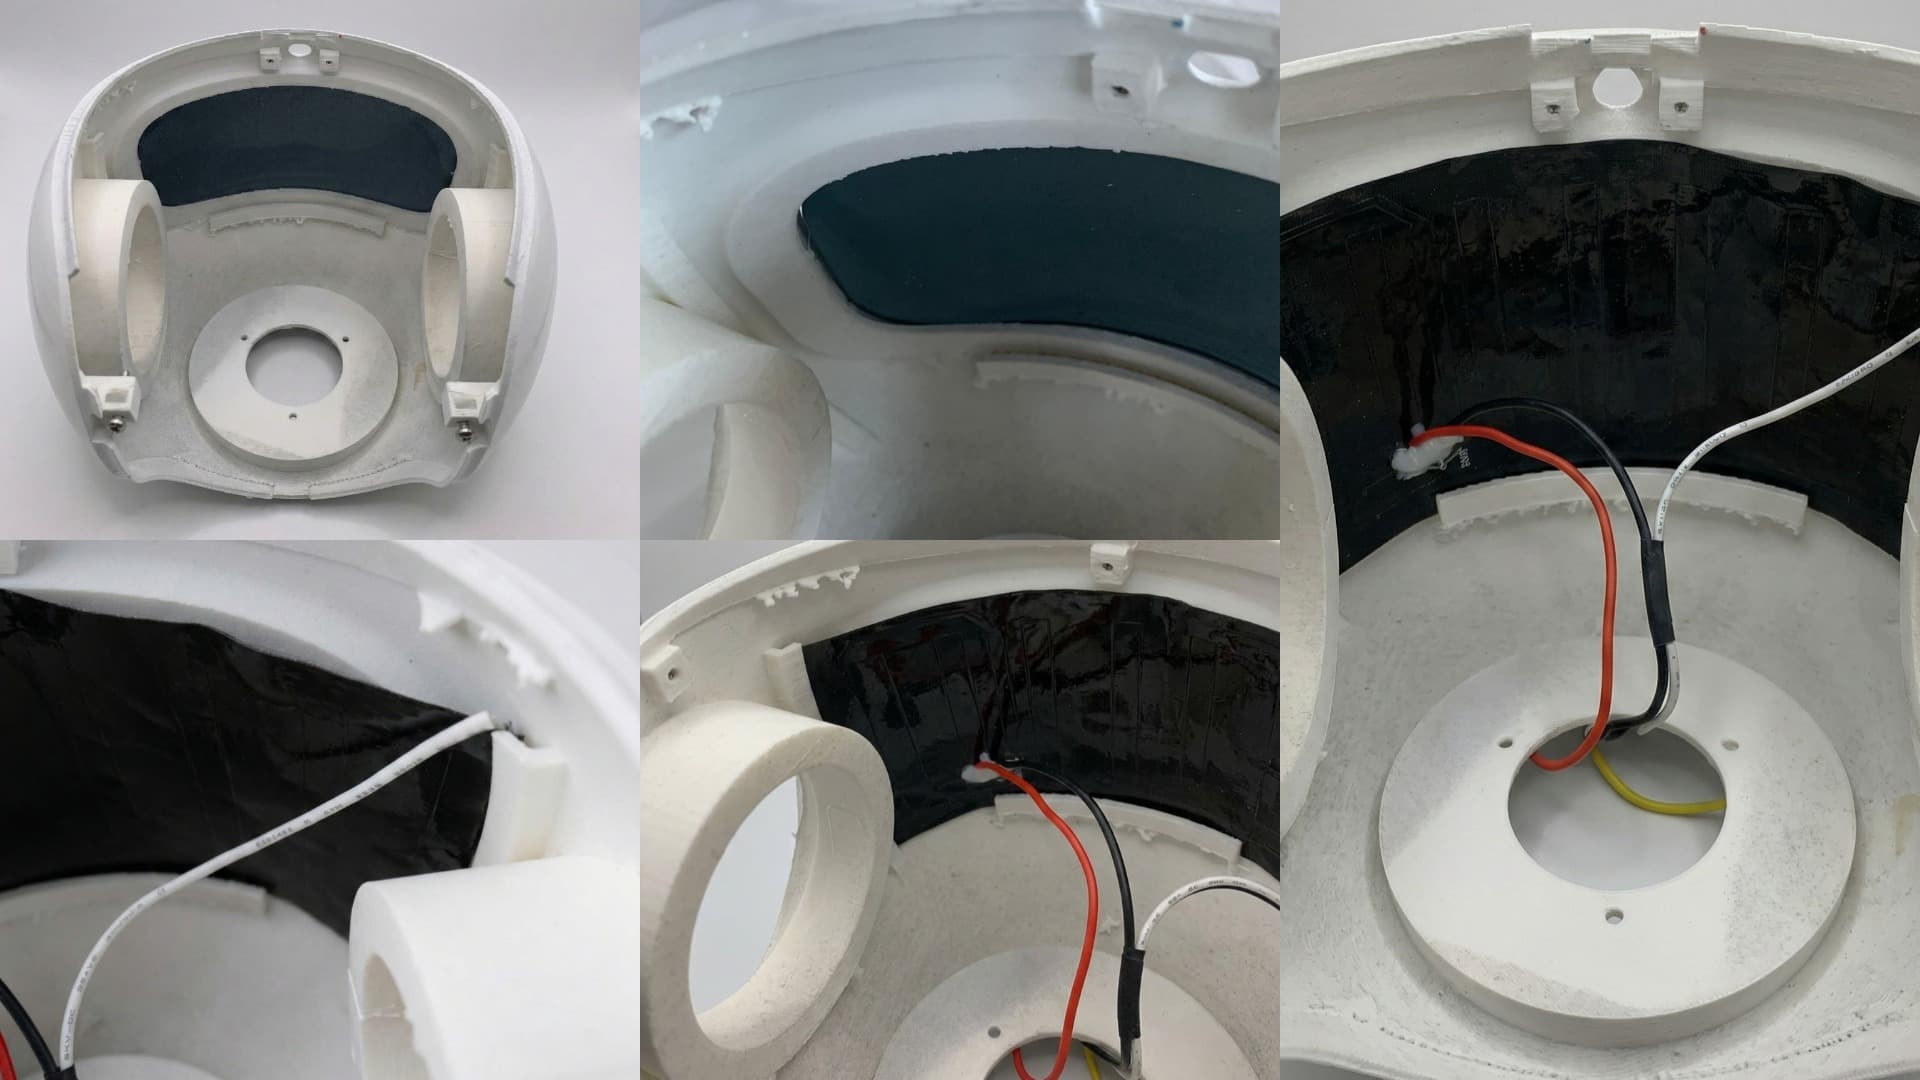
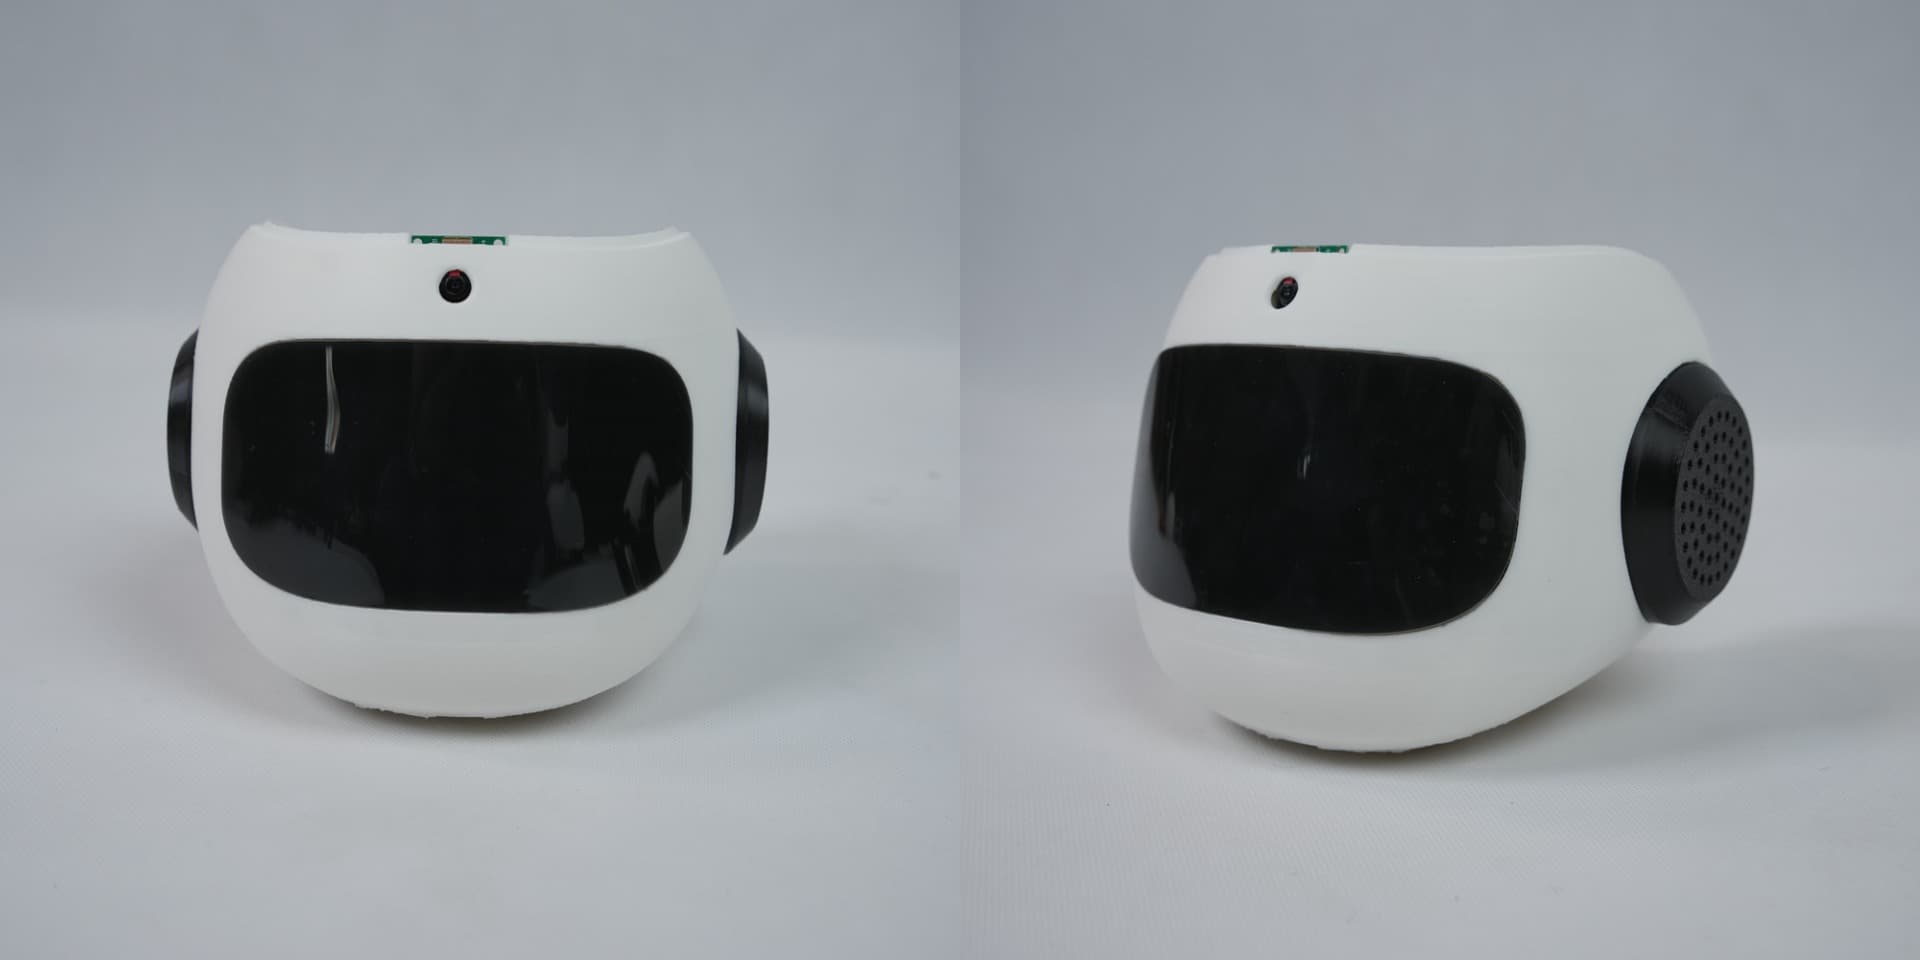
Assembling the Head
- Slide the RGB LED matrix carefully on the inner portion of the face through the given pocket.
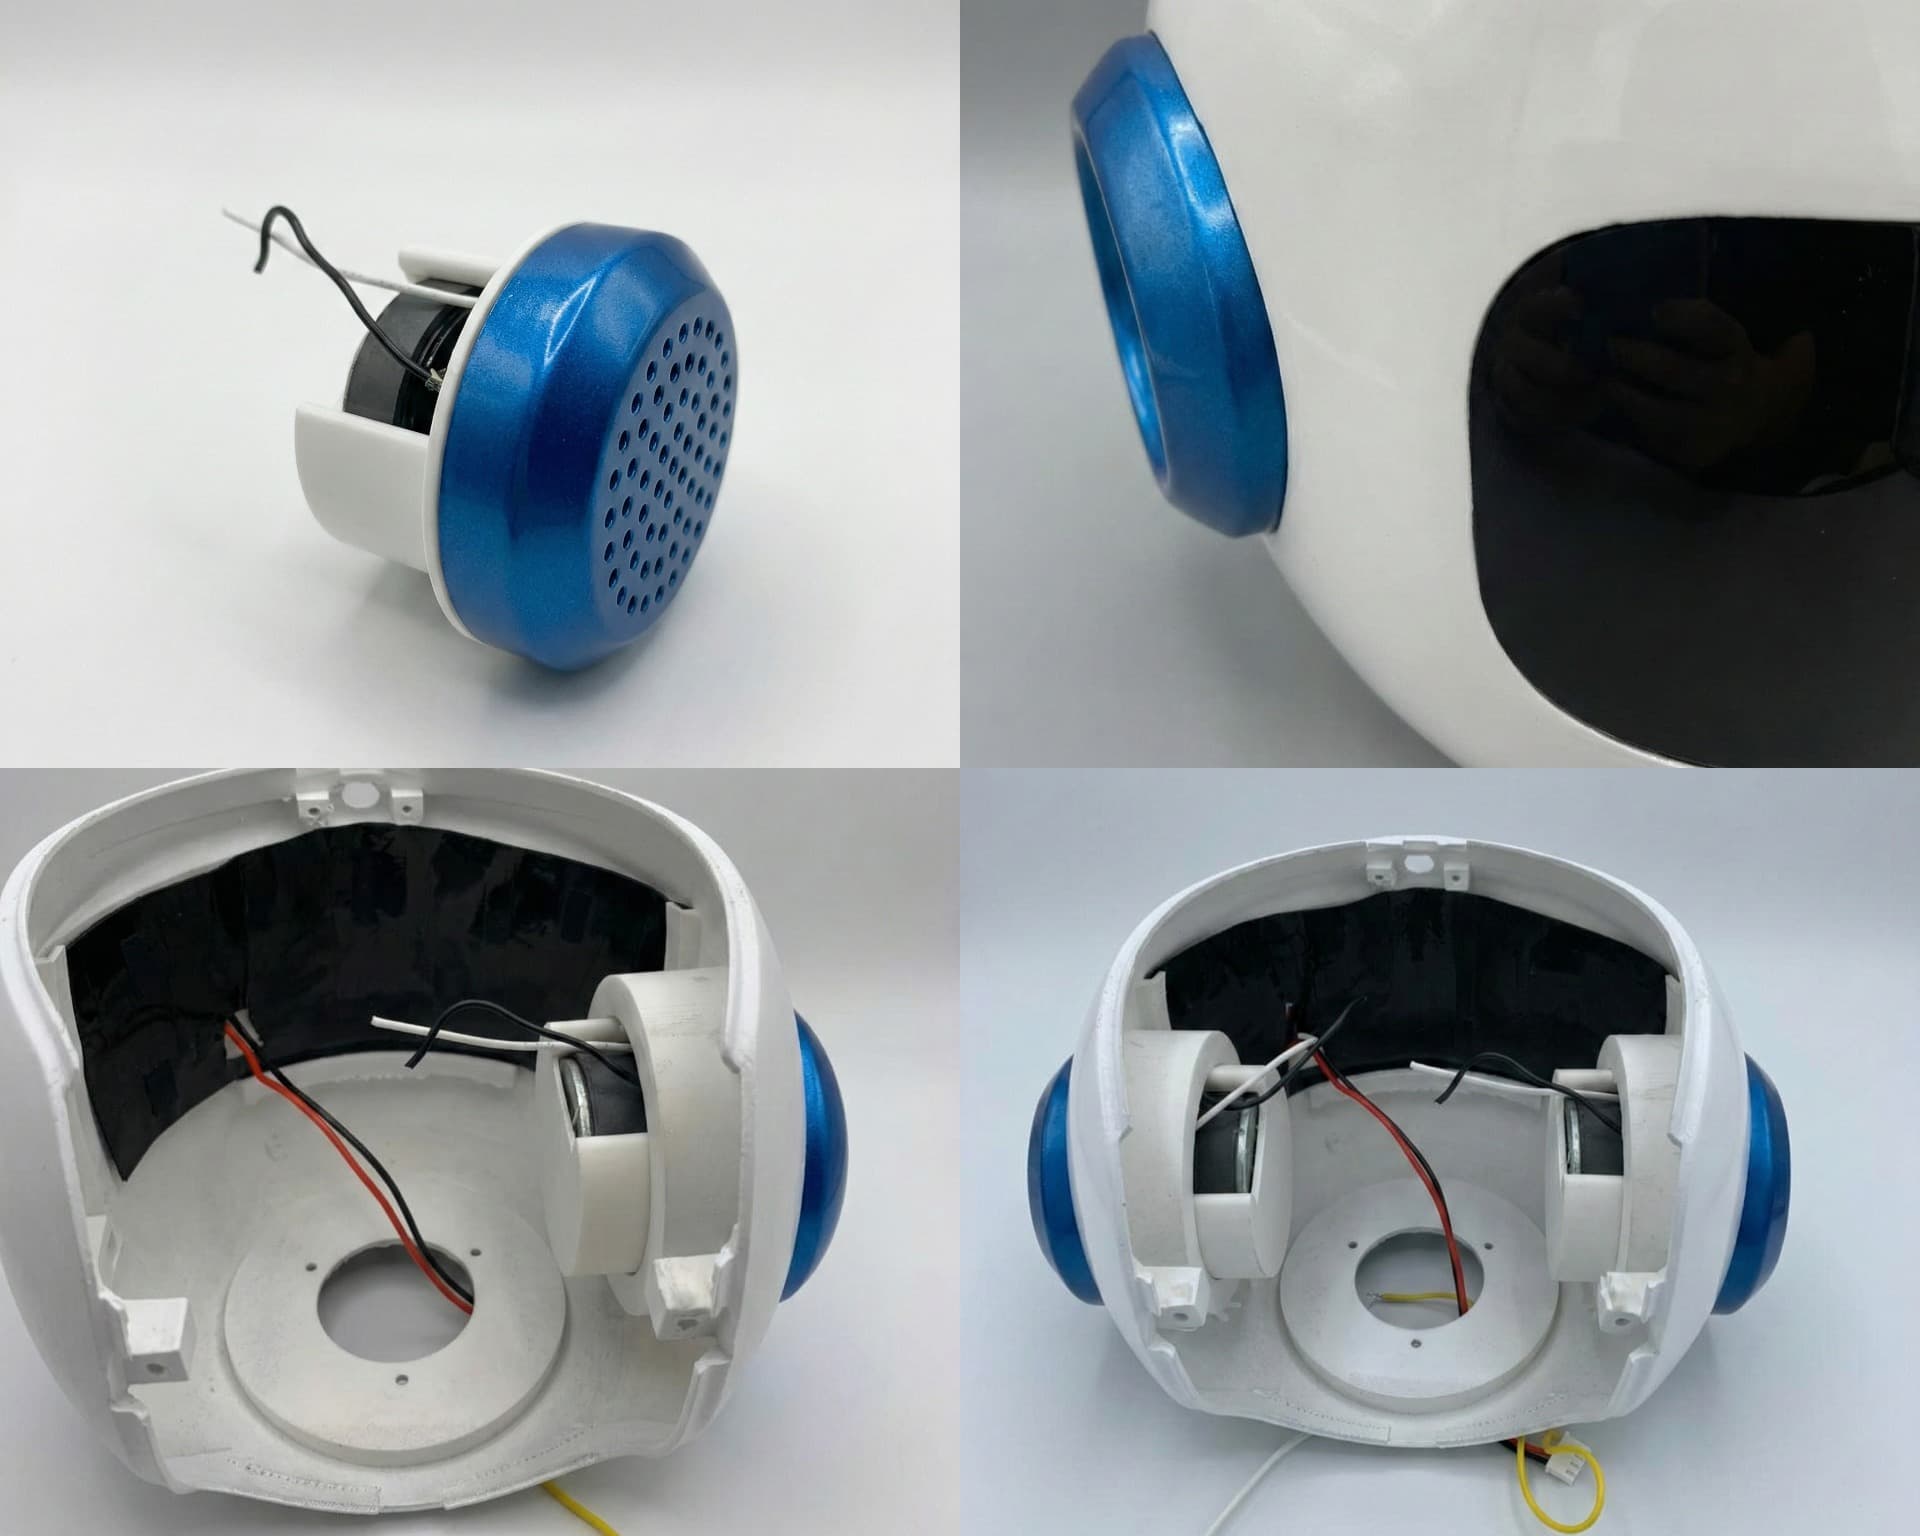
- Fix the speakers onto the speaker holder by passing the speaker cables through the given slots. Glue the speakers. Now glue the ear on to the speaker holder and insert it into the ear slot and glue it to the head.
- Fix the Raspberry Pi camera module onto the small hole at the front of the head using 2 × M2 bolts.
Final Status
- The head is now ready.
Last updated on