Full Body Assembly
Step 1: Collect All Required Parts
Before starting the assembly, ensure that all the required parts are available:
- Left Hand
- Right Hand
- Head
- Shoulder Covers × 2
Step 2: Hand and Head Assembly
Fixing the Arms
- Attach both arms to the upper body using 4 × servo screws per arm.
- Secure the shoulder covers onto both shoulders after fixing the arms.
Fixing the Head
- Align the head and Raspberry Pi holder with the neck joint.
- Secure them using 3 × M3 bolts, ensuring that all required cables are carefully pulled through and are not pinched.
- Insert 2 × M3 nuts into the slots on the back portion of the head and fix them firmly using adhesive.
- Place the head cover and secure it using 2 × M3 bolts.
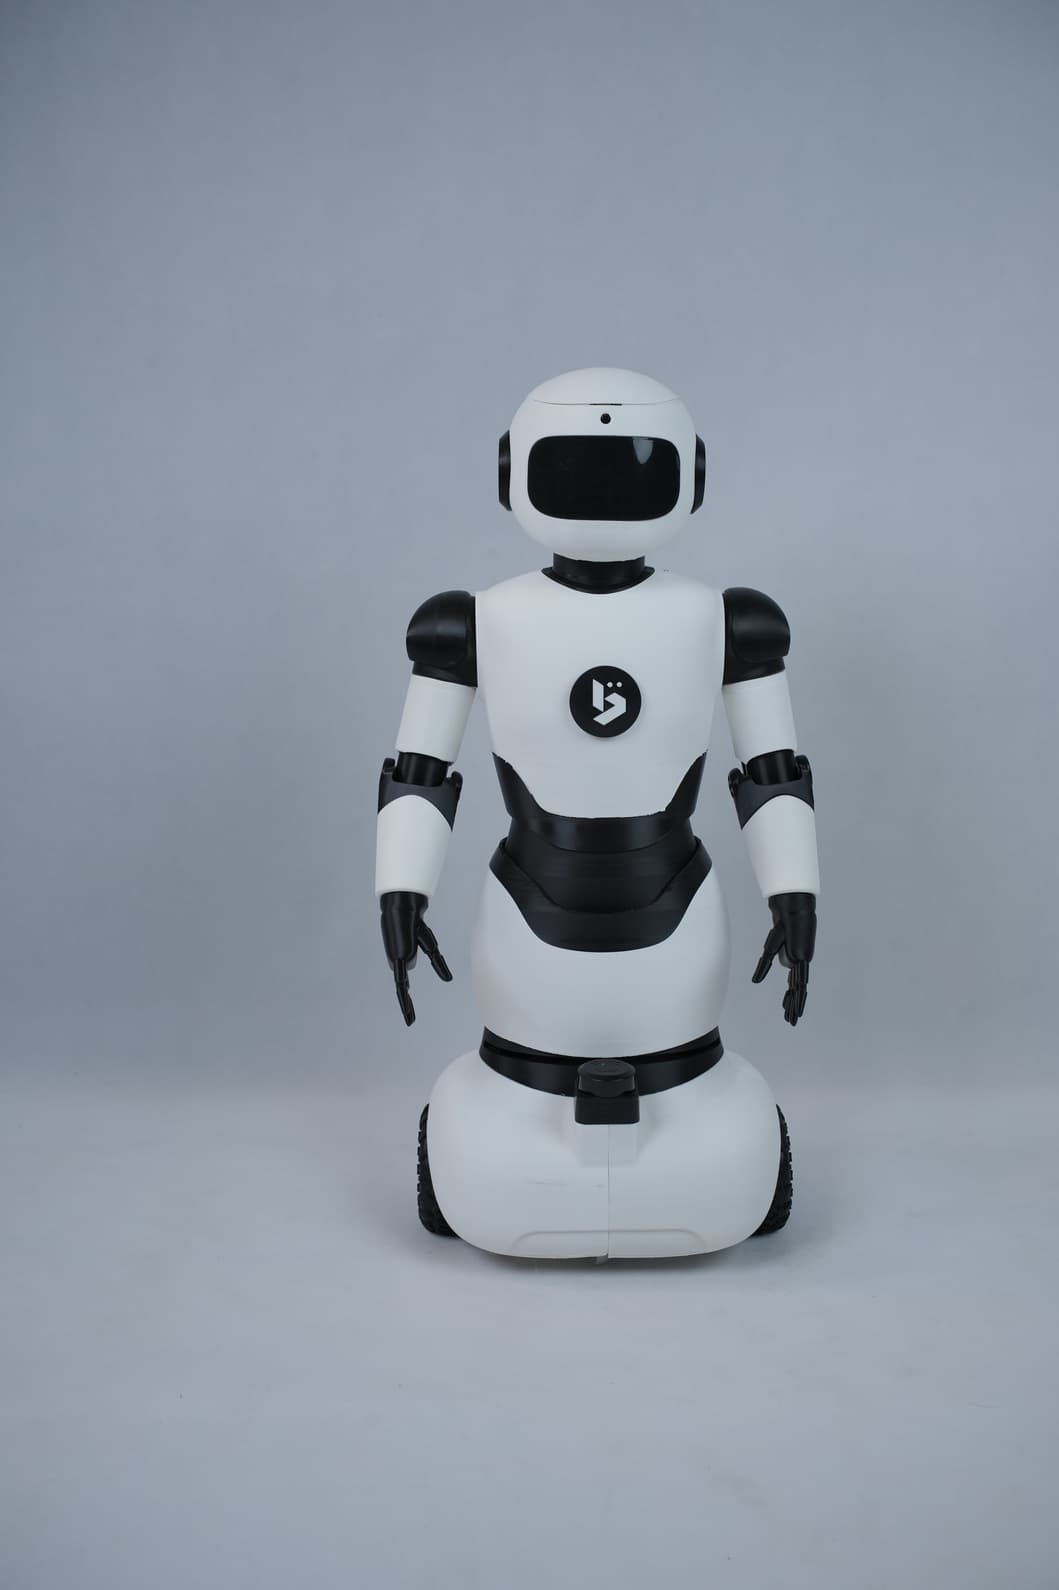
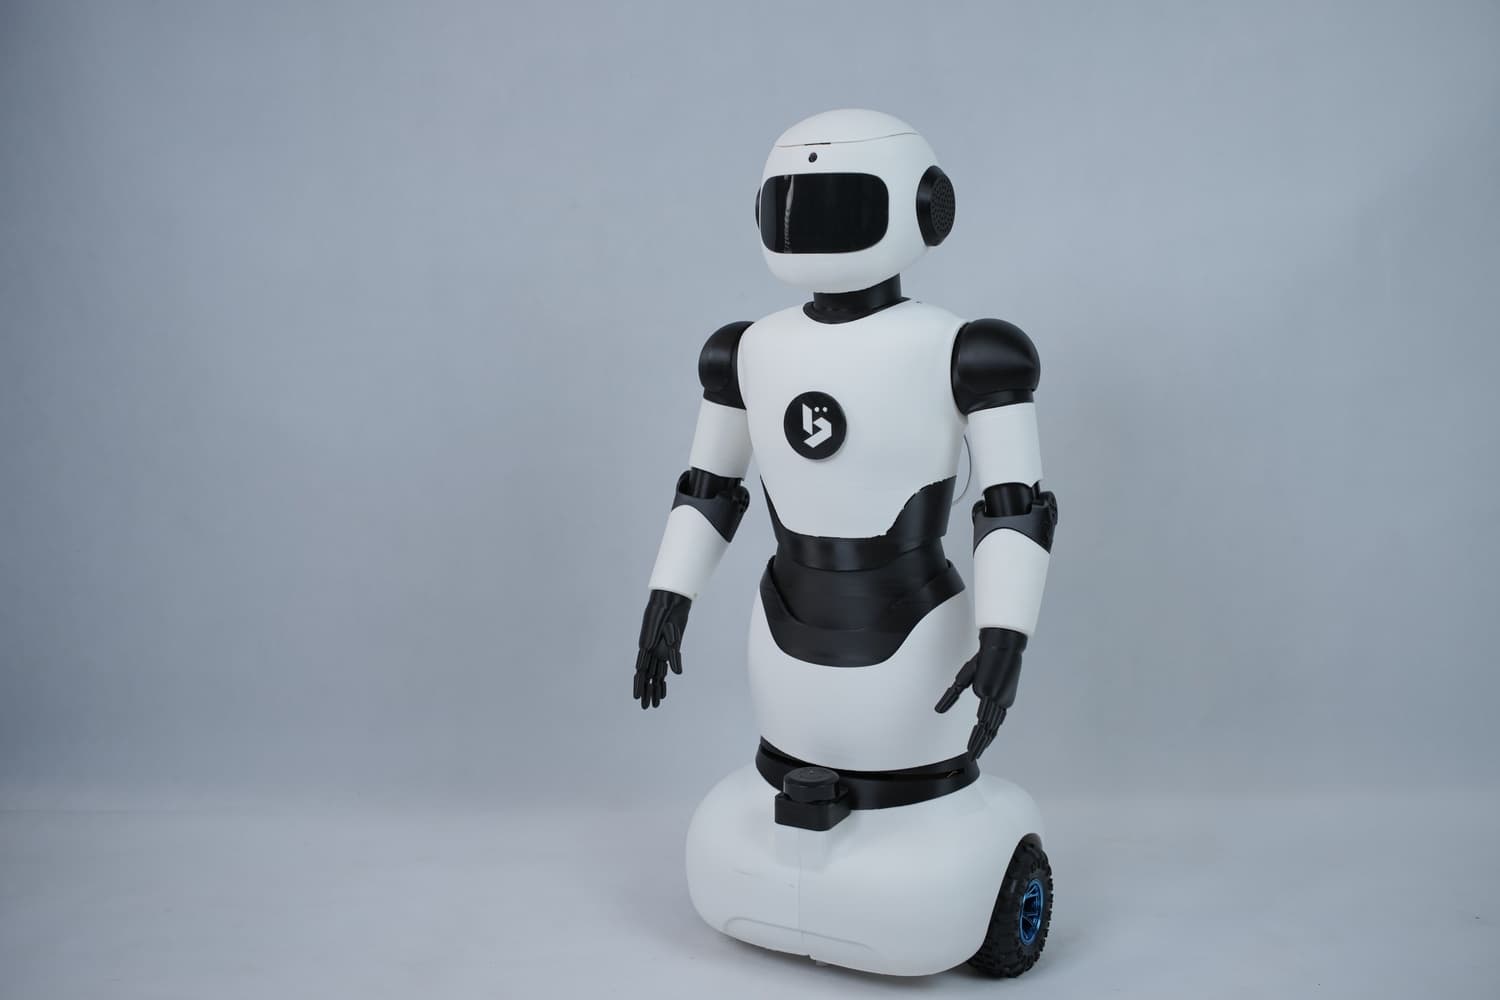
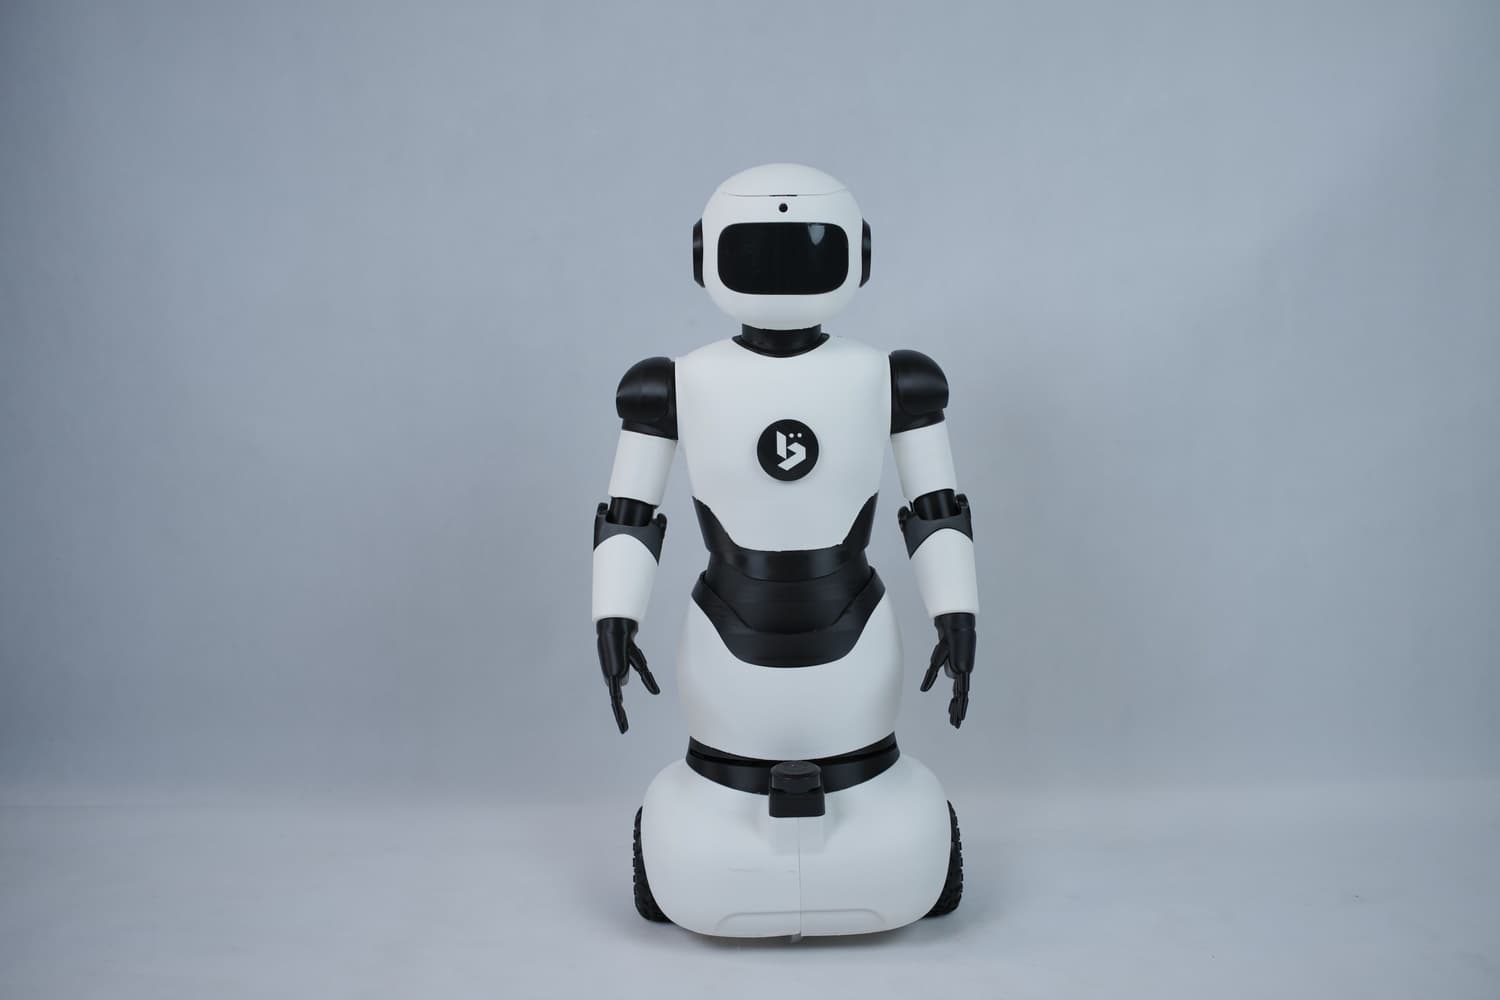
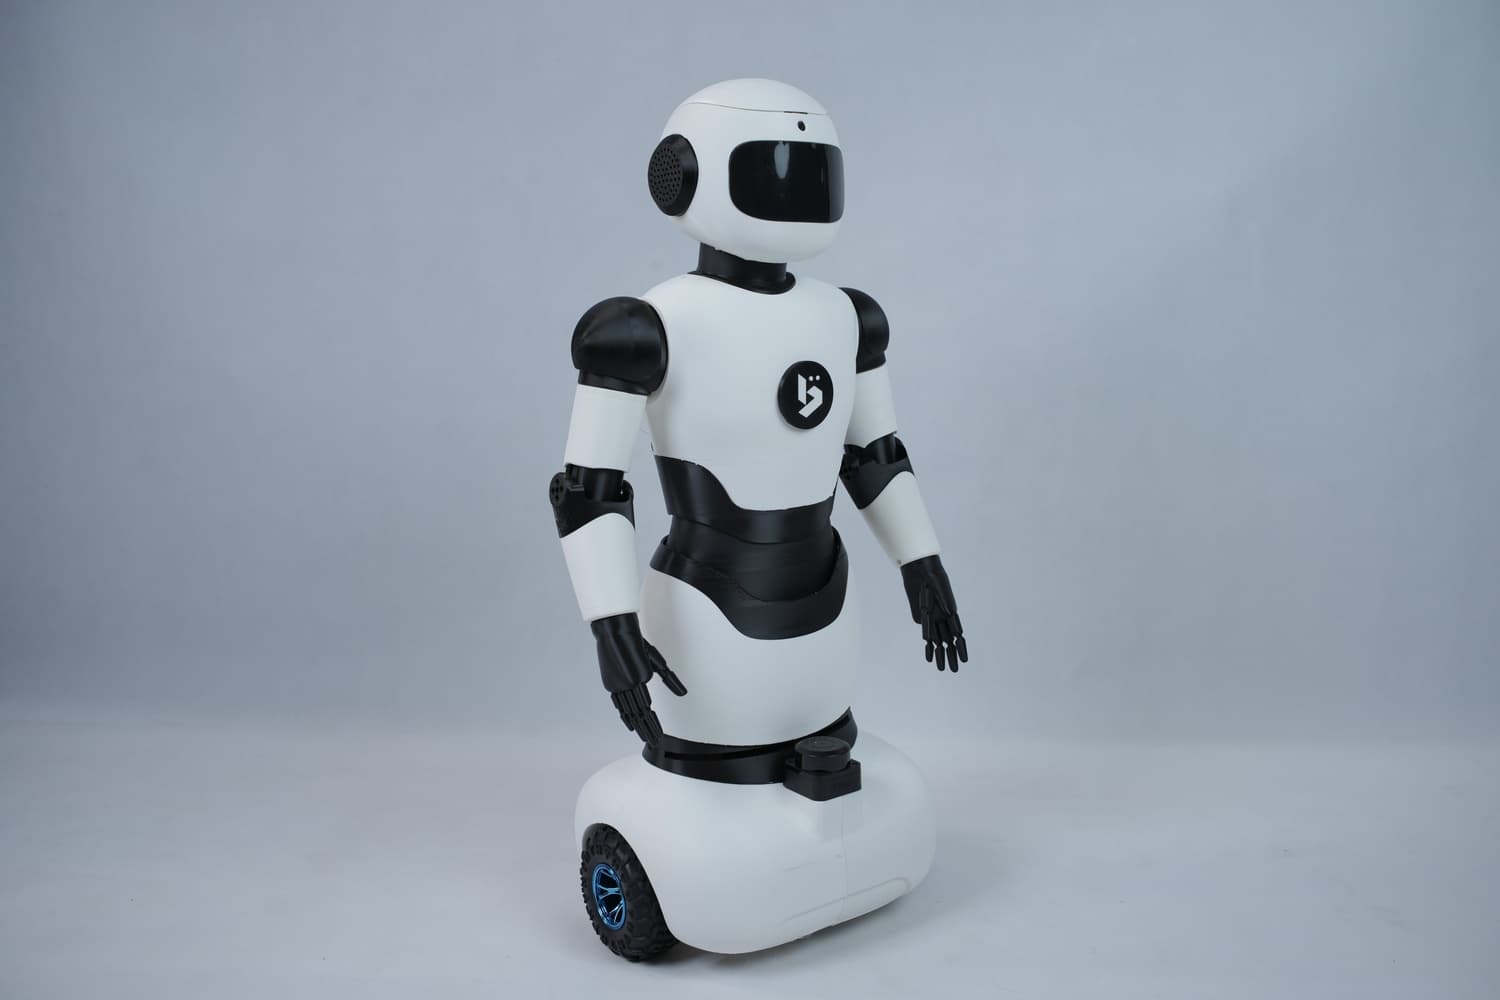
Final Assembly Status
The robot is now fully assembled and ready for use.
Powering On the Robot
-
The switch mounted on the battery holder controls the main power supply of the robot.
- Turning the switch clockwise powers ON the robot.
- Pushing the switch cuts off the power completely.
-
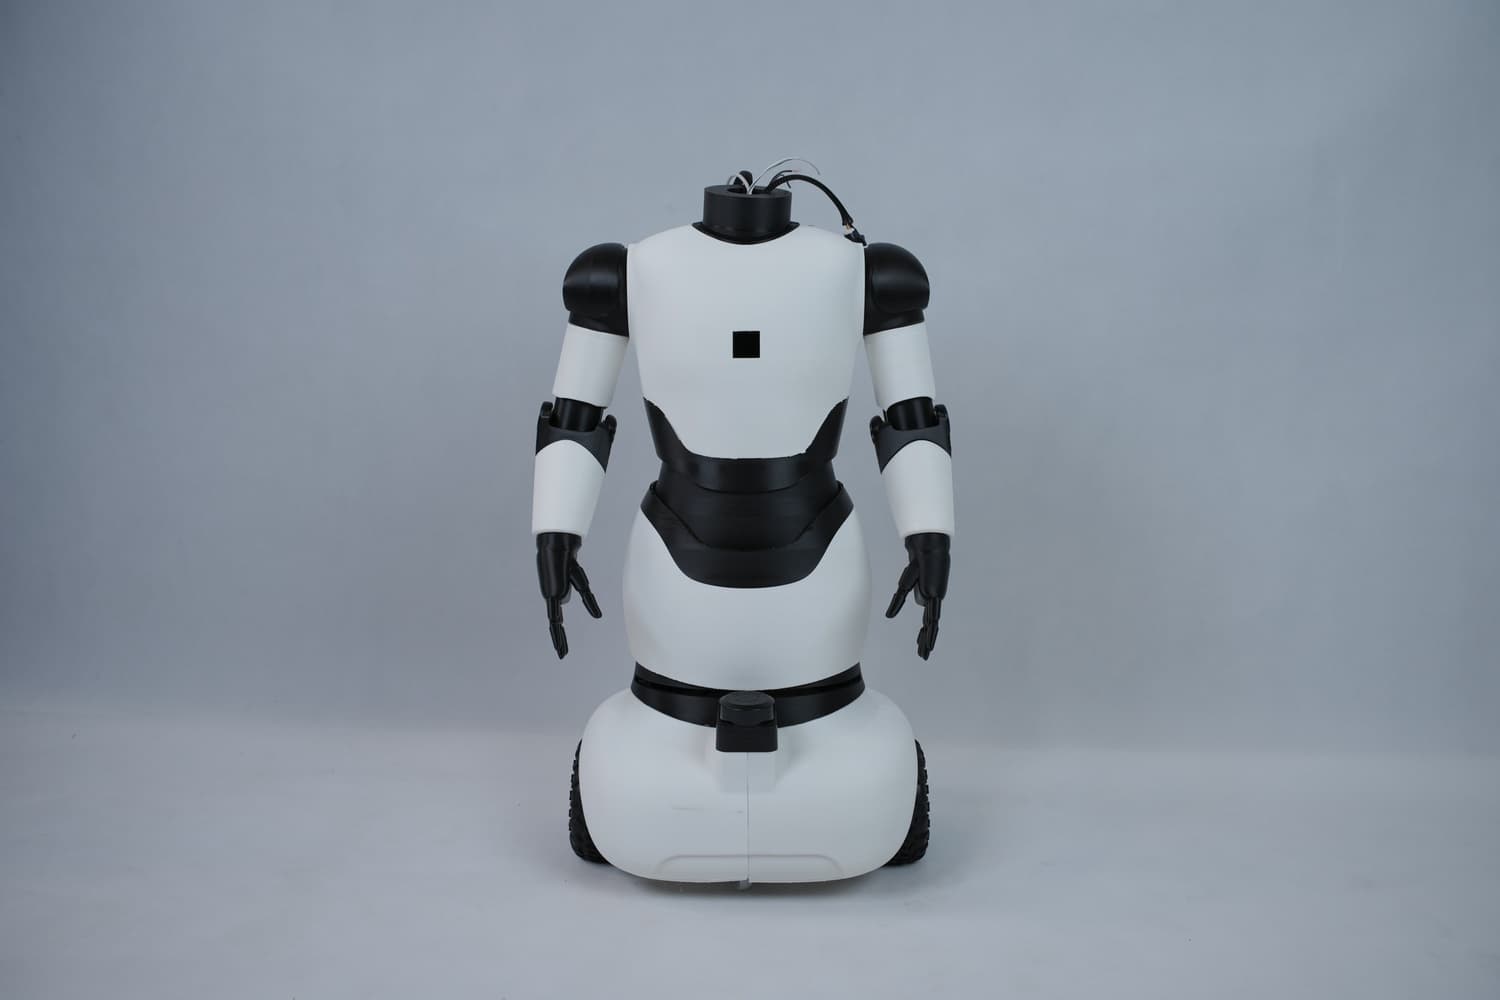
The push button located on the rear side of the upper body supplies power to the internal components:
- Press and hold the button for a few seconds until the green indicator light turns on.
- The LED display matrix will light up, indicating that the robot is ready to operate.
- Press and hold the button again until the green light turns off to shut down the components.
Note: The switch on the battery holder functions as an emergency (kill) switch and should be used to immediately cut power in case of any malfunction.
Last updated on