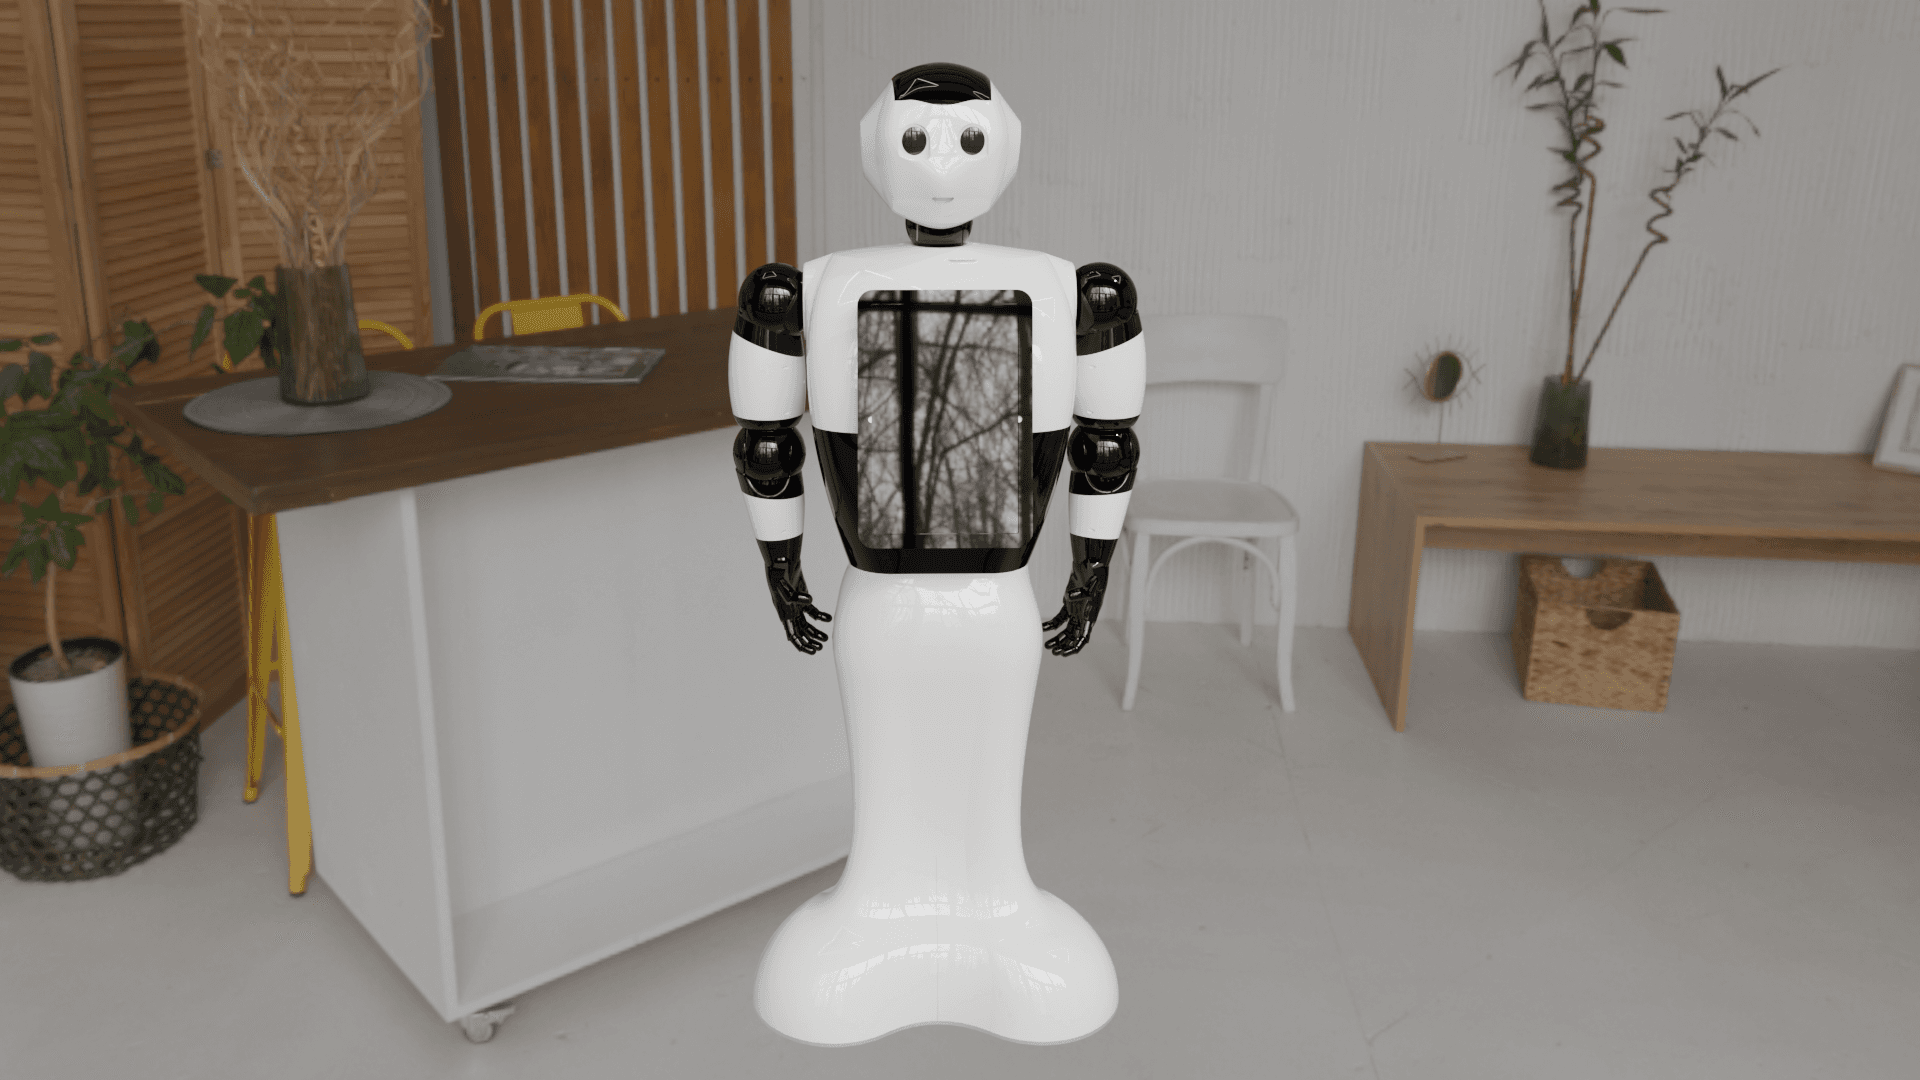
BonicBot S1 Setup and Developer Integration Guide
Welcome to the BonicBot S1 Setup Guide.
This document will help you set up your BonicBot S1 for the first time, connect it with the mobile app, explore its key modes, and enable developer options like WebSocket for Python SDK control.
1. Getting Started
Before interacting with your BonicBot S1, follow these setup steps carefully to create an account and connect your bot.
Step 1: Create a Bonic.ai Account
To start, you’ll need a Bonic.ai account linked with your bot.
- Go to Bonic.ai.
- Click Sign Up and enter your email and password or google sign in.
- Once registered, you can request admin@autobonics.com to get your robot linked to your account.
⚙️ The same email ID will be used later in the BonicBot mobile app for login.
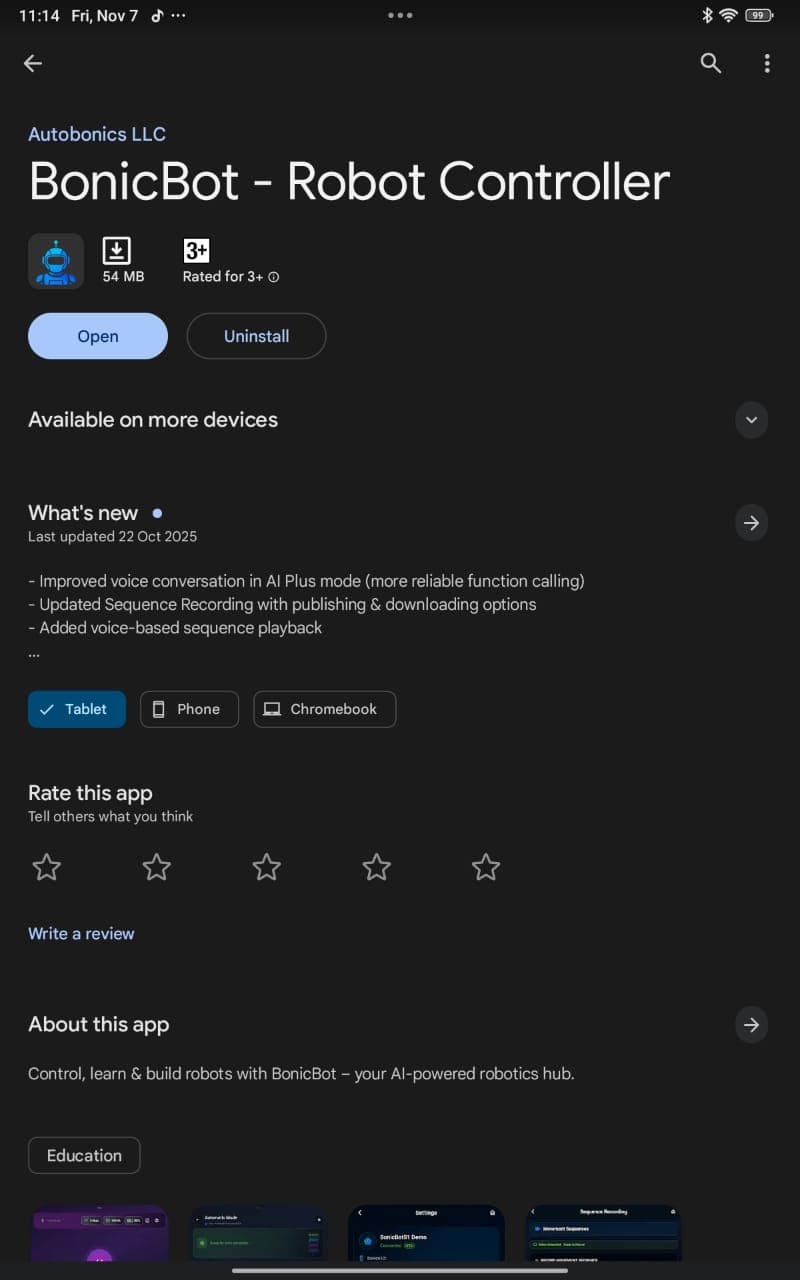
Step 2: Install the BonicBot Mobile Application
-
Open the Google Play Store on your Android device.
-
Search for “BonicBot” and tap Install.
-
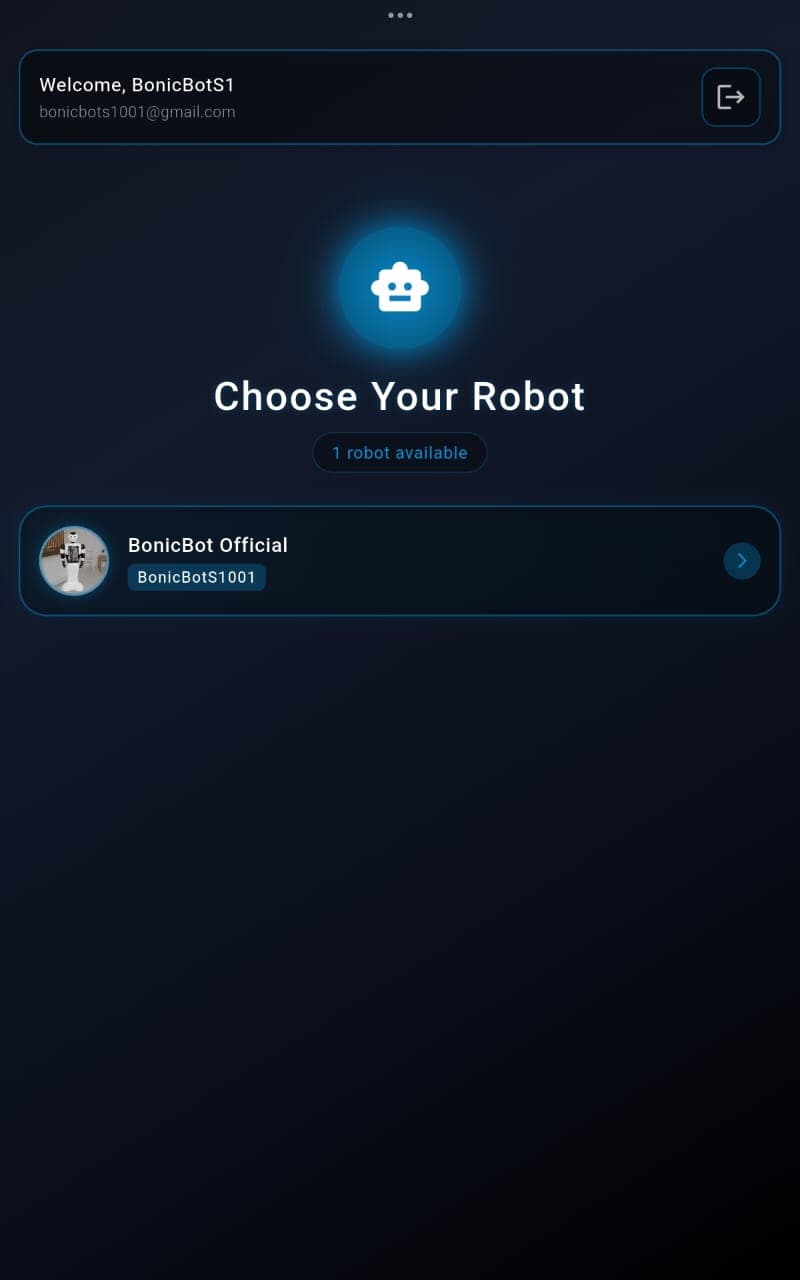
After installation, open the app and log in using the same email ID you used to sign up on Bonic.ai.
-
Once logged in, you’ll see the Robot Selection page where you can choose your BonicBot S1 to proceed with setup.
-
Then, you’ll be taken to the main interface of the app, where you can explore different control options and settings.
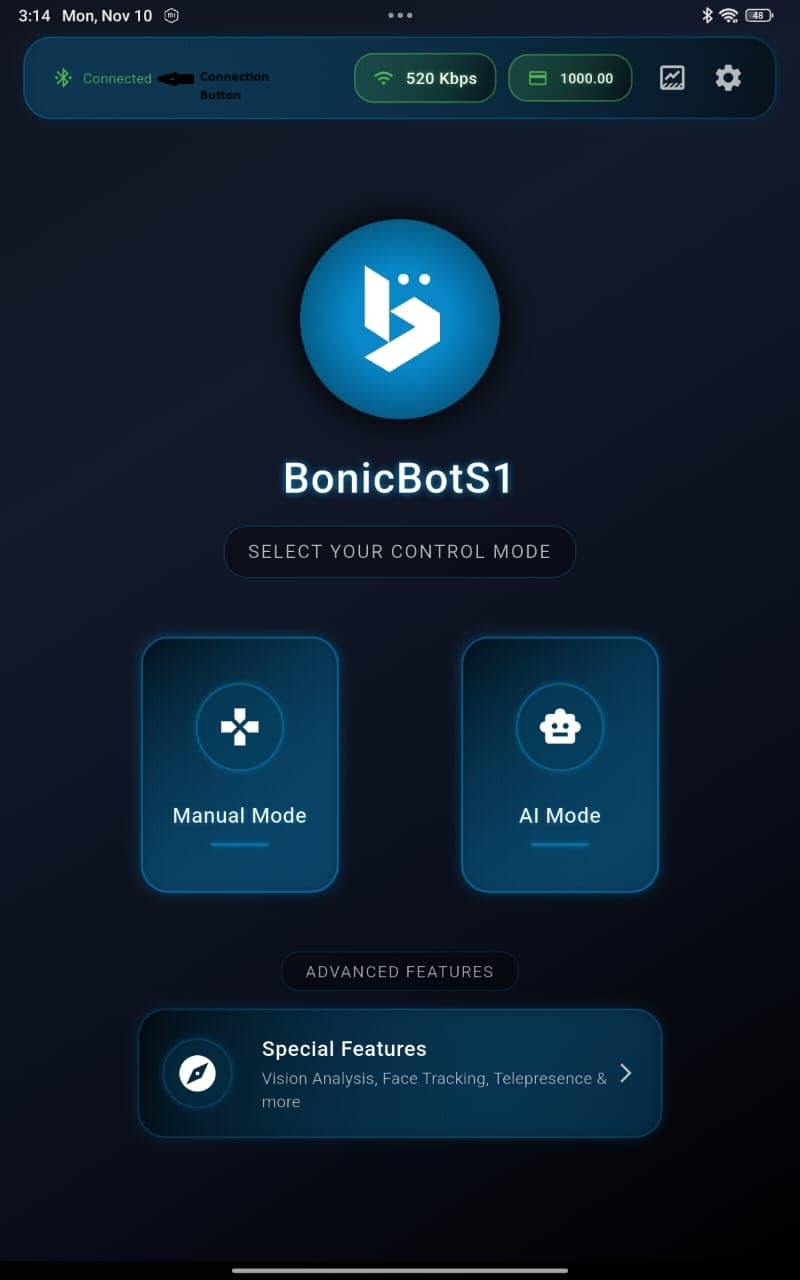
The app provides access to:
- Bot Connection options
- Manual Control Interface
- AI Mode
- Settings and Developer Mode
Step 3: Connect the Bot to the App
Now, it’s time to link your phone with BonicBot S1.
- Ensure your BonicBot S1 is powered on.
- Turn on Bluetooth on your smartphone.
- In the app, tap the Connection section and pair your device with the bot.
2. Exploring BonicBot S1 Modes
BonicBot S1 offers two main operating modes, each designed for different kinds of interactions and learning experiences.
###. Manual Mode
- Allows users to manually control the bot’s movements, gestures, and actions directly from the app.
- Provides full control over head, arm, and wheel movements through an intuitive interface.
This mode is great for:
- Classroom demonstrations
- Hands-on learning sessions
- Basic robotic control experiments
💡 Use this mode to understand the robot’s movement structure and servo responses before switching to AI mode.
🤖 AI Mode
AI Mode allows the bot to function autonomously and interact using speech and perception.
In this mode, the bot can:
- Respond to voice commands and questions
- Perform actions automatically (like moving or waving)
- Speak using built-in Text-to-Speech
- Use vision-based recognition (if enabled)
You can switch to AI Mode by tapping AI Mode in the app.
The bot will greet you and start listening for input.
🗣 Try saying, “Hello Bonic!” or “Wave your hand!” to see it respond.
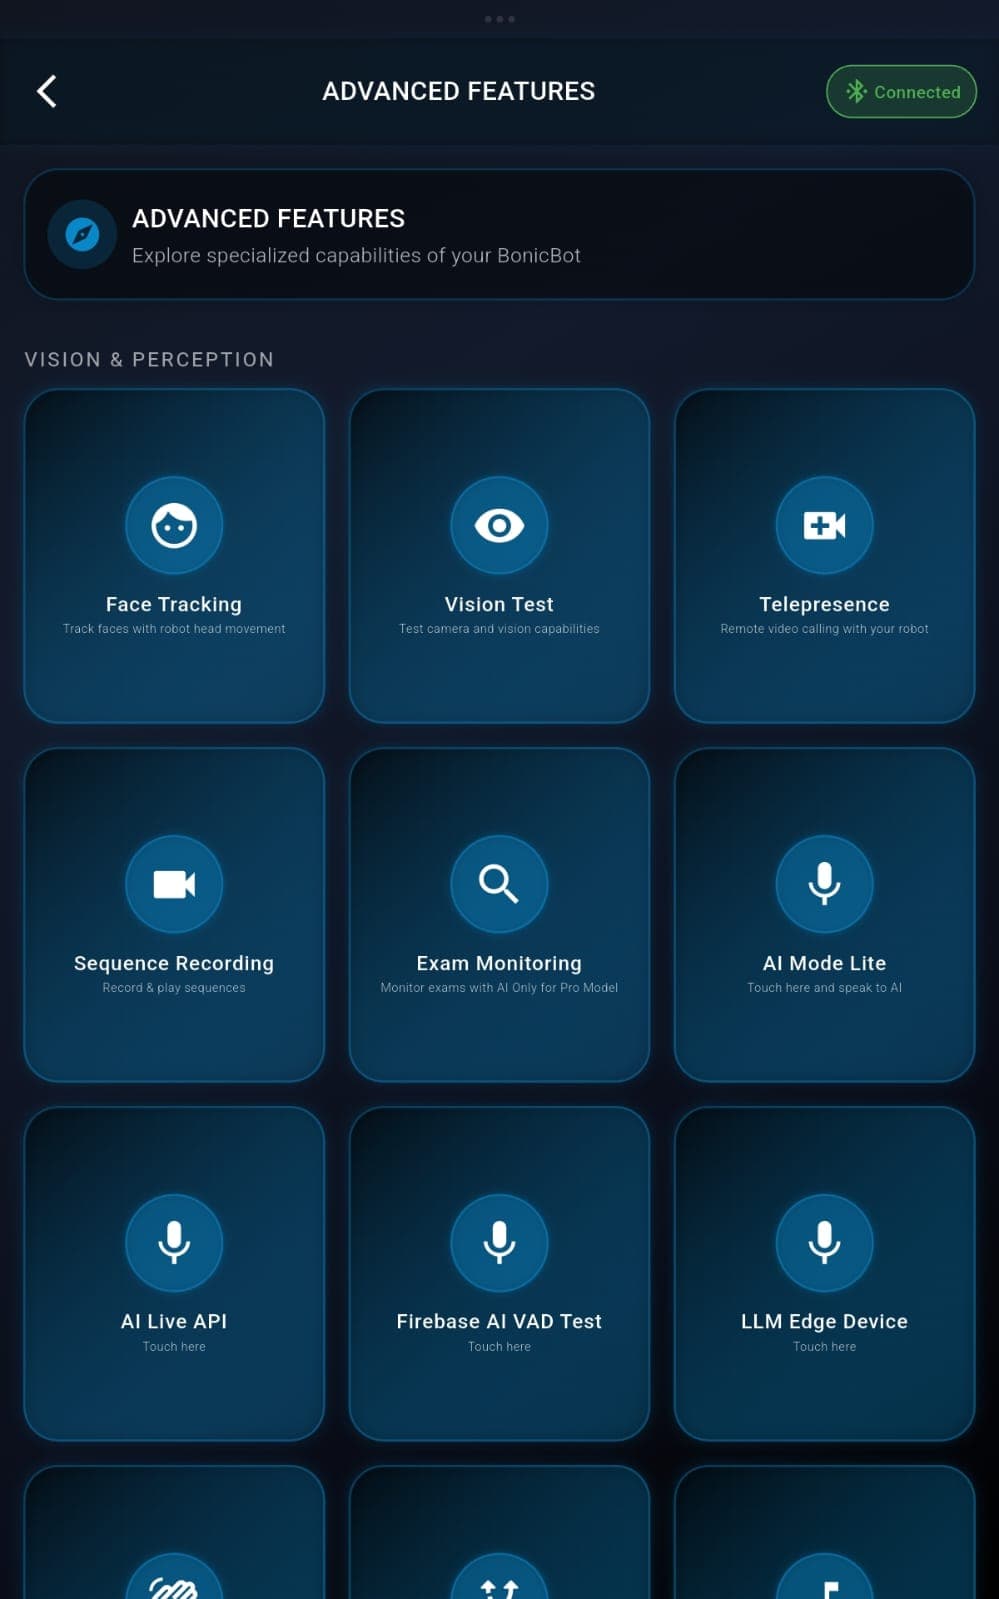
3. Accessing Special Features
The BonicBot app includes a Special Features section, where you can explore the features. To explore:
-
Tap on the Specail Features tab.
-
Browse through available options and activate the ones you want.
3.1 Sequence Recording & Playback
This feature lets you record a series of movements and save them as custom sequences for playback later.
It’s perfect for creating repeatable demonstrations, personalized gestures, or teaching behaviors to the robot.
- Tap Sequence Recording in the app.
- In the Record Movement Sequence screen, type your Sequence Name and Description — these help you identify and manage your custom sequences later.
- Tap Start Recording and perform the desired movements using the control sliders or buttons.
- Once finished, tap Save to store the sequence.
Recommended sequences to create:
talk– used for AI conversation modehandshake– used in AI greeting or introduction modeteach– for demonstration or learning sessions
Sequence recording and playback is also available in Manual Mode for creating custom action sequences. This will be covered in more detail in later sections. You can train the bot to perform specific sequences of movements by recording your manual inputs and saving them for future playback.
The rest of the Special Features can be explored directly within the app — try experimenting with different modes and tools to discover everything BonicBot S1 can do!
4. Developer Mode and WebSocket Integration
For developers who want to integrate BonicBot S1 with their own software, Python scripts, the bot supports WebSocket-based communication through Developer Mode.
Step 1: Enable Developer Mode
- In the BonicBot app, open the Settings page.
- Scroll to the bottom until you find the Developer Mode toggle.
- Enable Developer Mode.
Once enabled, you’ll gain access to advanced developer options such as:
- Console Mode
- Manual Mode (Developer)
- WebSocket Server Controls
⚠️ Use Developer Mode carefully — it gives direct low-level access to the robot’s systems.
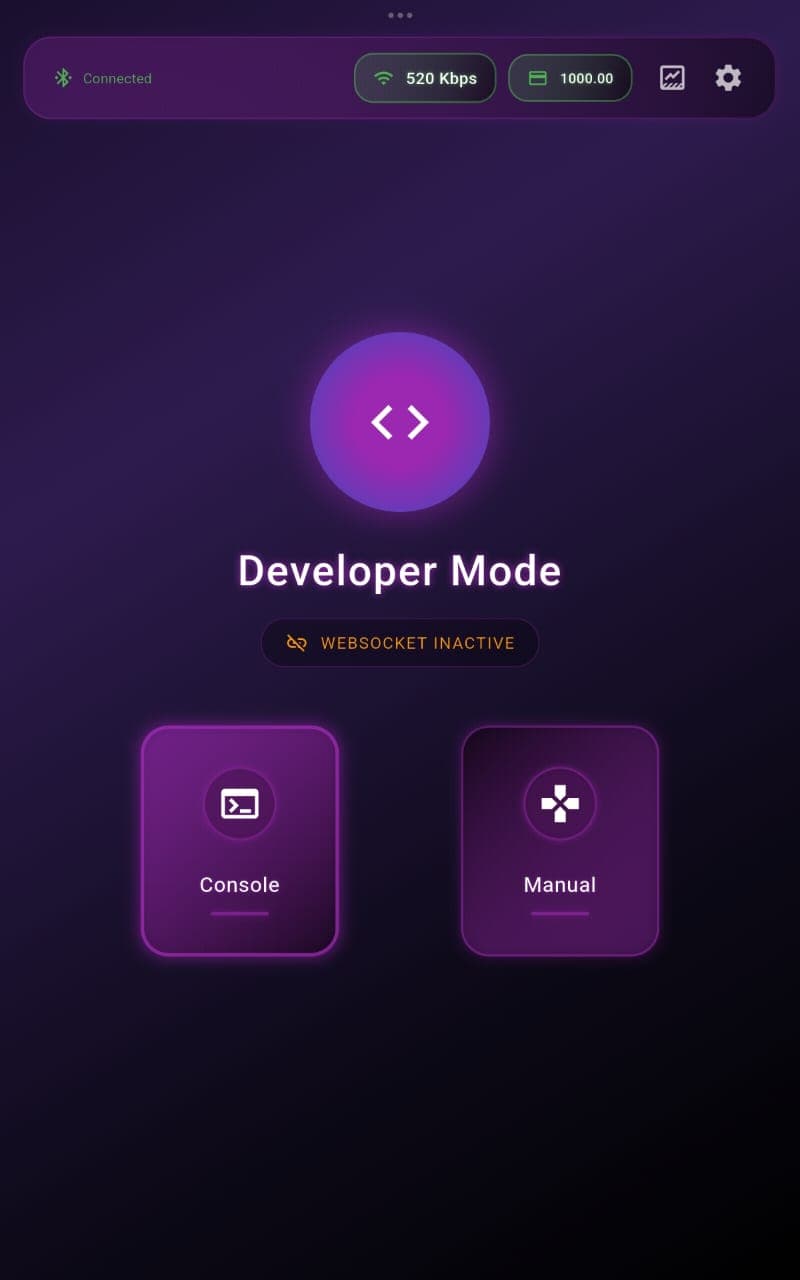
Step 2: Enable WebSocket Server
- In Developer Mode, select Console Mode.
- Enable the WebSocket Server option.
- Once turned on, the app will display your bot’s local IP address (e.g.,
ws://192.168.***.**:8080).
This IP will be used to connect BonicBot S1 with external device.
💡 Make sure your PC or Python device is connected to the same Wi-Fi network as the bot.
Step 3: Connect Using Python SDK
BonicBot S1 supports integration with the Python SDK, allowing you to send commands, receive sensor data, and control movement in real-time.
Go to the sdk integration for detailed instructions on installation and usage.