Administrator Guide
1. Administrator Login
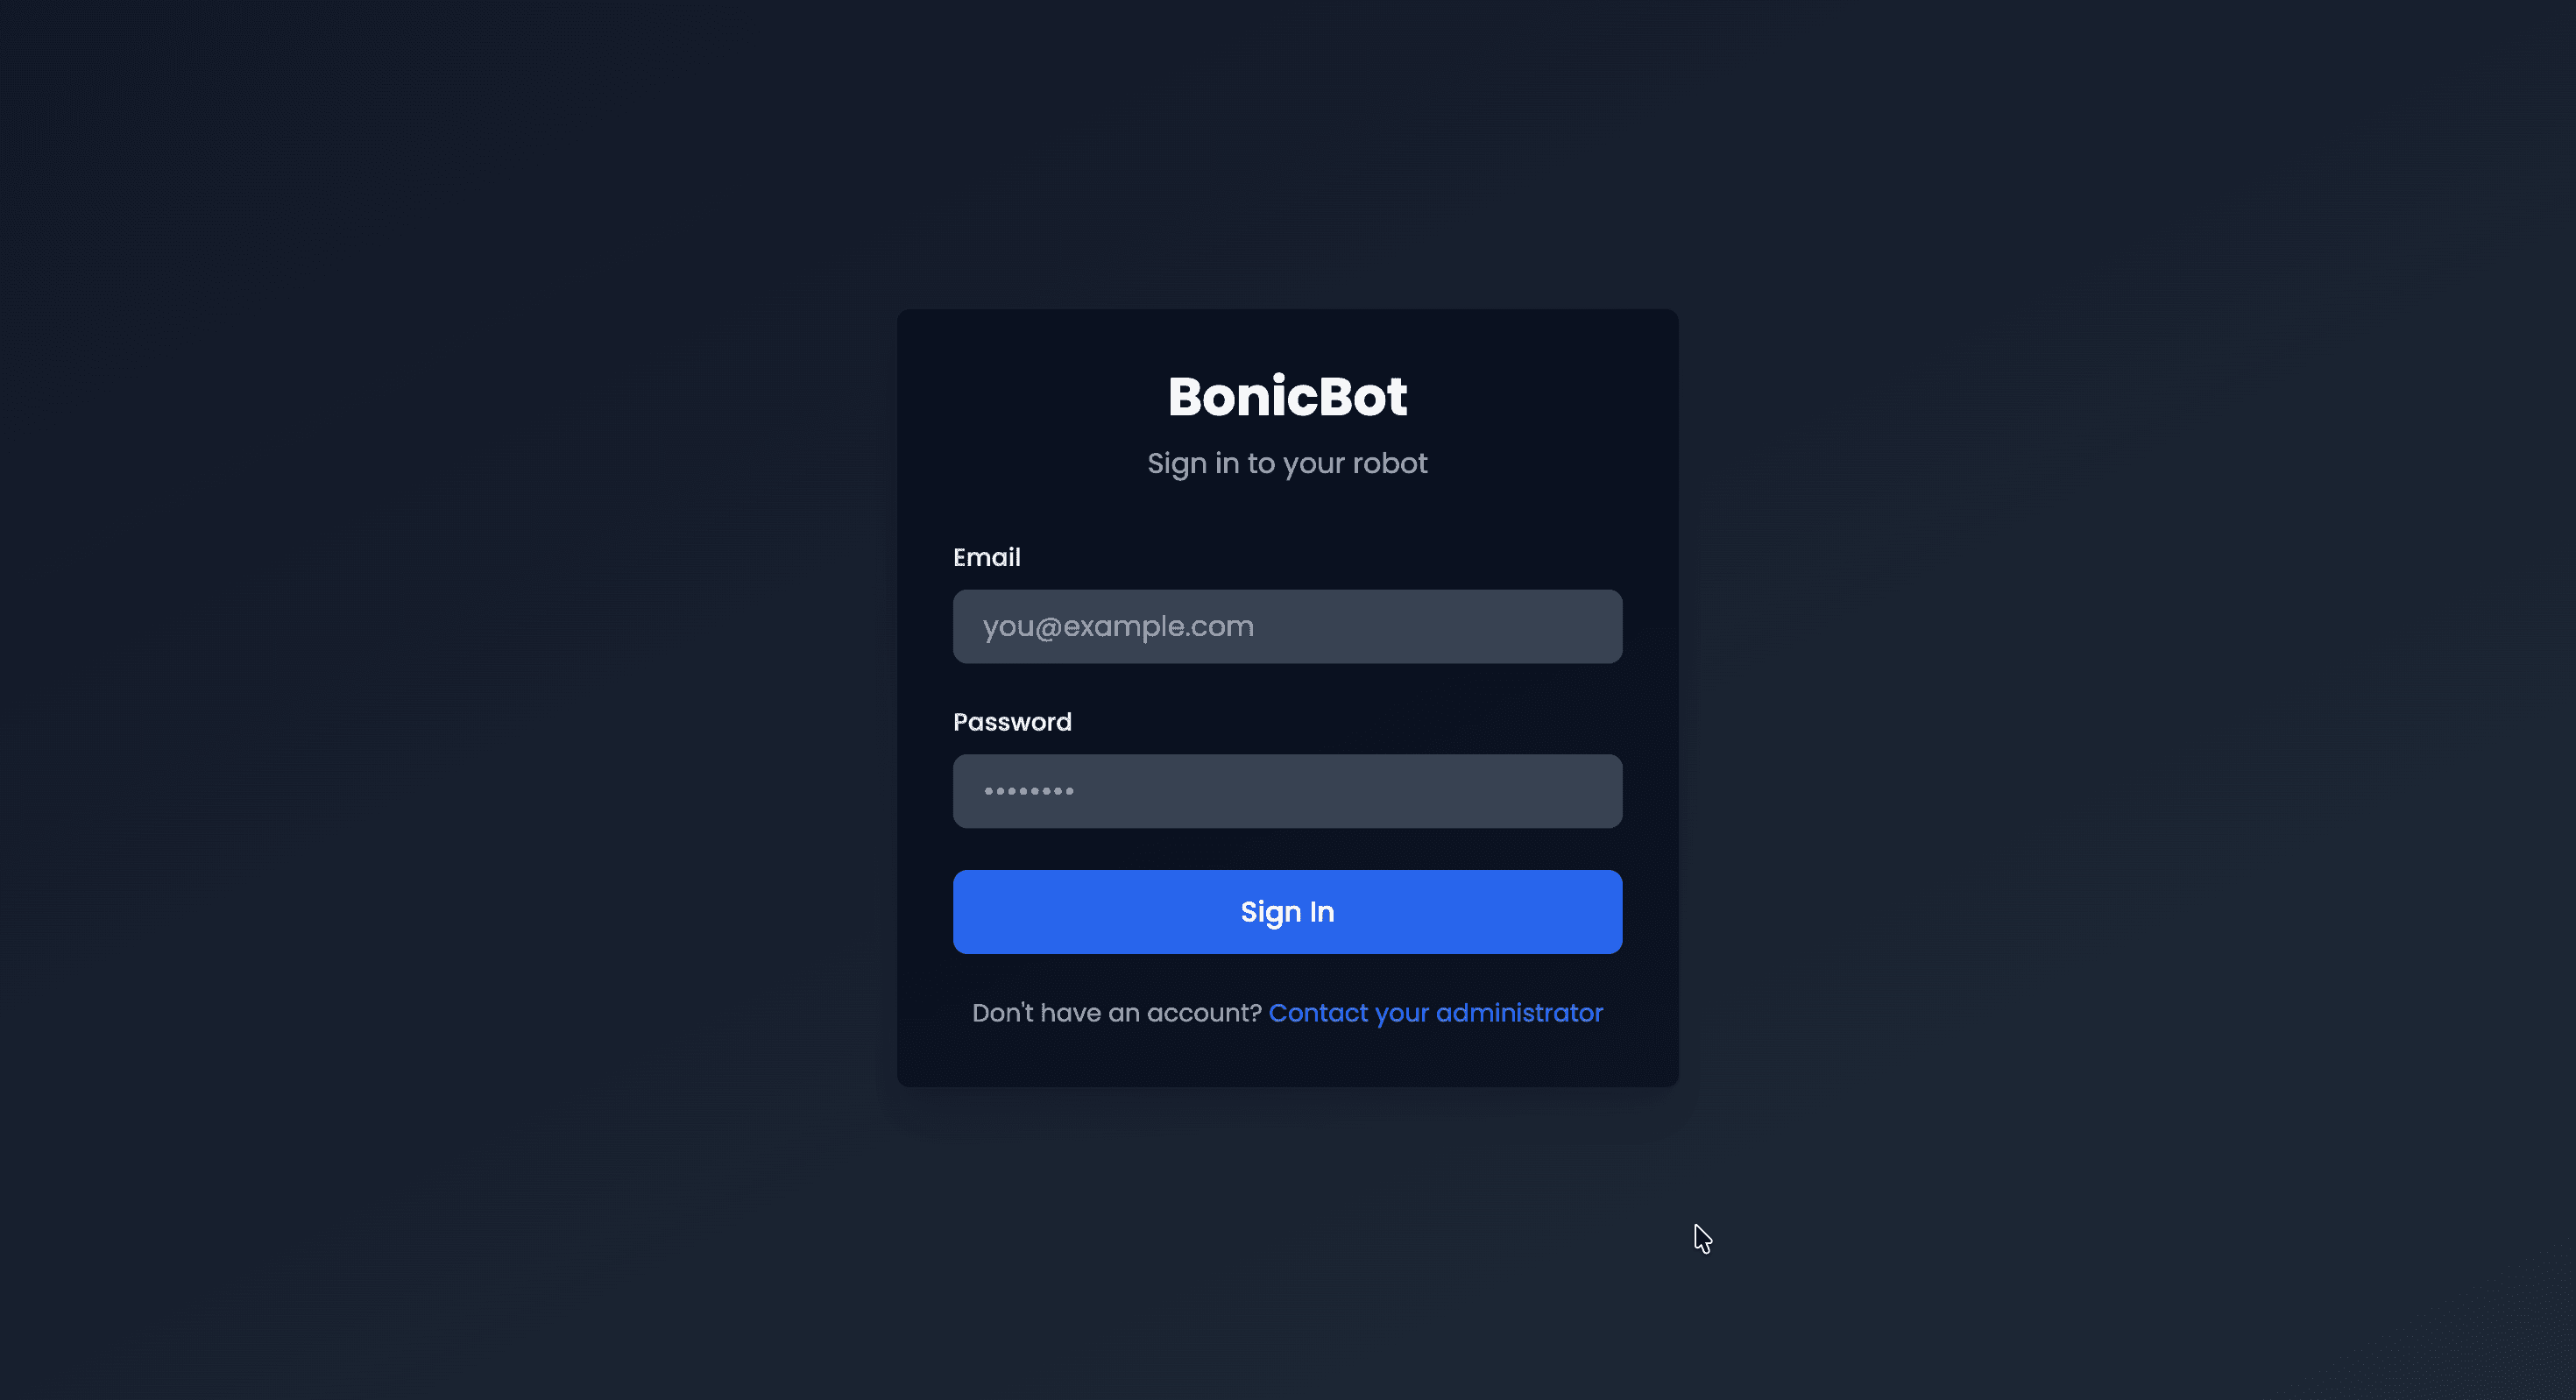
The Administrator Login page allows authorized users to access the Admin Dashboard.
1.1 Steps
- Enter the registered administrator Email.
- Enter the corresponding Password.
- Click Sign In.
Upon successful authentication, the system redirects to the Admin Dashboard.
2. Dashboard
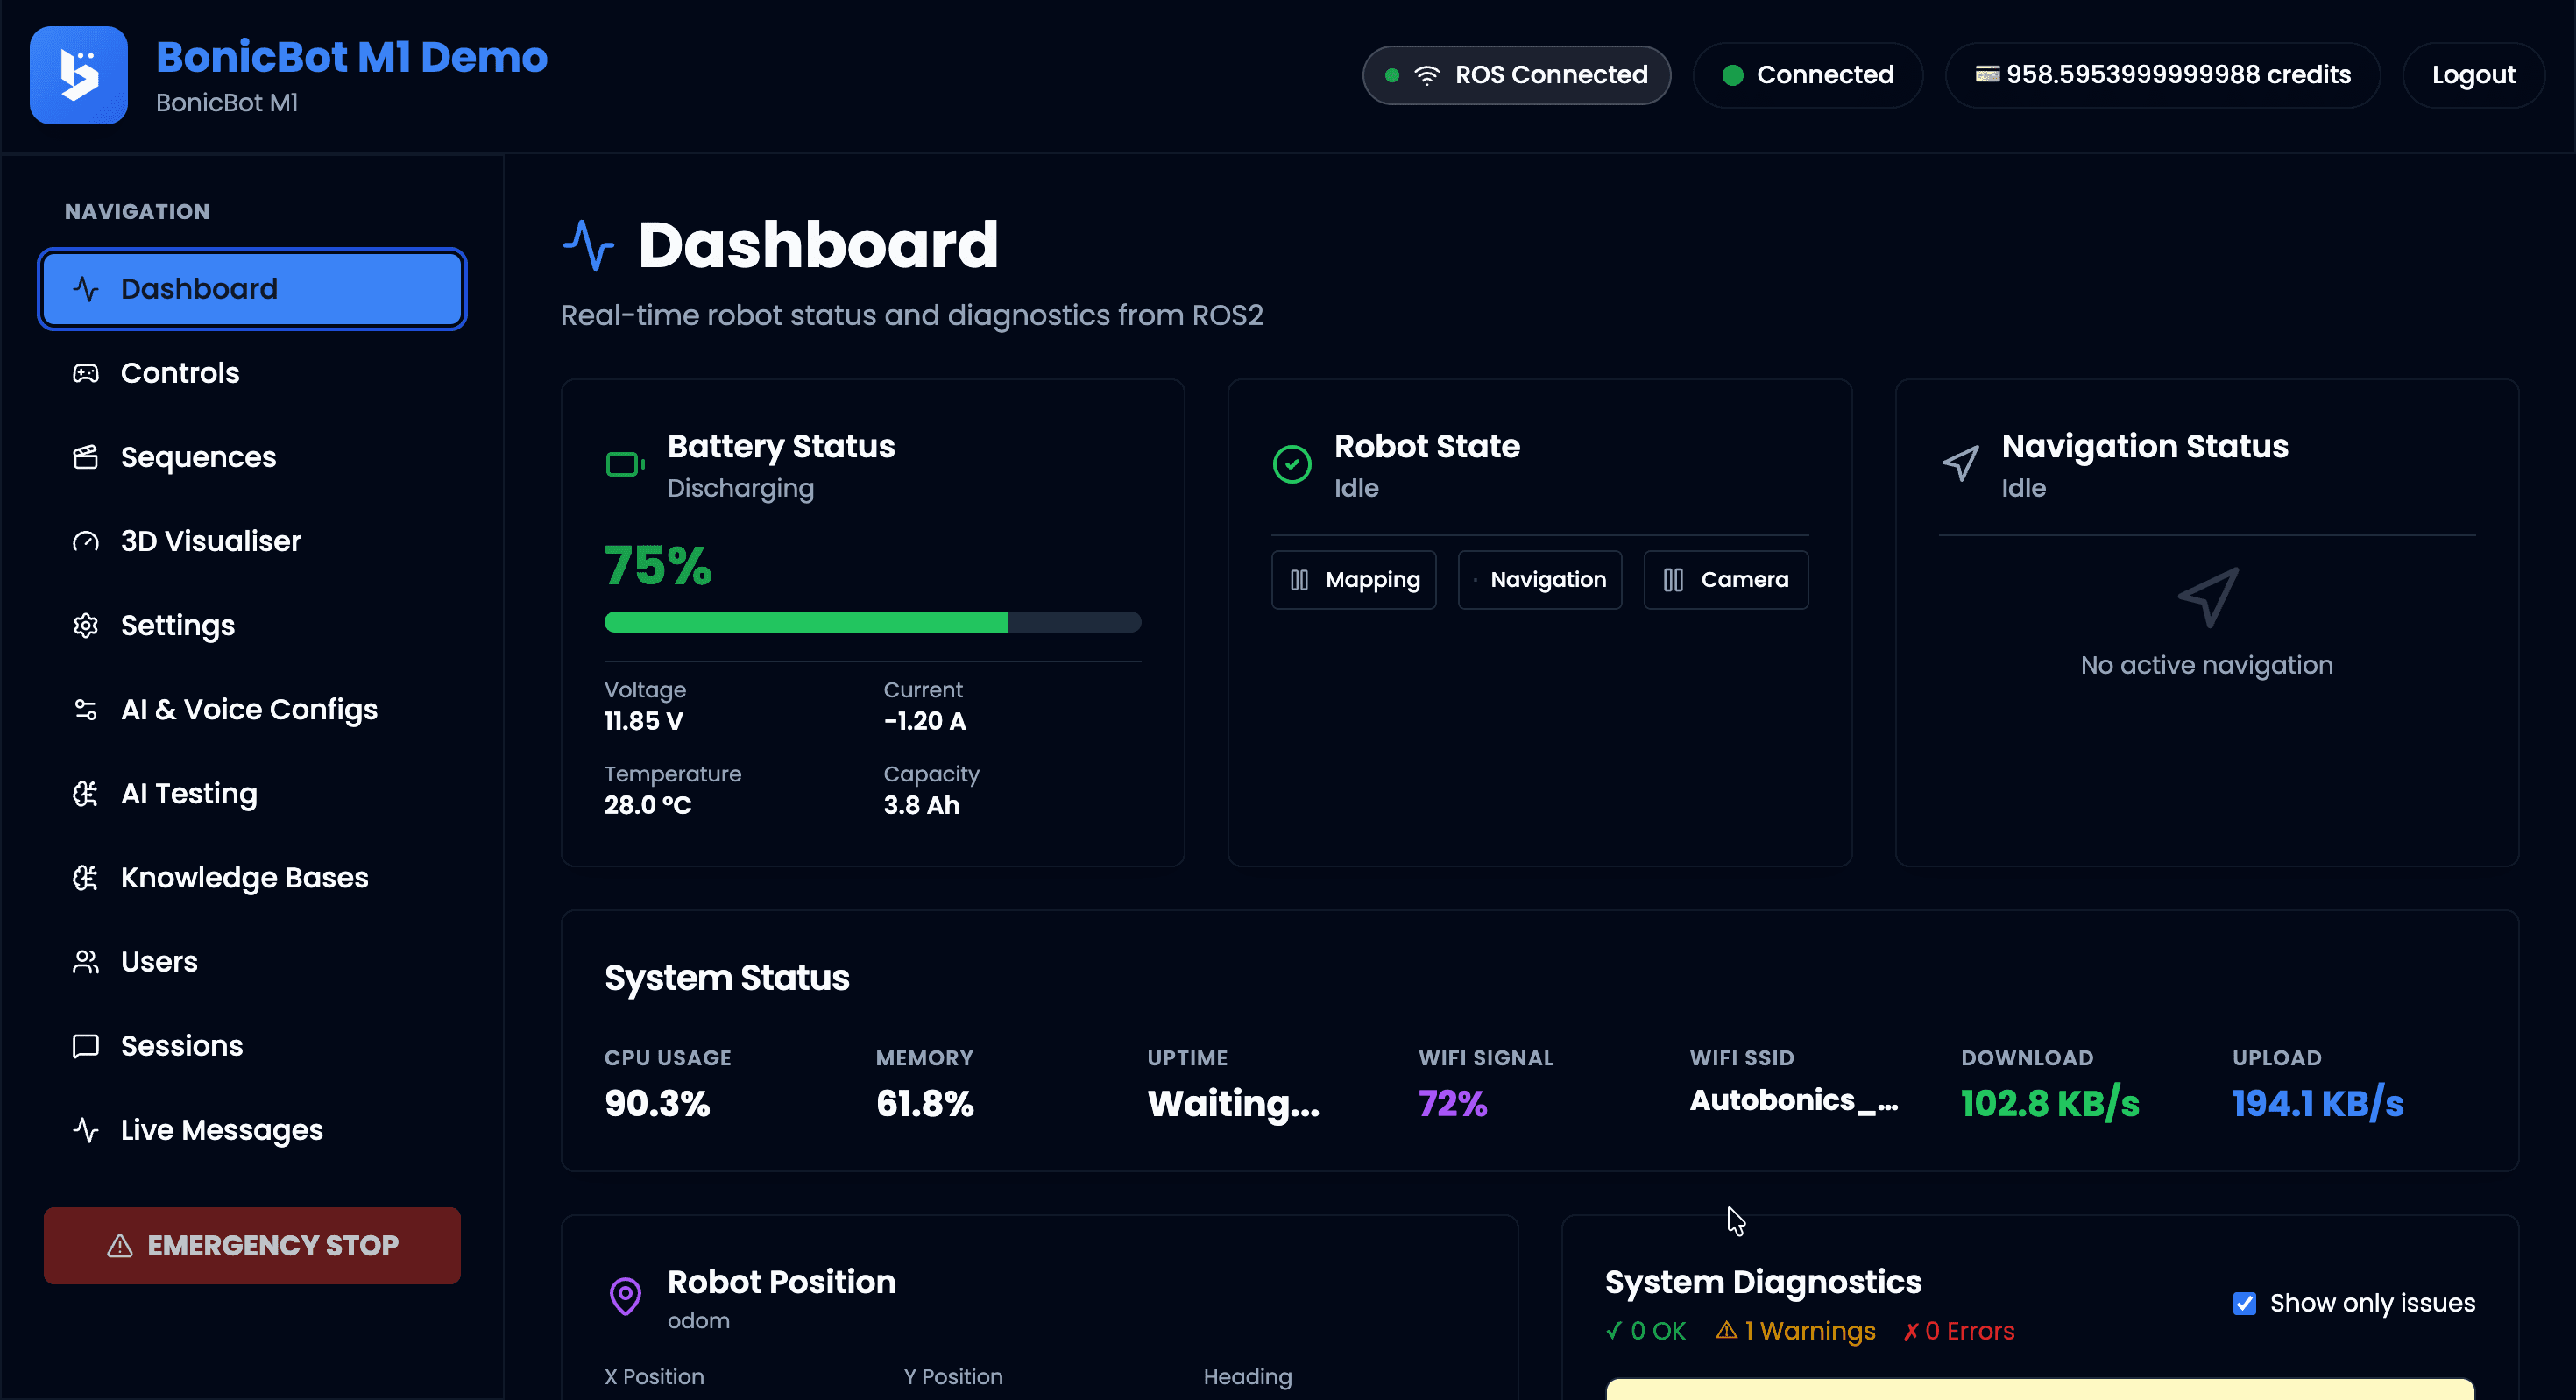
The Dashboard provides real-time robot status, system diagnostics, and ROS2 monitoring information.
2.1 Top Status Bar
Displays global system indicators:
- ROS Status – Shows whether ROS2 is connected.
- Network Status – Indicates system connectivity.
- Available Credits – Displays remaining AI usage credits.
- Logout – Ends the administrator session.
2.2 Battery Status
Displays current battery information:
- Battery percentage
- Voltage
- Current
- Temperature
- Capacity
2.3 Robot State
Shows the current operational mode:
- Idle
- Mapping
- Navigation
- Camera
2.4 Navigation Status
Indicates whether active navigation is running.
- Displays current navigation state
- Shows if no navigation is active
2.5 System Status
Displays system resource metrics:
- CPU usage
- Memory usage
- Uptime
- Wi-Fi signal strength
- Connected Wi-Fi SSID
- Network download speed
- Network upload speed
2.6 Robot Position (ROS Data)
Displays live position data from ROS:
- X Position
- Y Position
- Heading
- Linear velocity
- Angular velocity
- Approximate position visualization
2.7 System Diagnostics
Displays system health summary:
- Number of OK checks
- Warnings (if any)
- Errors (if any)
A visual indicator confirms whether the system is operating normally.
3. User Management
The Users module allows administrators to create and manage users who can interact with BonicBot M1.
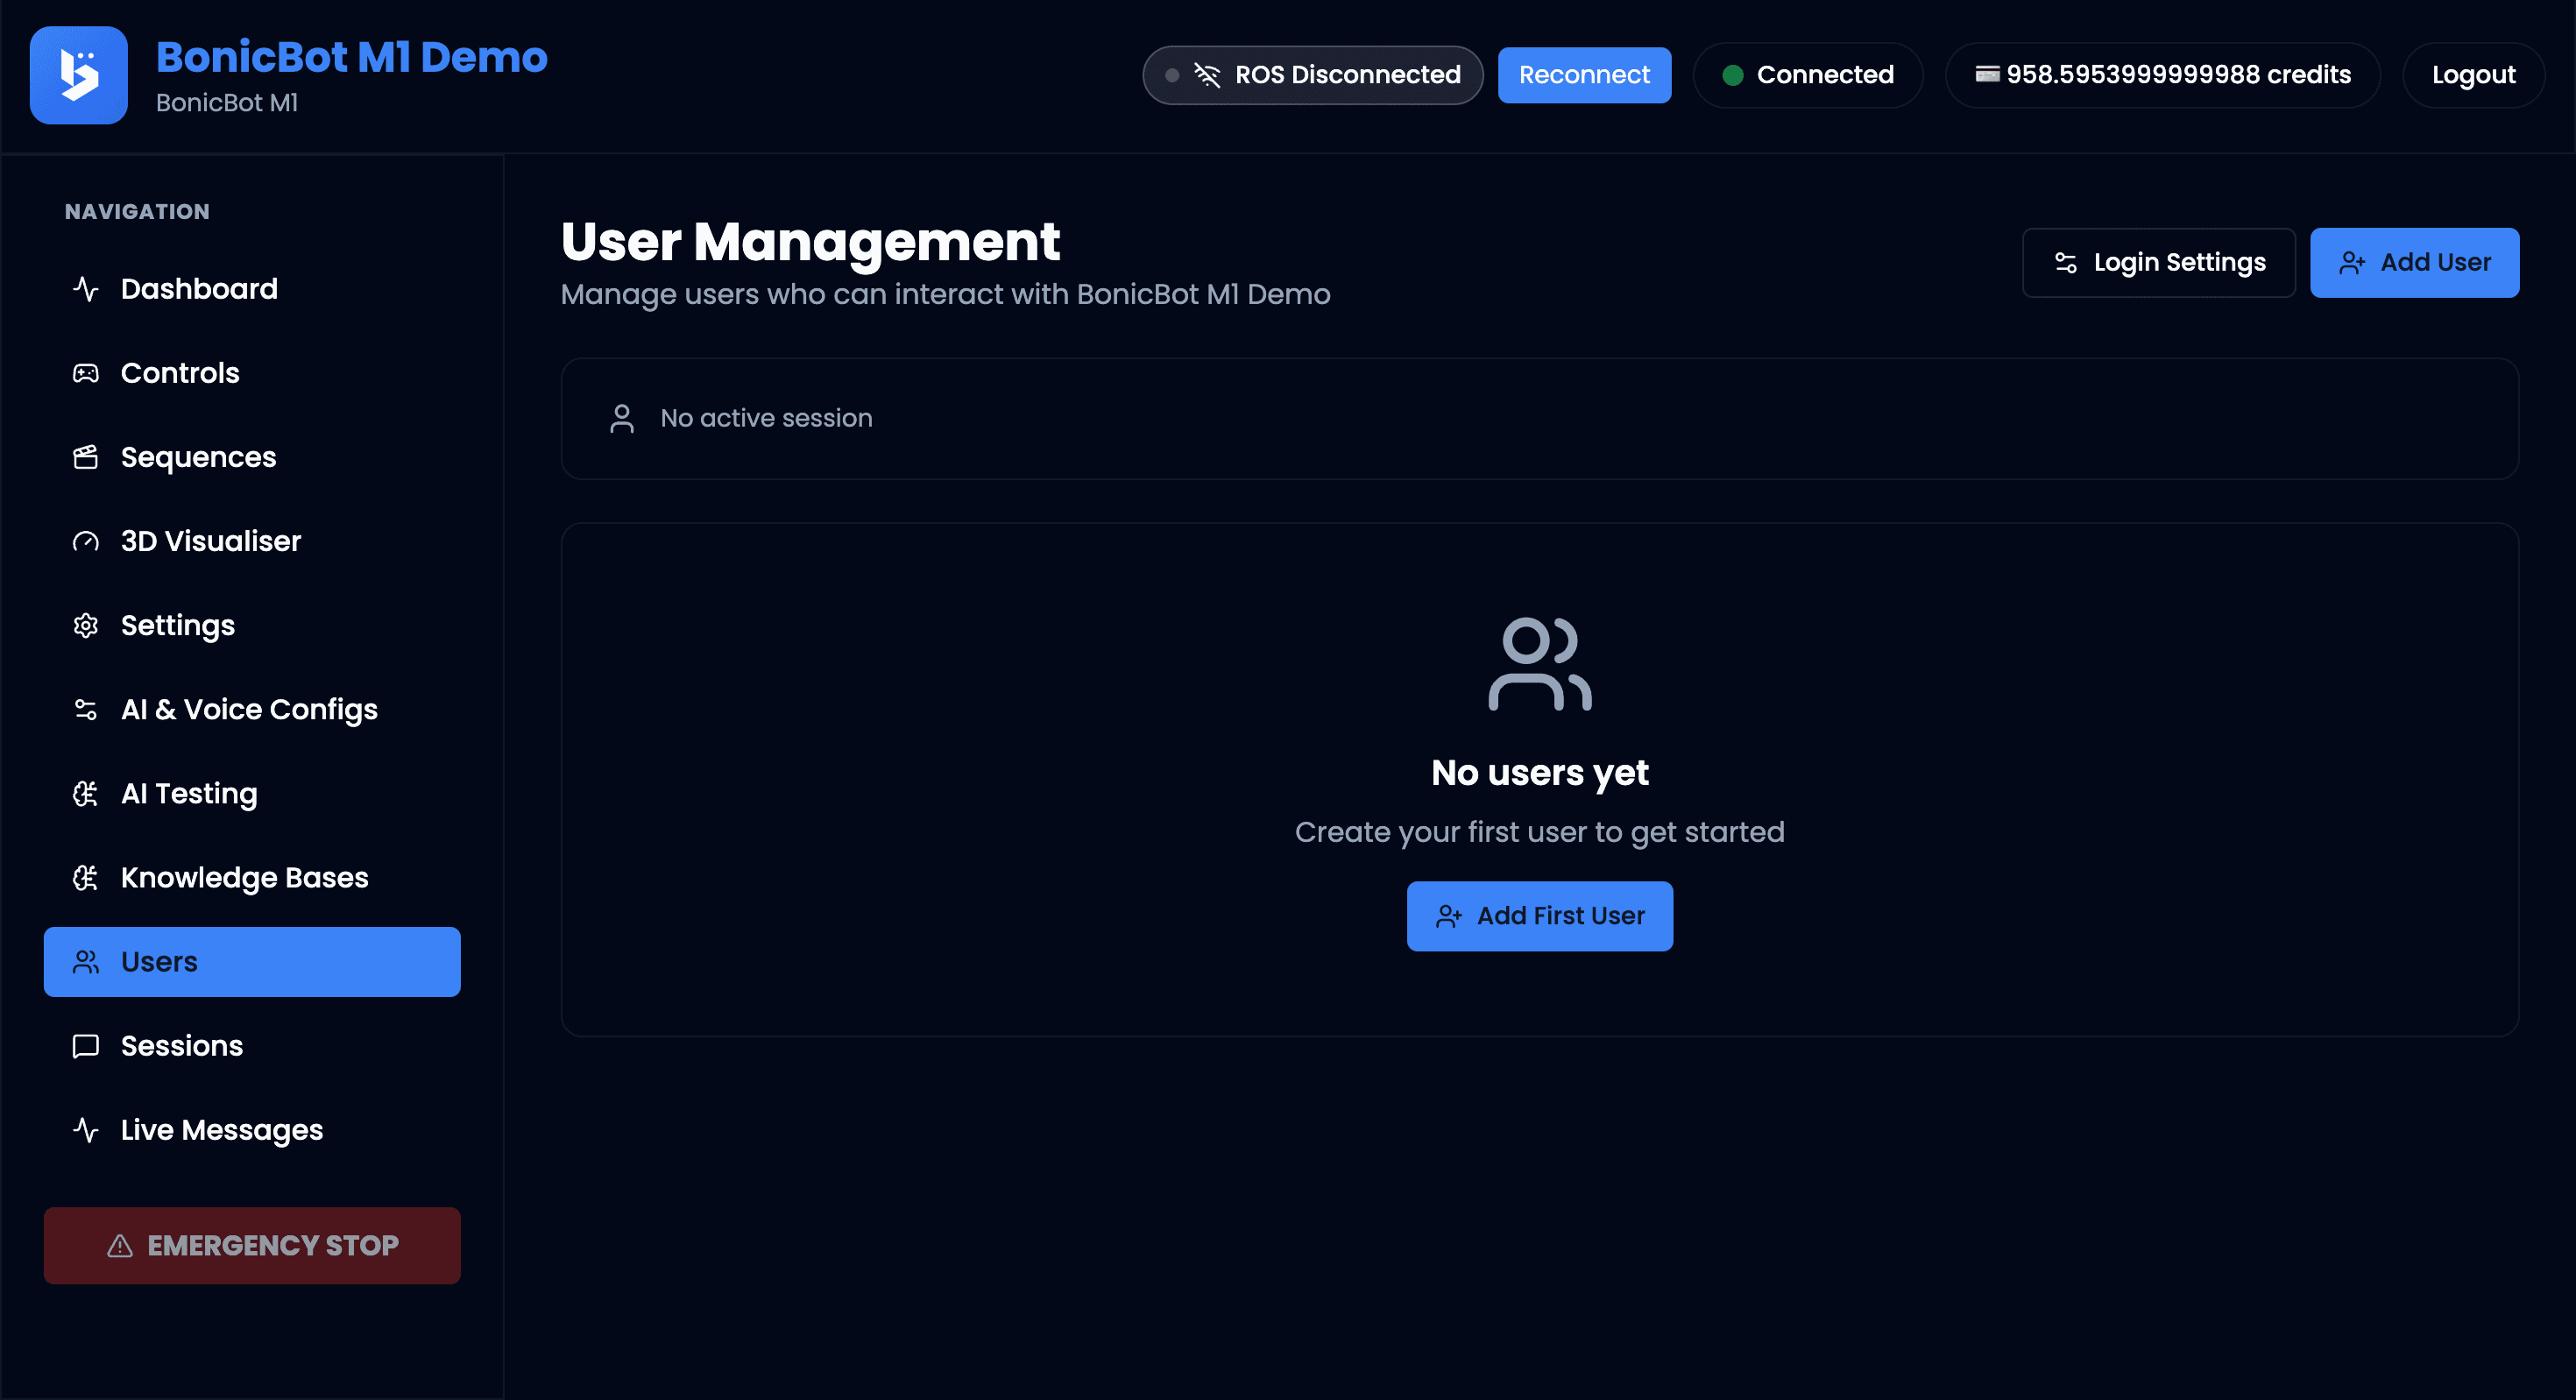
3.1 Add New User
Click Add User to create a new user profile.
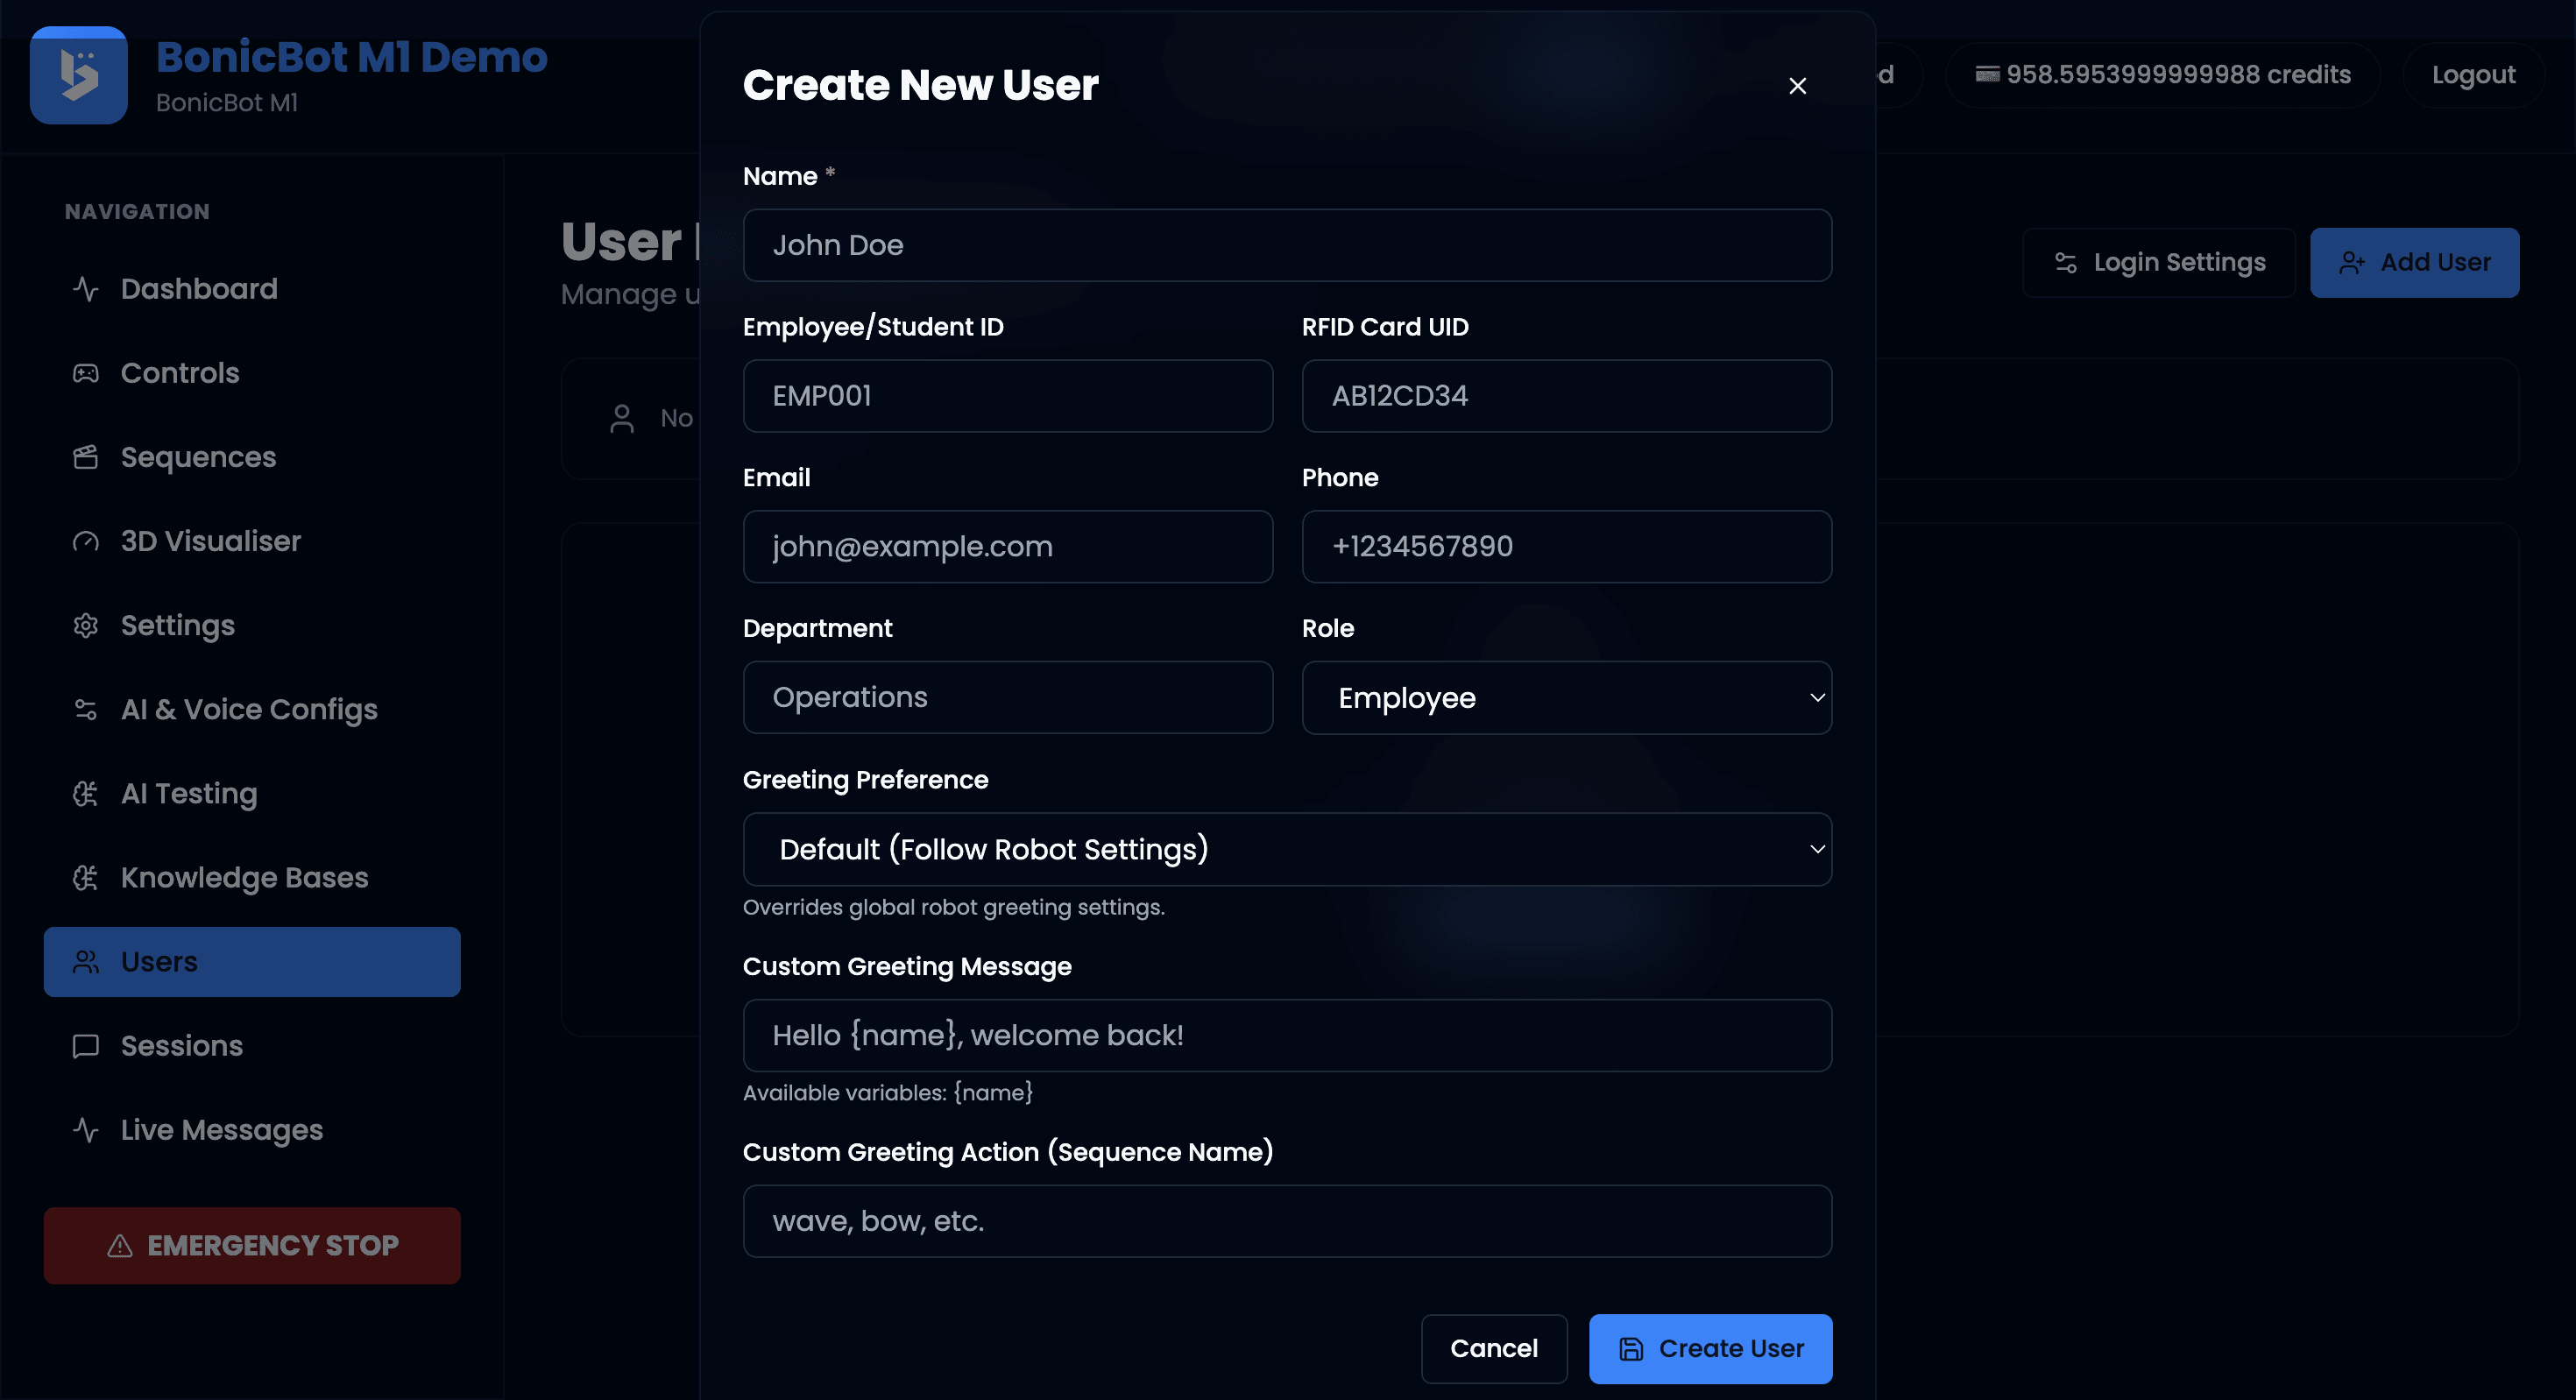
User Information Fields
- Name – User’s display name. (Required)
- Employee/Student ID – Unique internal identifier.
- RFID Card UID – Required for RFID-based login.
- Email – Optional contact information.
- Phone – Optional contact number.
- Department – Organizational grouping.
Role
Defines the user category and access level.
Example:
- Employee
- Student
- Visitor
The selected role may affect system permissions and future feature access.
Greeting Preference
Controls whether and how the robot greets the user.
Available options:
-
Default (Follow Robot Settings)
Uses the global greeting configuration defined in robot settings. -
Always Greet (Force Enable)
The robot will greet this user regardless of global greeting settings. -
Never Greet (Force Disable)
The robot will not greet this user, even if global greeting is enabled.
Selecting either force option overrides the global robot configuration.
Custom Greeting Message
Define a personalized greeting message for the user.
Example:
Hello {name}, welcome back!
Available Variables
{name}– Automatically replaced with the user’s name during greeting.
Example Output:
Hello Natasha, welcome back!
Custom Greeting Action (Sequence Name)
Specify a predefined robot sequence to execute during greeting.
Examples:
- wave
- bow
- handshake
The sequence name must match an existing sequence configured in the Sequences module.
Finalizing
Click Create User to save the profile.
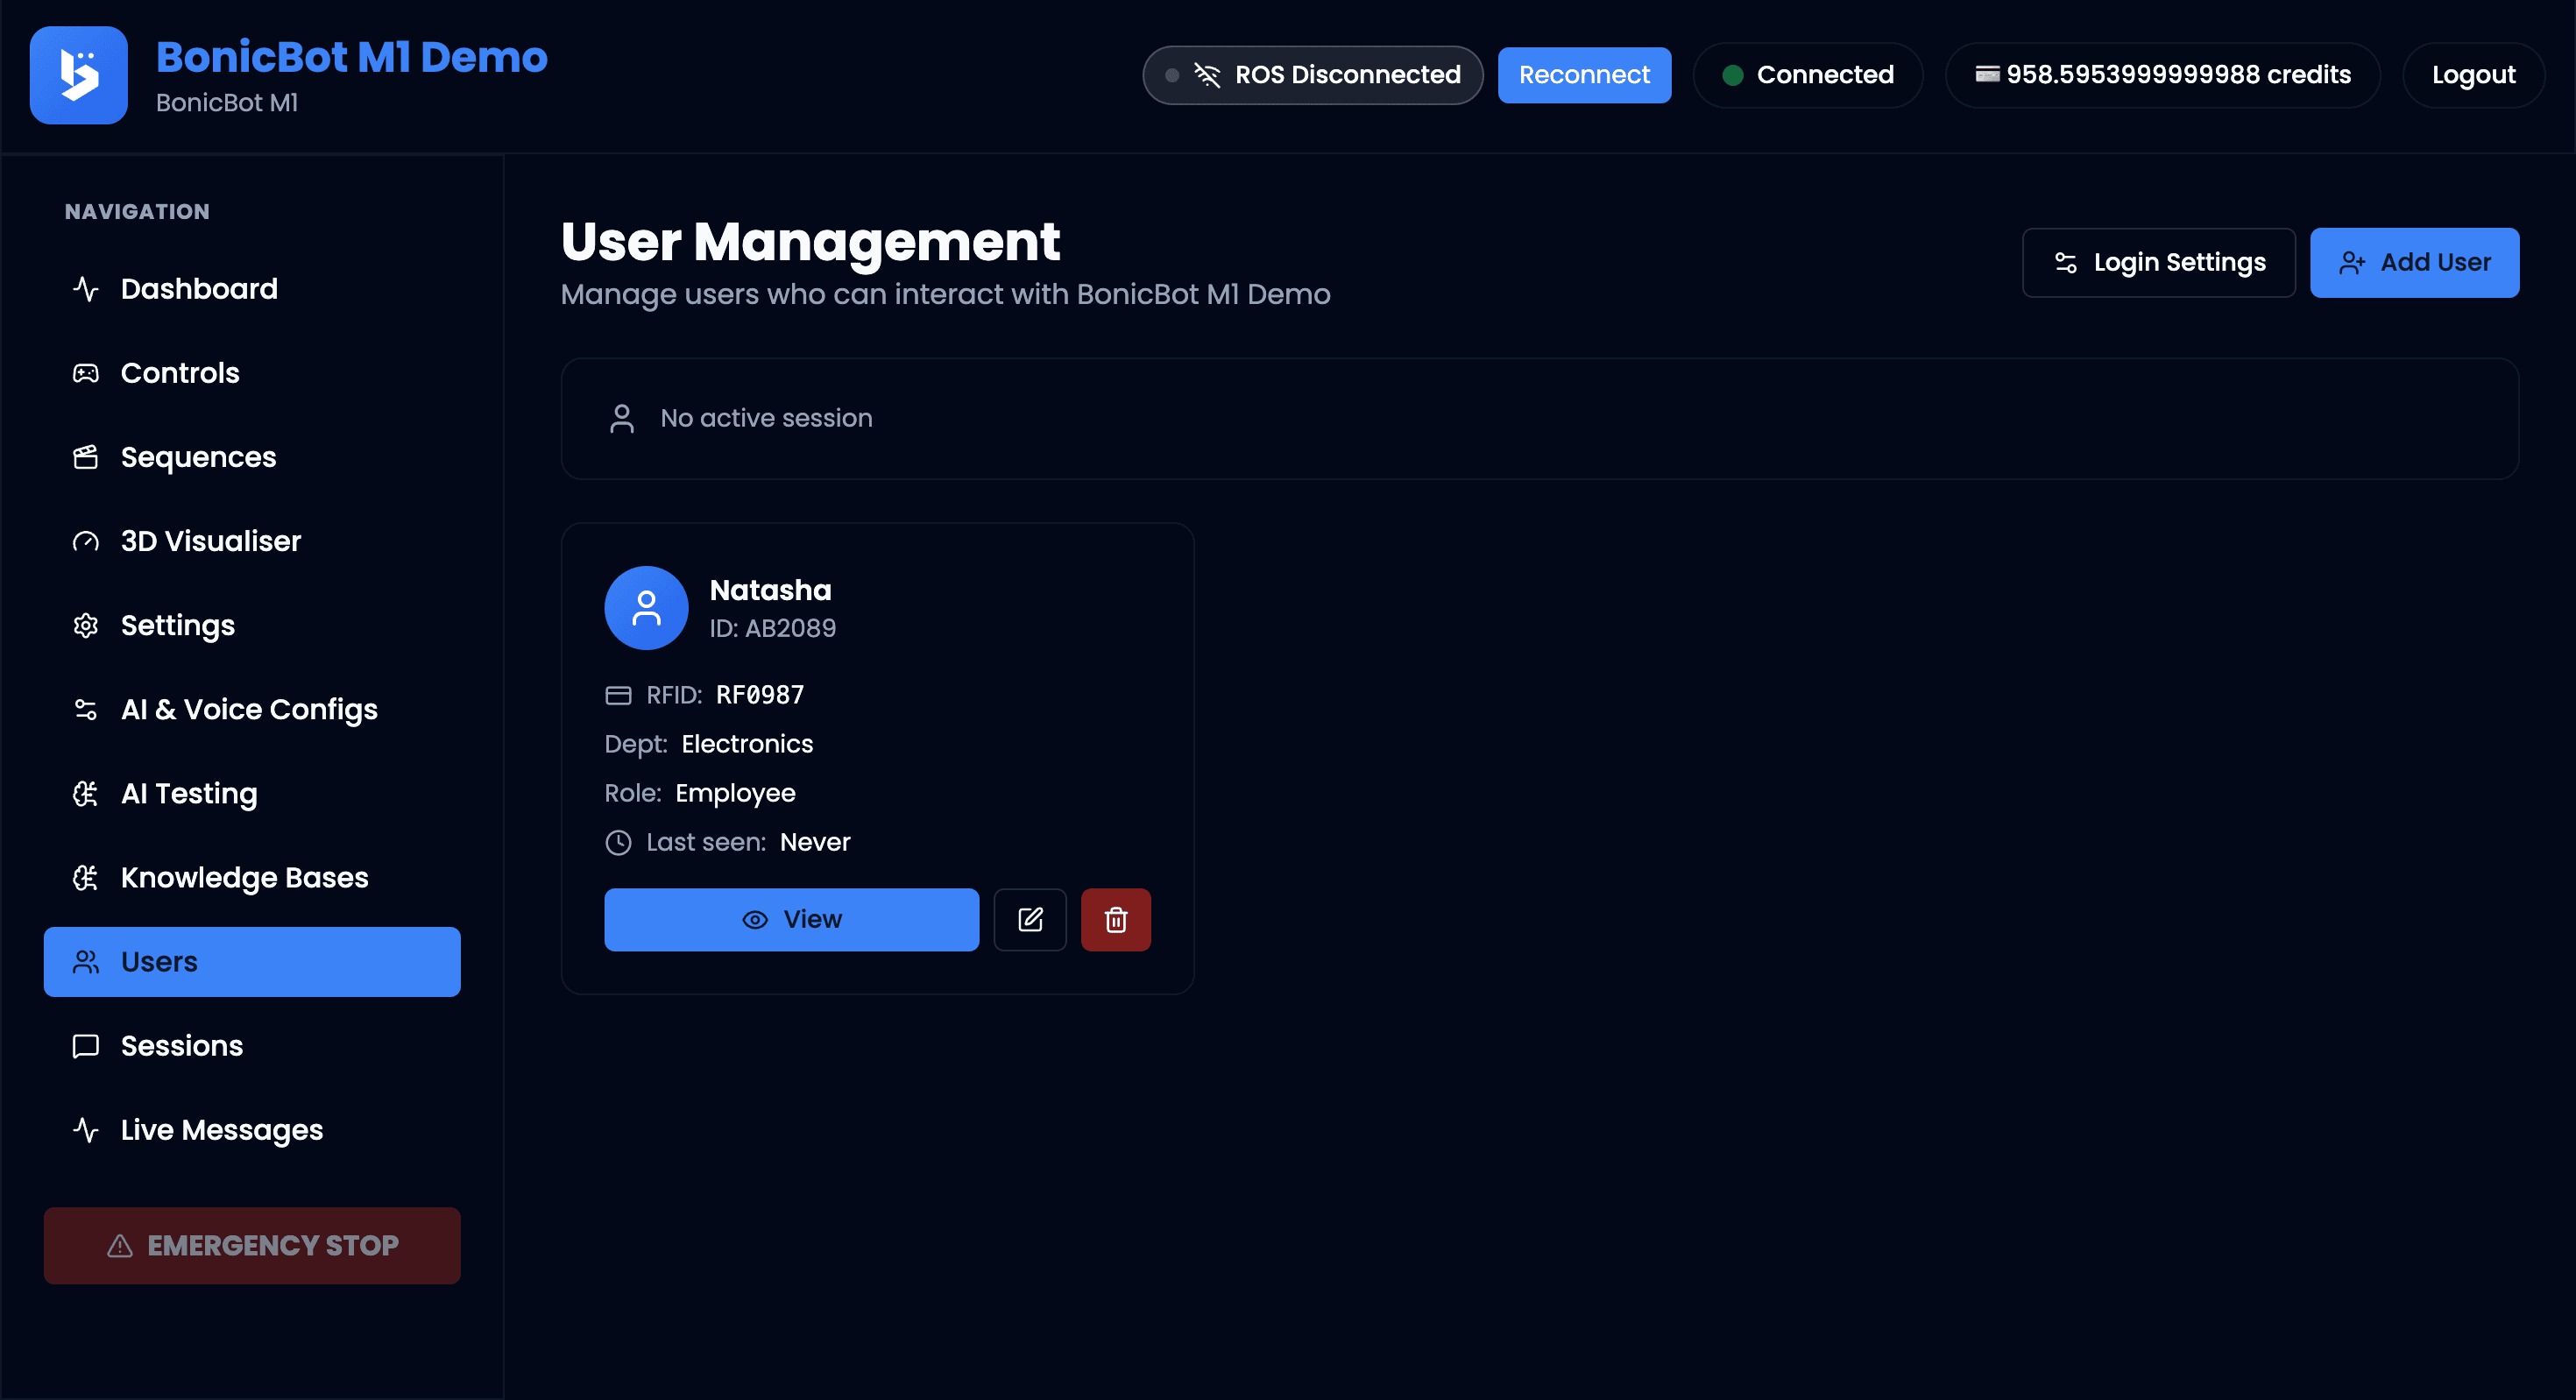
The newly created user will appear in the User Management list.
Each user entry includes action icons that allow the administrator to view, edit, or delete the user profile.
3.2 Active Users
When a registered user logs in to the kiosk, their session appears at the top of the User Management page.
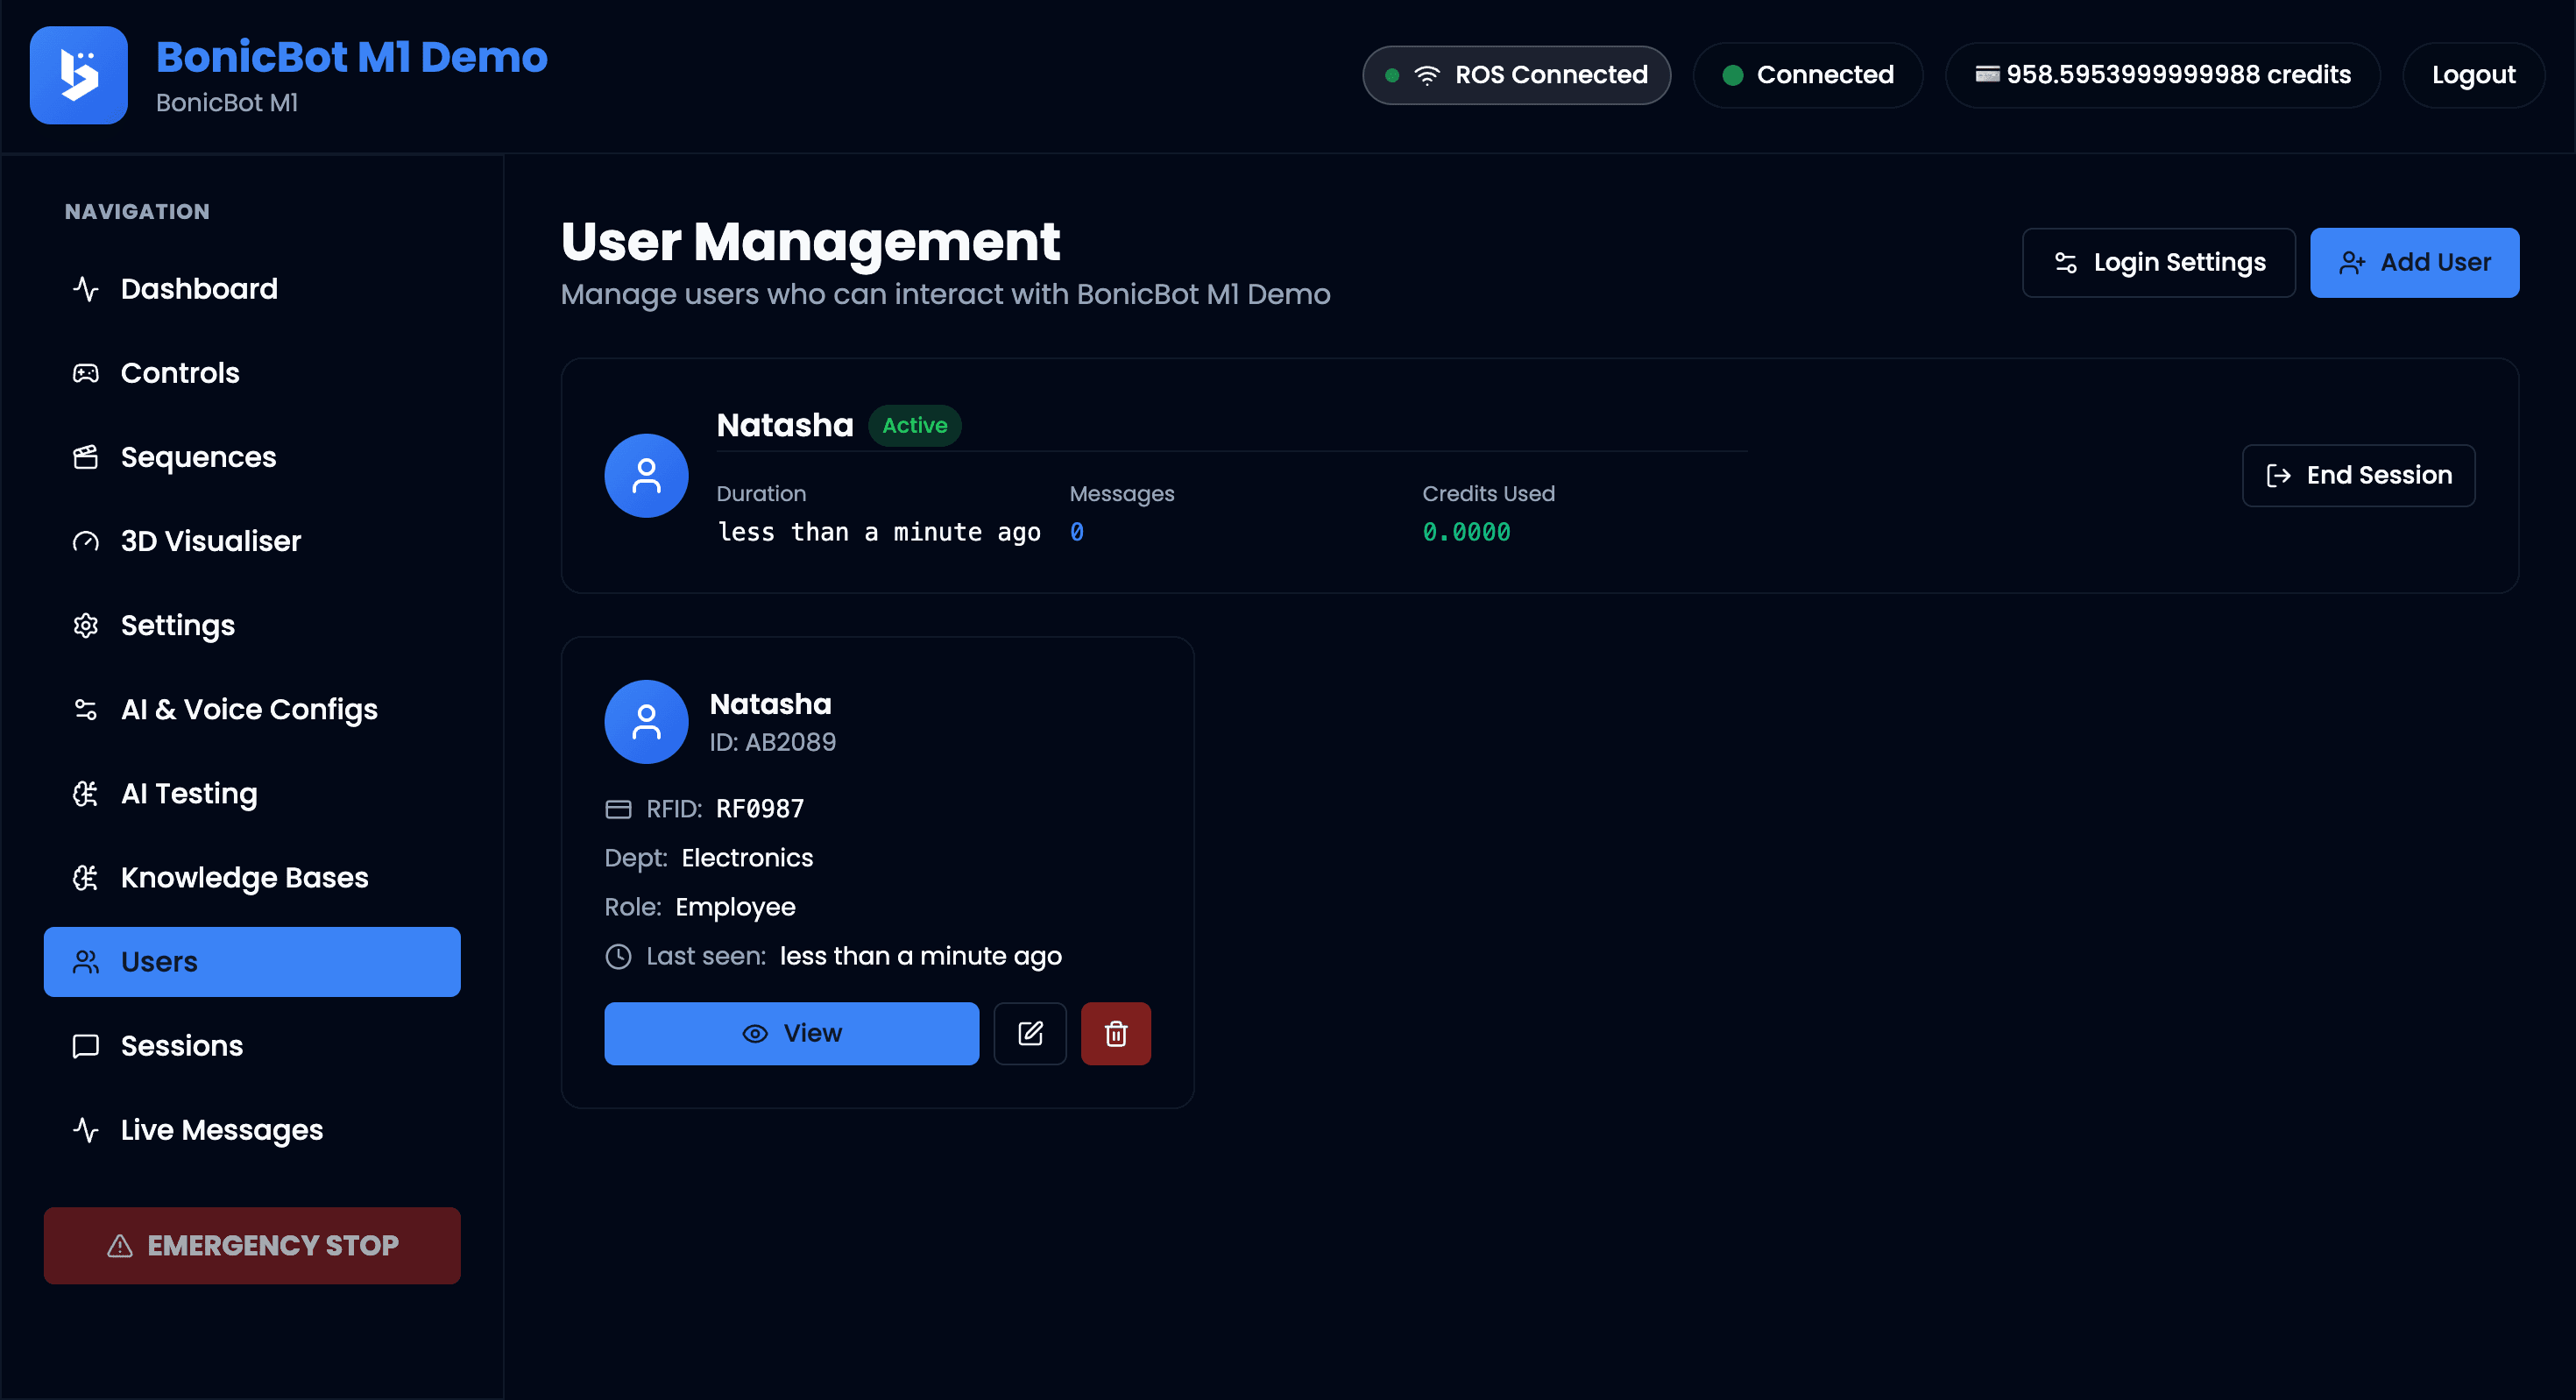
The Active User panel displays:
- User Name
- Status Badge – Indicates Active
- Session Duration
- Message Count
- Credits Used
End Session
Administrators can manually terminate the session by clicking End Session.
This immediately stops the user’s interaction with the robot and returns the kiosk to the login screen.
4. Knowledge Base
The Knowledge Base allows administrators to upload documents that the AI assistant can use to answer questions.
This feature uses Retrieval-Augmented Generation (RAG) to provide responses based on uploaded documents.
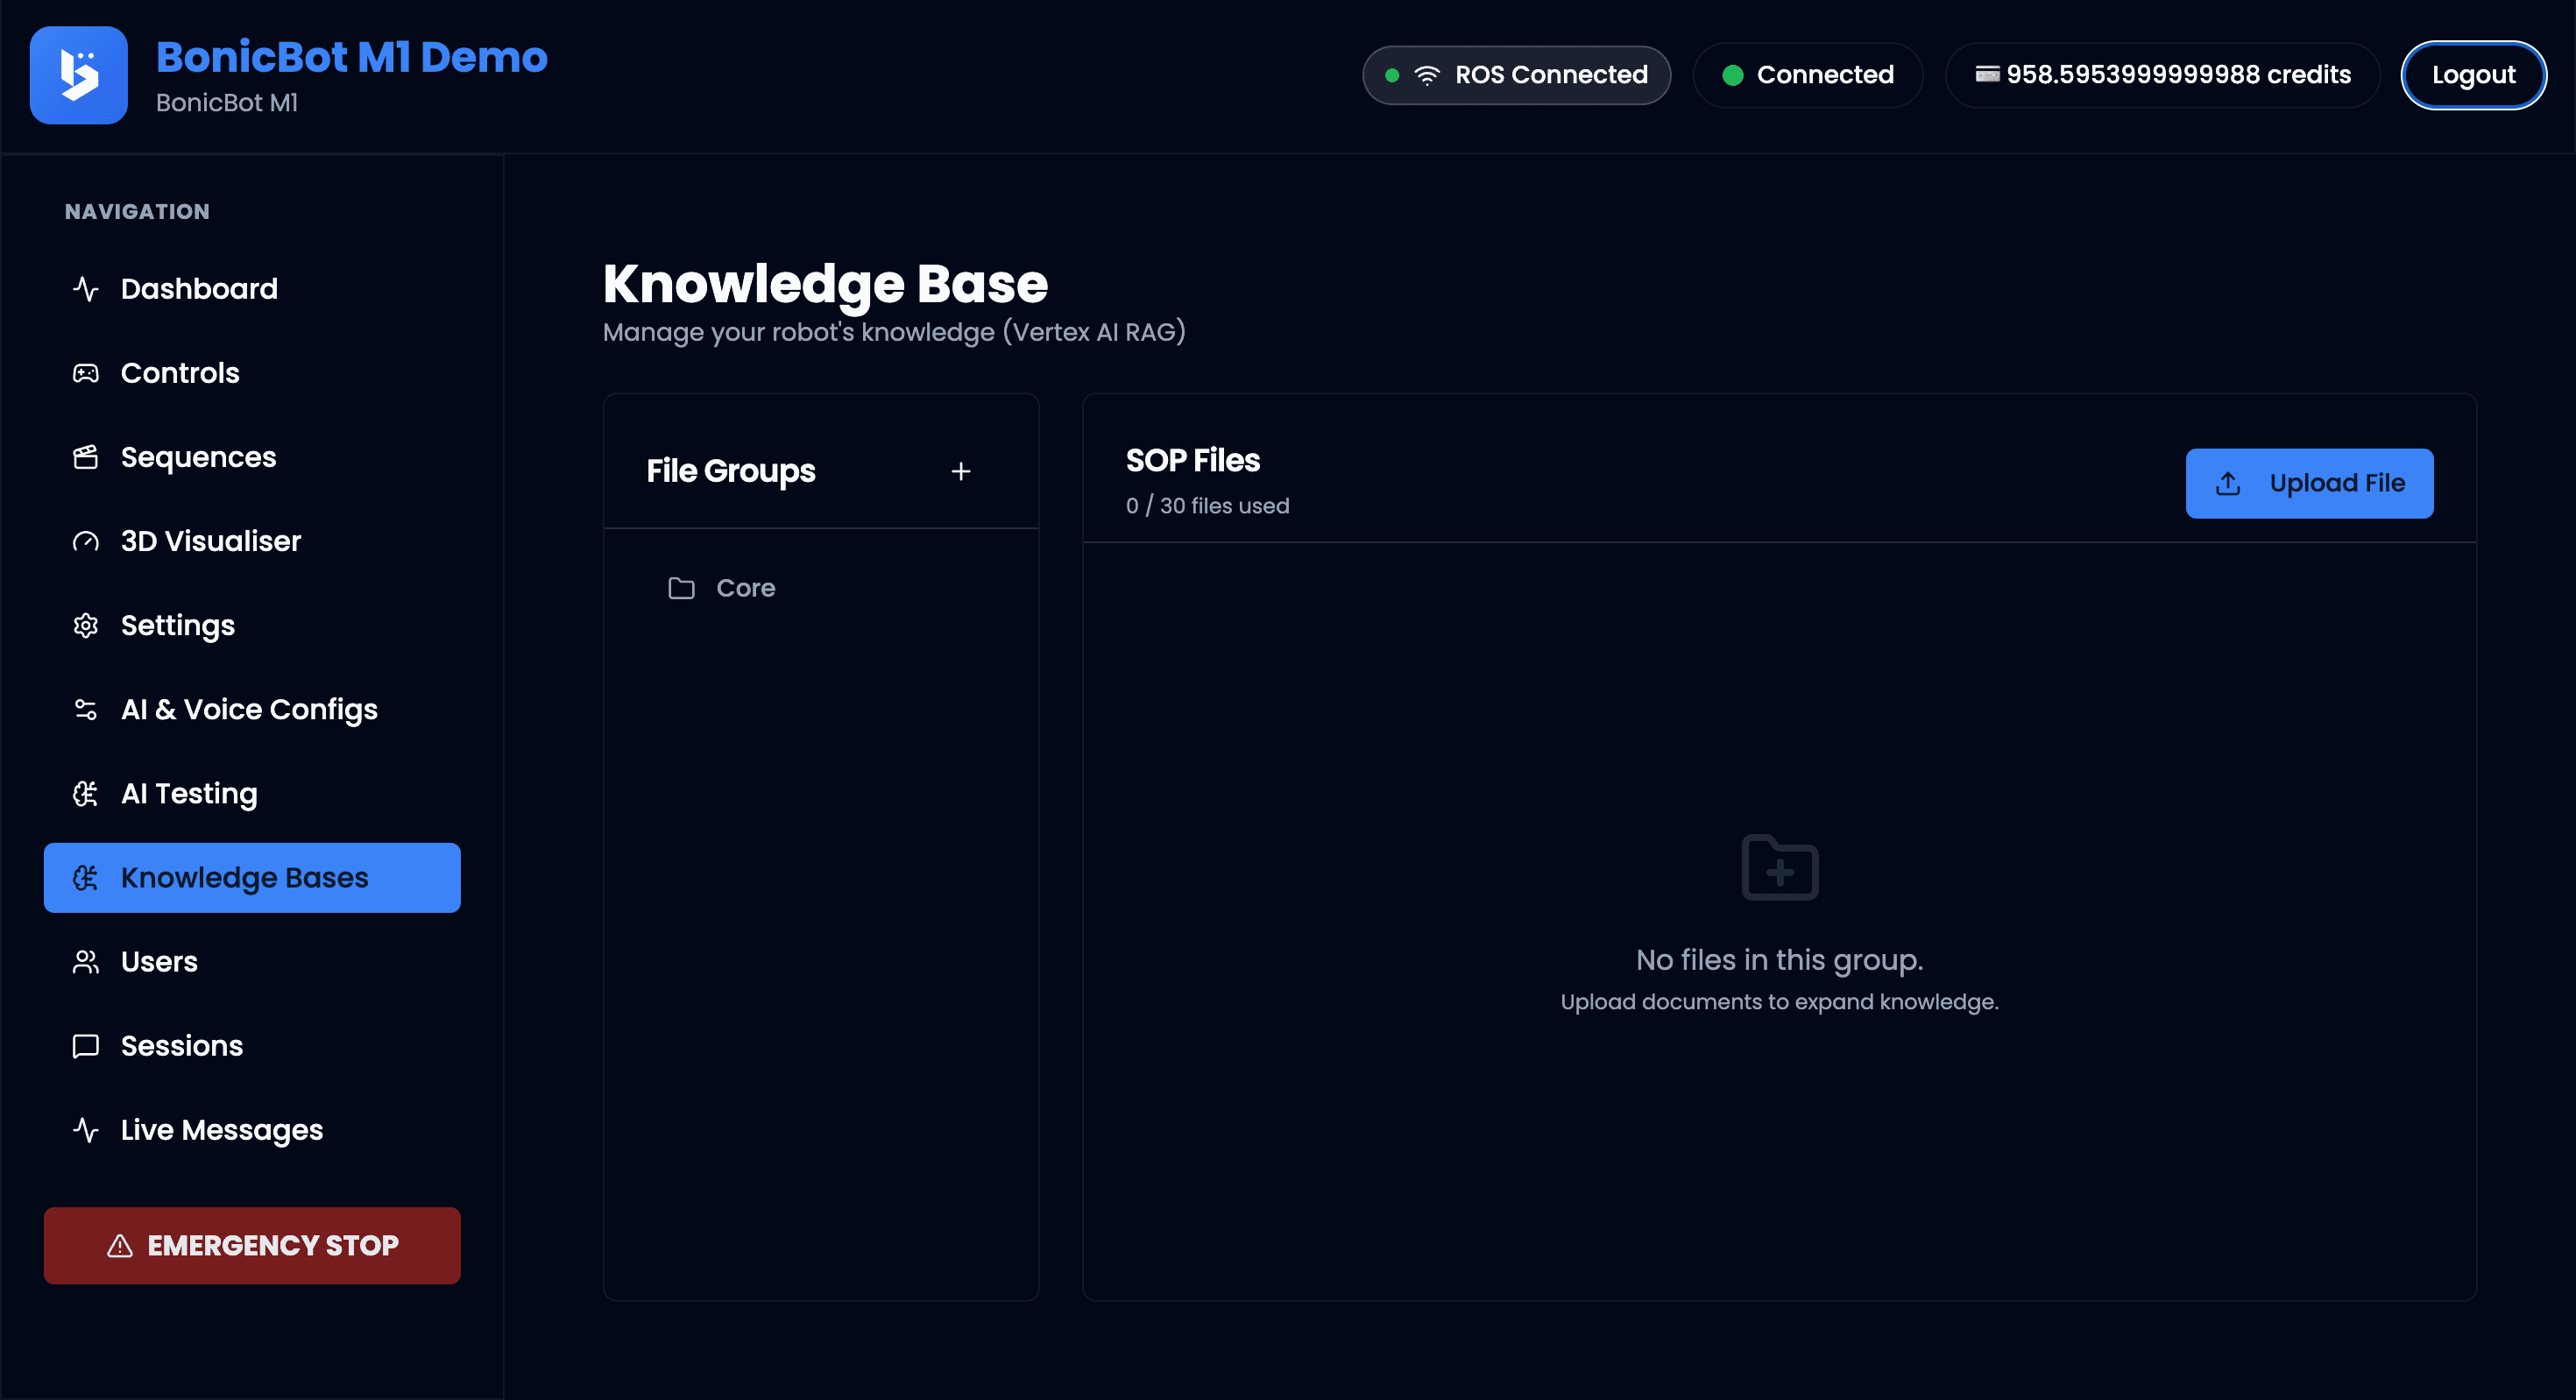
4.1 File Groups
Documents are organized into File Groups.
A file group represents a logical collection of documents related to a specific topic or domain.
Examples:
- SOP documents
- Maintenance manuals
- Safety guidelines
- Product documentation
The left panel displays all available file groups and the right panel shows the files contained in the selected group.
4.2 Default Core Group
A Core file group is created by default.
This group is used as the general knowledge base for the system and can store commonly used documents.
Administrators can upload files to this group to provide general reference information to the AI assistant.
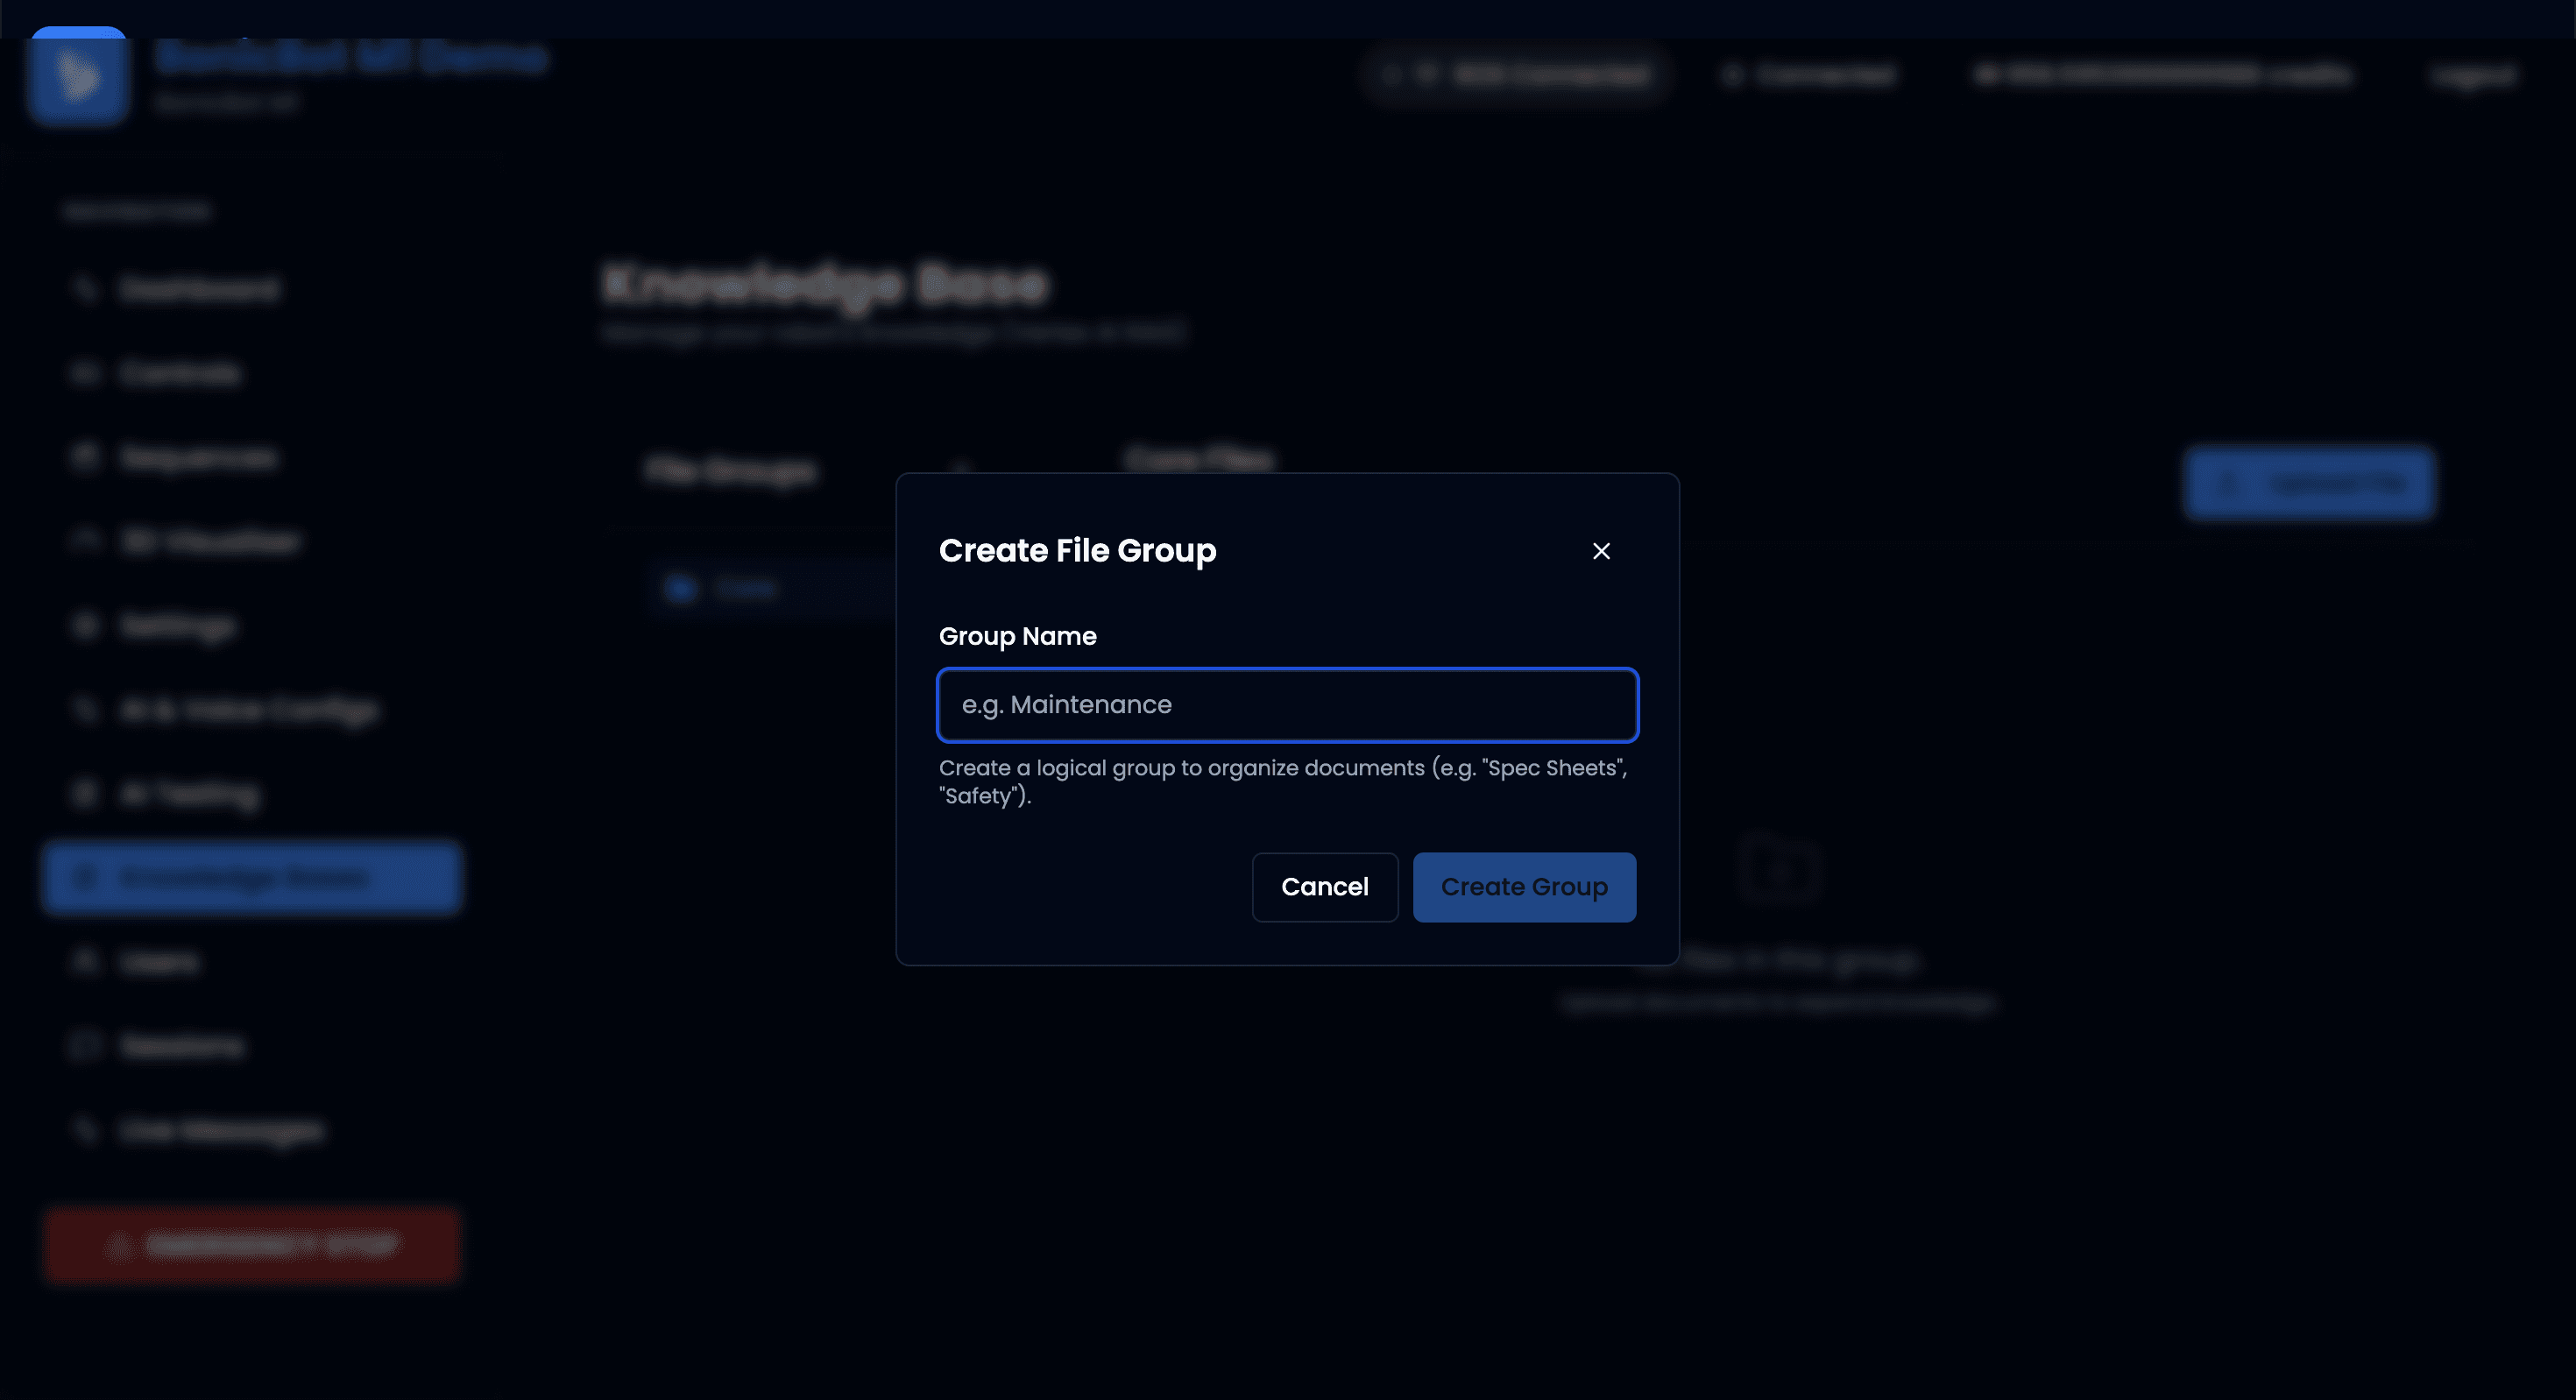
4.3 Creating a Custom File Group
Administrators can create additional file groups to organize documents for different scenarios.
To create a new group:
- Click the “+” icon next to File Groups.
- The Create File Group dialog will appear.
- Enter a Group Name.
- Click Create Group.
The new group will appear in the File Groups list.
4.4 Uploading Documents
To upload files to a group:
- Select the desired File Group.
- Click the Upload File button.
- Choose the document to upload.
Documents are then processed and stored for use by the AI assistant.
Limits:
- Each file group can contain up to 30 files.
4.5 Important Notes
- Files must be uploaded one at a time.
- Uploading and processing documents consumes AI credits.
- Uploaded files become available for use in AI & Voice Configurations when the Knowledge Base (RAG) feature is enabled.
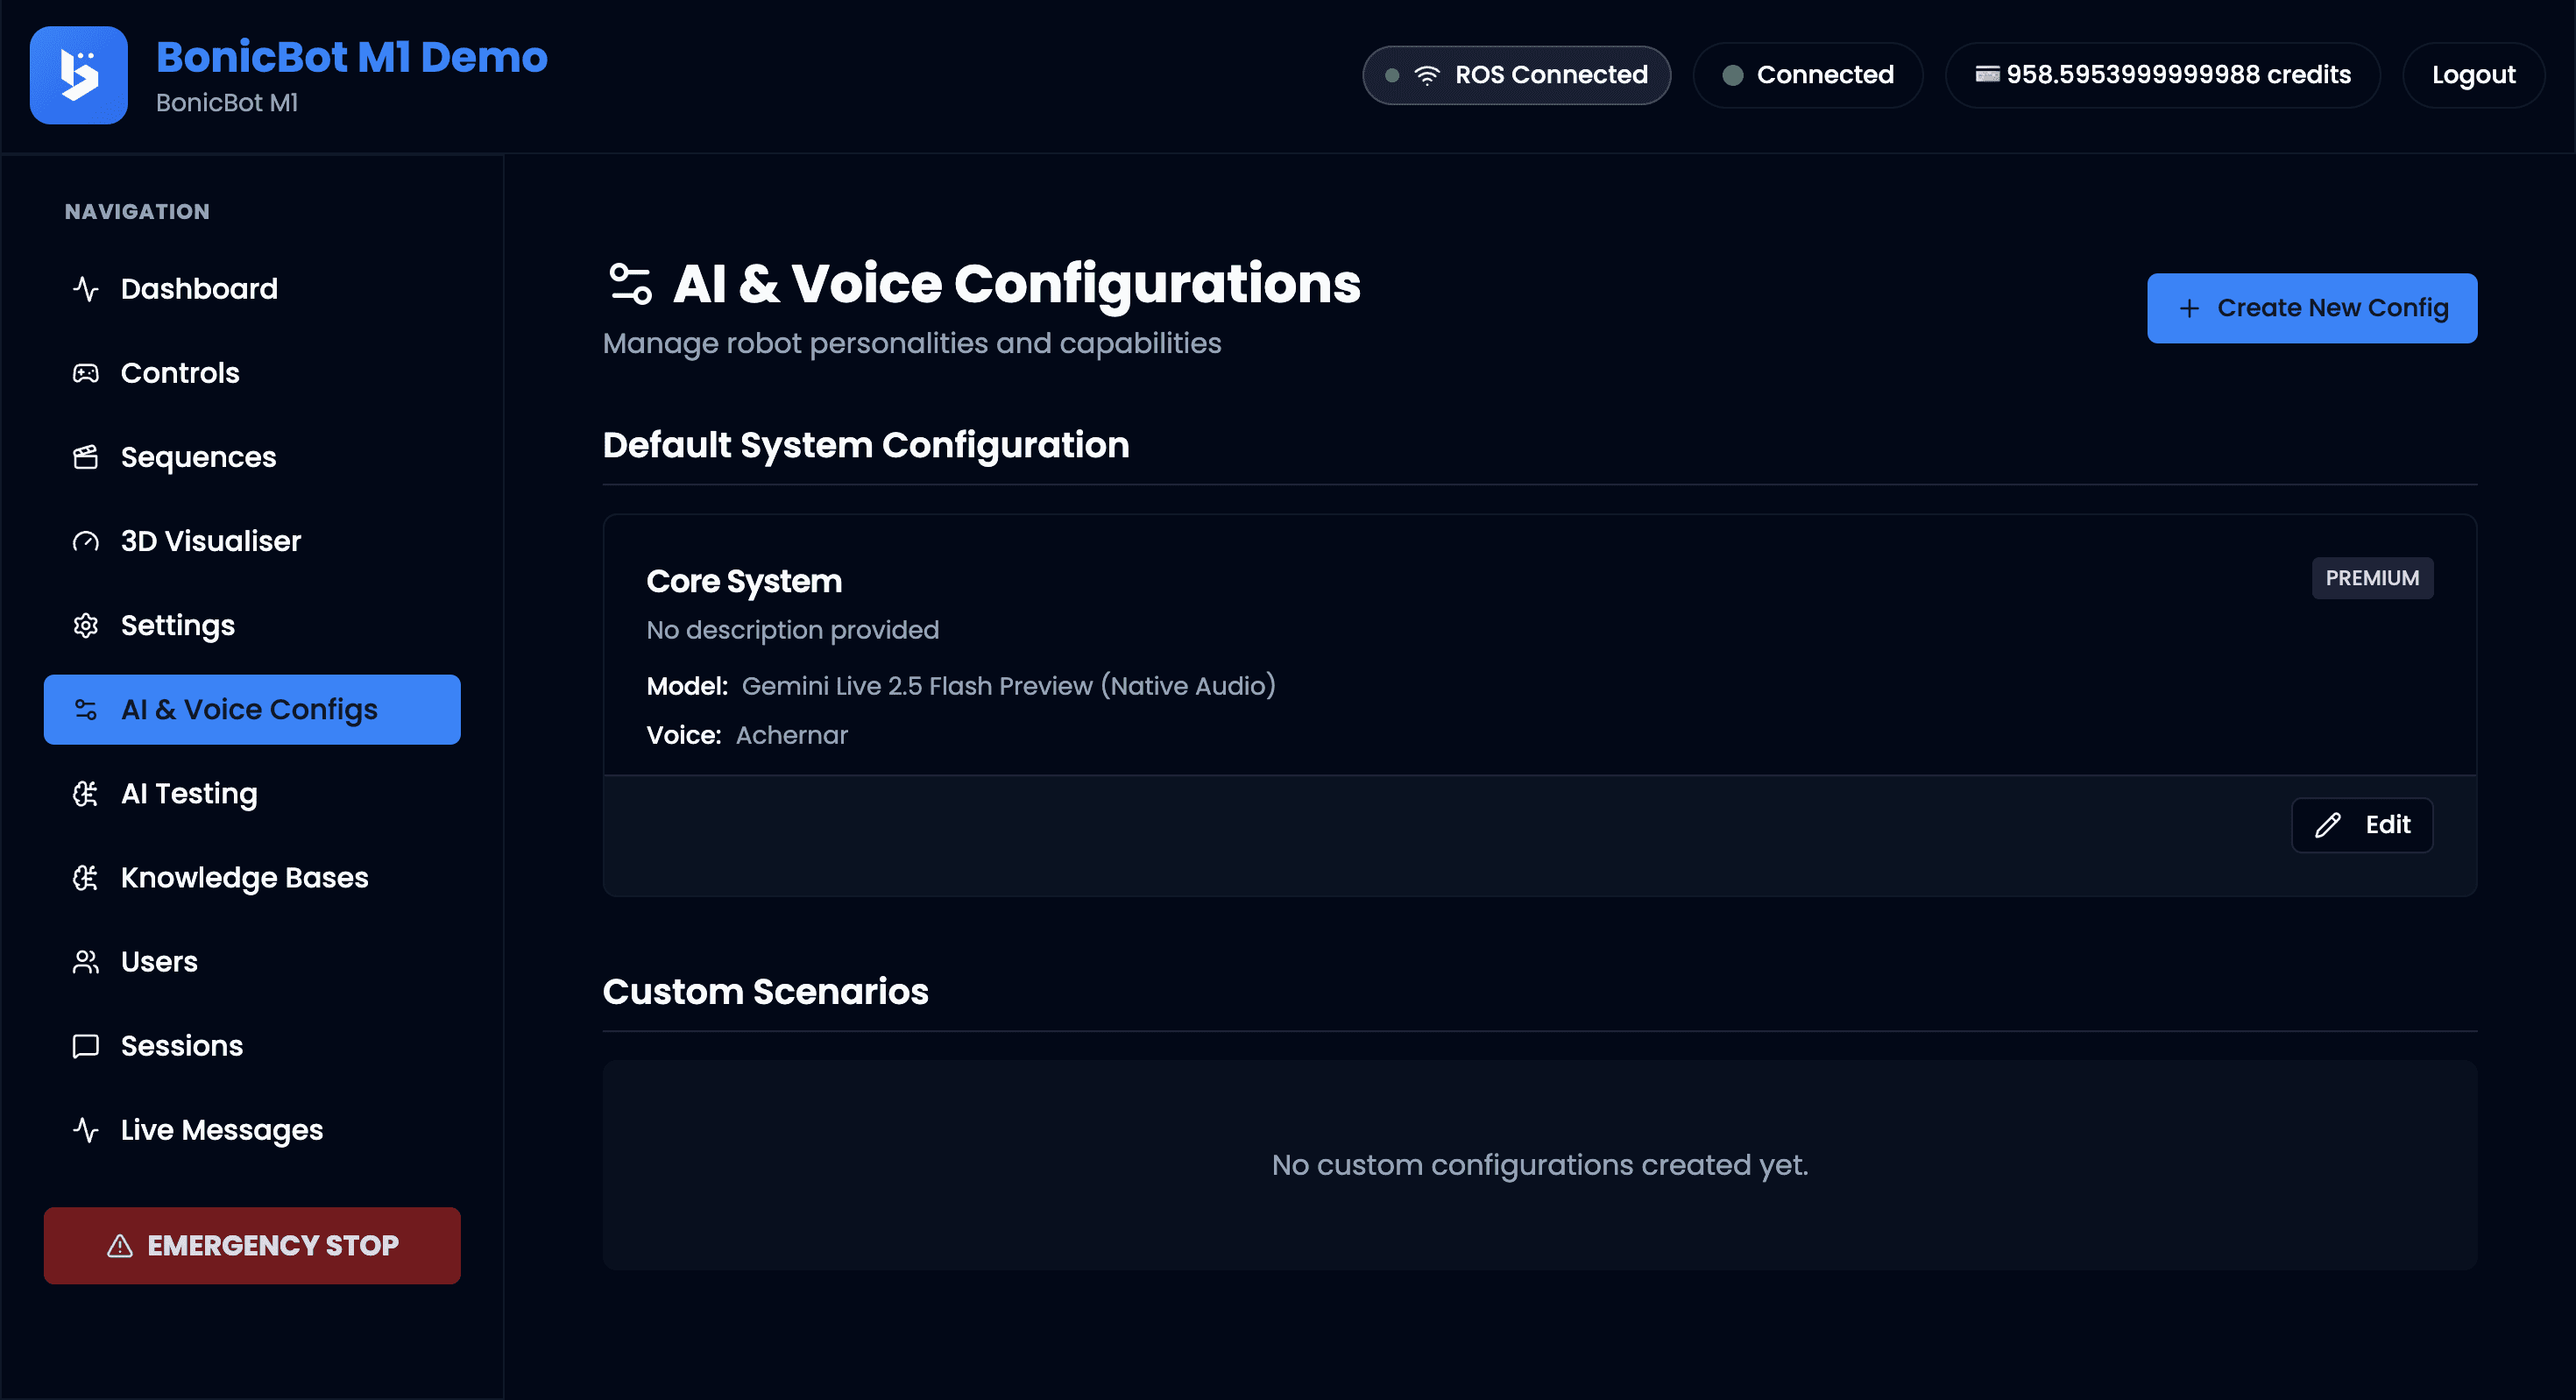
5. AI & Voice Configurations
The AI & Voice Configurations section allows administrators to define how the robot communicates, behaves, and interacts with users.
Two types of AI assistants can be configured:
5.1 Core System (Default Assistant)
The Core System is the primary AI assistant used by the robot for general conversations in kiosk mode.
This assistant acts as the default AI personality of the robot when no scenario-specific assistant is selected.
Only one Core System configuration exists in the system.
Administrators can initialize the Core configuration using the Initialize Core Config button and later modify it using the Edit option.
5.2 Custom Scenarios
Custom Scenarios allow administrators to create specialized AI assistants designed for specific interactions or environments.
To create a custom scenario assistant, click on the Create New Config button.
Examples include:
- Reception assistant
- Product guide
- Event host
- Museum guide
- Customer support assistant
Each scenario can have:
- Its own AI behavior
- Different voice settings
- Different robot capabilities
- Optional knowledge bases
These assistants can then be assigned to users or triggered based on interaction context.
5.3 AI Configuration Settings
Both Core System and Custom Scenario assistants use the same configuration structure.
The configuration form allows administrators to define the assistant’s behavior, voice, capabilities, and knowledge sources.
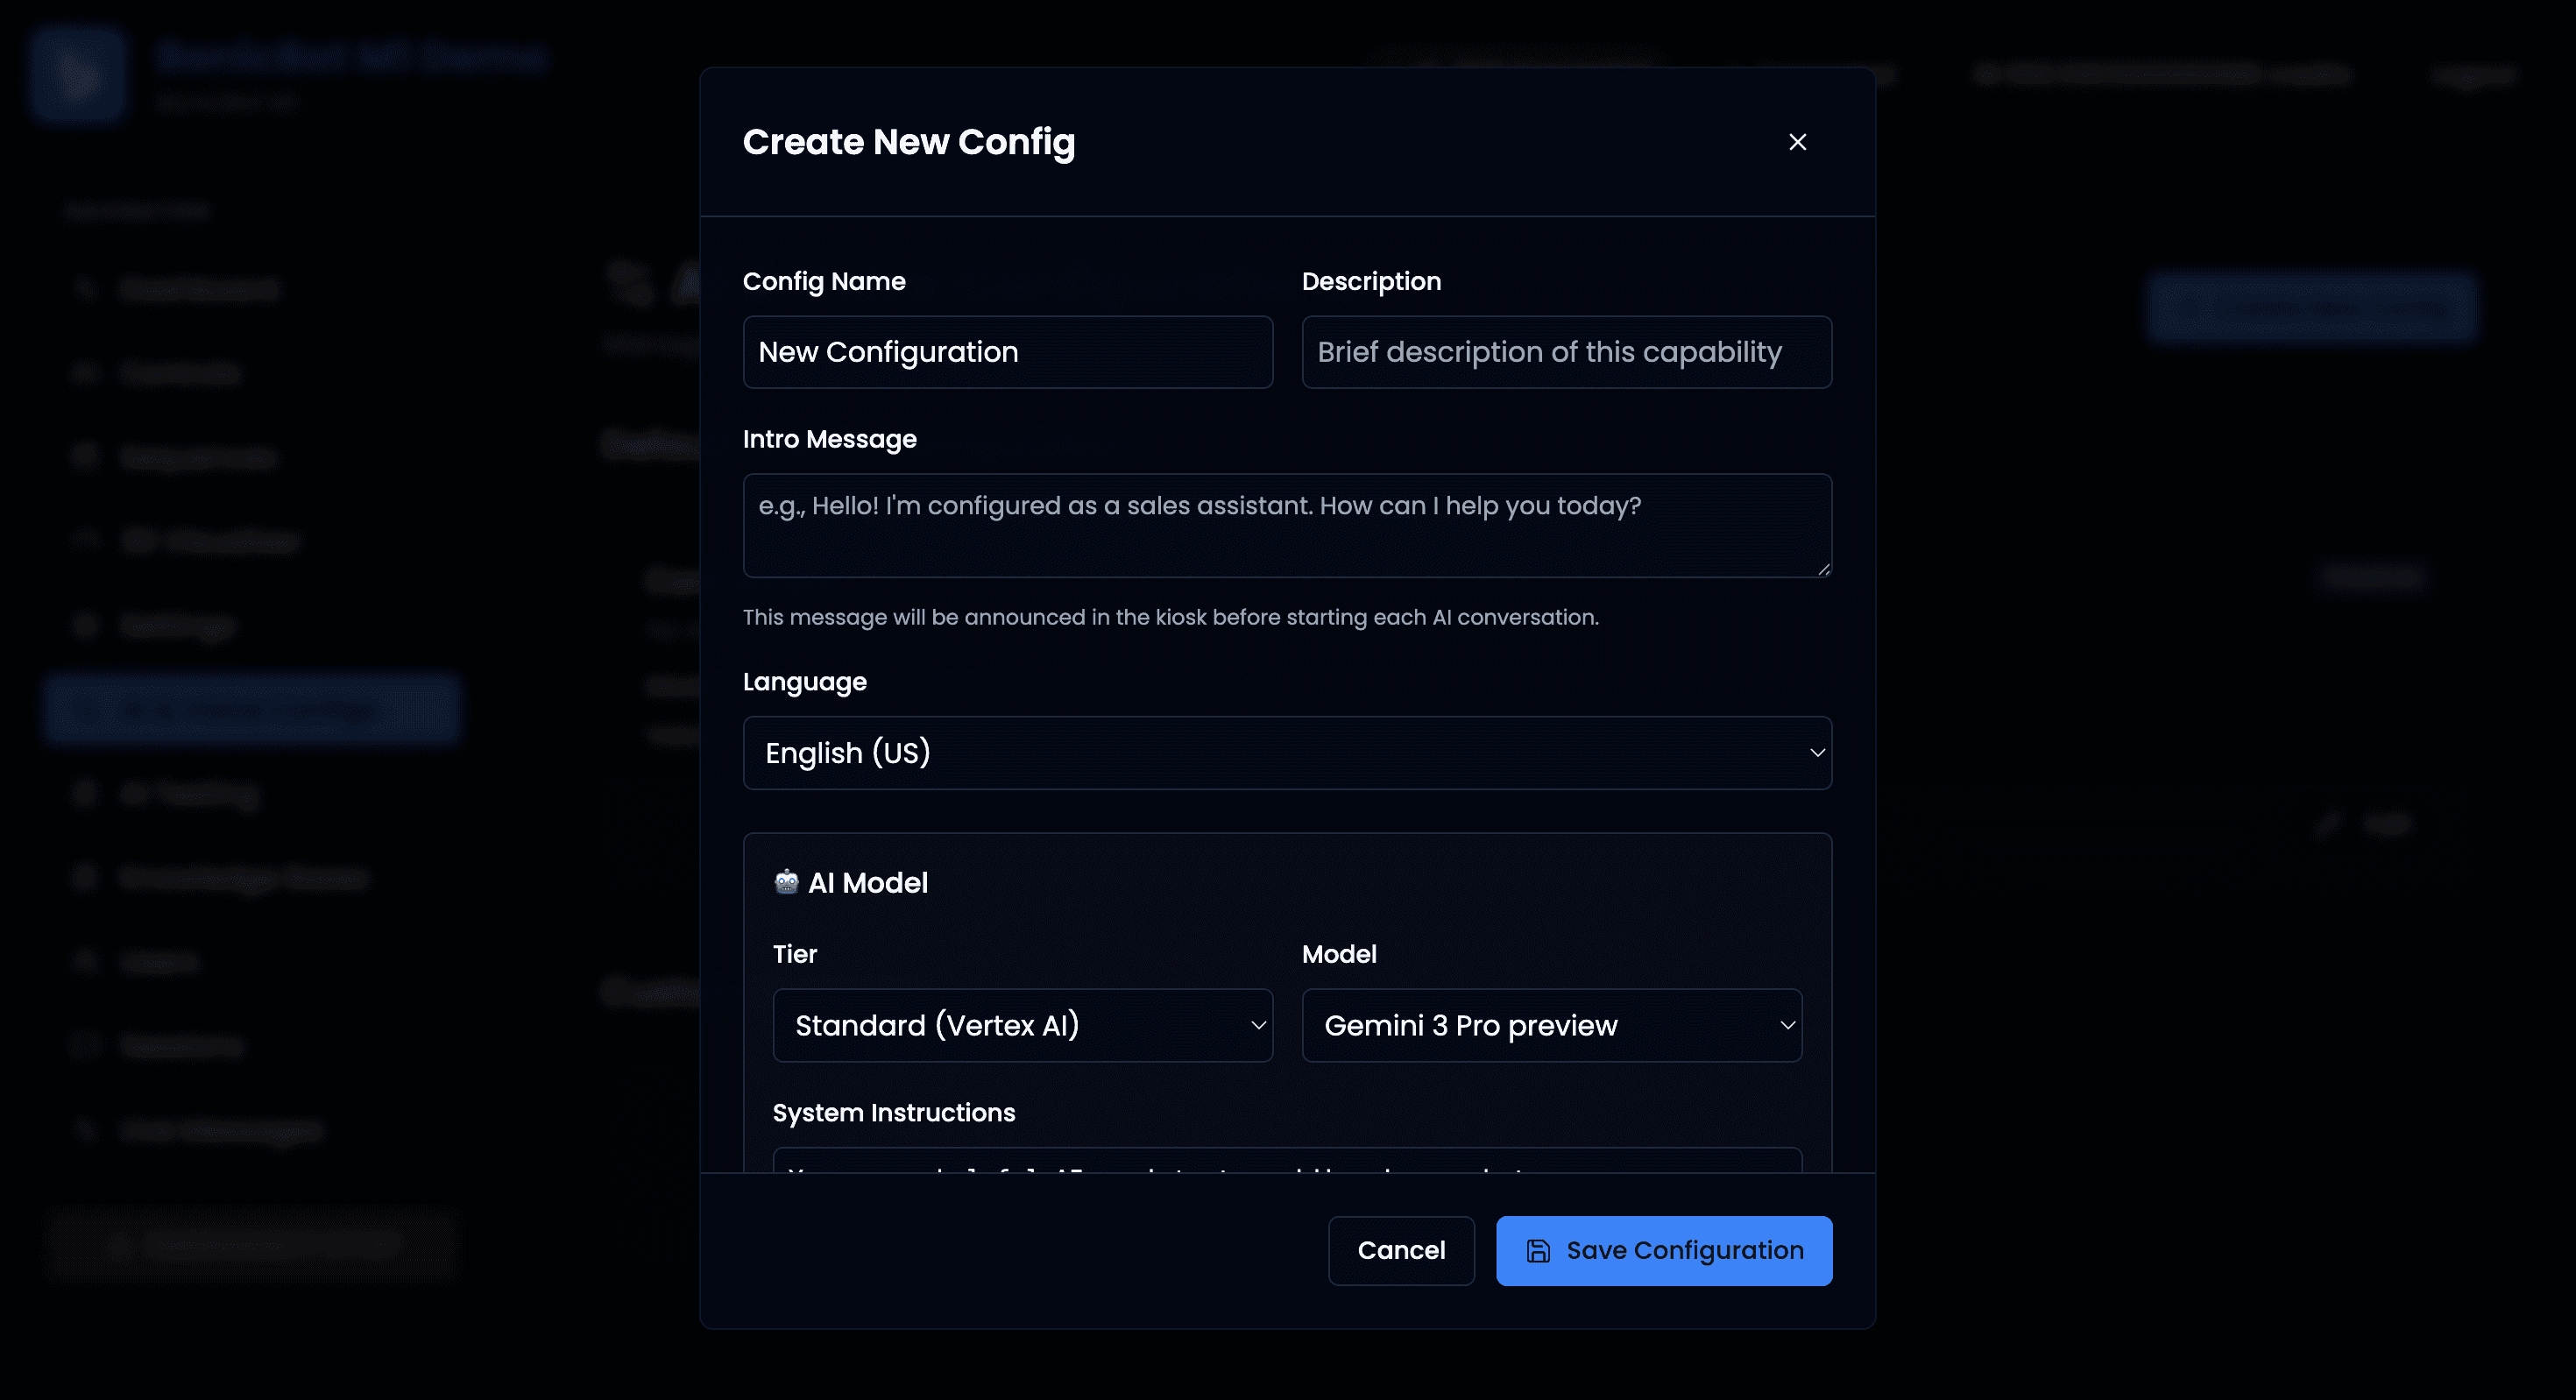
Basic Information
Defines the identity and introduction of the assistant.
- Config Name – Display name of the assistant configuration.
- Description – Short description explaining the assistant’s purpose.
- Intro Message – Message spoken by the robot before starting an AI conversation.
- Language – Default language used for conversations.
AI Model Settings
Defines the AI model used for generating responses.
- Tier – Determines the capability level of the AI (for example, Standard or Premium).
- Model – Selected AI model used for conversations.
- Estimated Cost – Displays the approximate credit usage per turn and per minute.
System Instructions
System instructions define the assistant’s personality, tone, and behavioral guidelines.
These instructions guide how the AI interacts with users.
Example:
You are a helpful AI assistant residing in a robot.
Your name is BonicBot.
Be concise and friendly.
The AI follows these instructions when generating responses.
Robot Tools
Robot tools define what physical or visual capabilities the AI assistant can control during conversations.
Administrators can enable or disable these capabilities.
Available tools include:
- Navigation – Allows the AI to move the robot to predefined locations.
- Emotions – Enables facial expressions on the robot display.
- Gesture Sequences – Allows the AI to execute recorded movement sequences.
- List Sequences – Allows the AI to list available gesture sequences.
- Movement Control – Allows the AI to move the robot in different directions.
- Google Search – Allows the AI to retrieve real-time information from the internet.
Knowledge Base (RAG)
The Knowledge Base feature enables Retrieval Augmented Generation (RAG).
When enabled, a dropdown menu appears allowing the administrator to select a knowledge group from the Knowledge Base section.
The selected knowledge group will be used by the AI assistant to answer questions using the uploaded documents.
This allows the robot to respond with domain-specific or organization-specific information.
Microphone / Speech-to-Text (STT) Settings
Defines how the robot converts spoken input into text.
- Provider – Select the speech-to-text service.
Available providers may include:
- OpenAI Whisper
- ElevenLabs Scribe
Administrators can choose the provider based on performance or requirements.
Voice Settings
Voice settings control how the robot speaks.
- Provider – Text-to-speech engine used to generate the robot’s voice.
- Voice Name – Selected voice profile used for speech output.
- Gender – Automatically determined based on the selected voice.
Administrators can also adjust the speaking rate using the provided slider.
Saving Configuration
After completing the configuration, click Save Configuration to apply the changes.